From planning to conception.... OUR guide to help YOU identify what you need to know about setting up your vehicle to travel around Autralia with a roof top tent in comfort.
Selecting the right Canopy
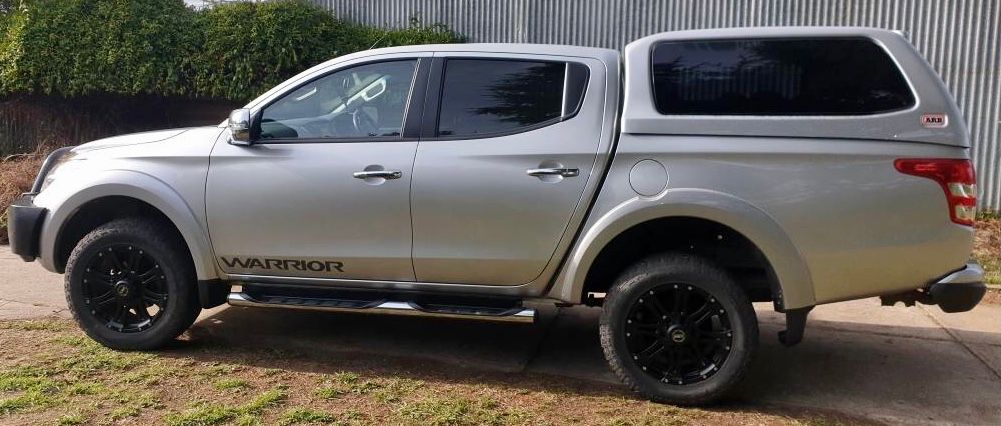
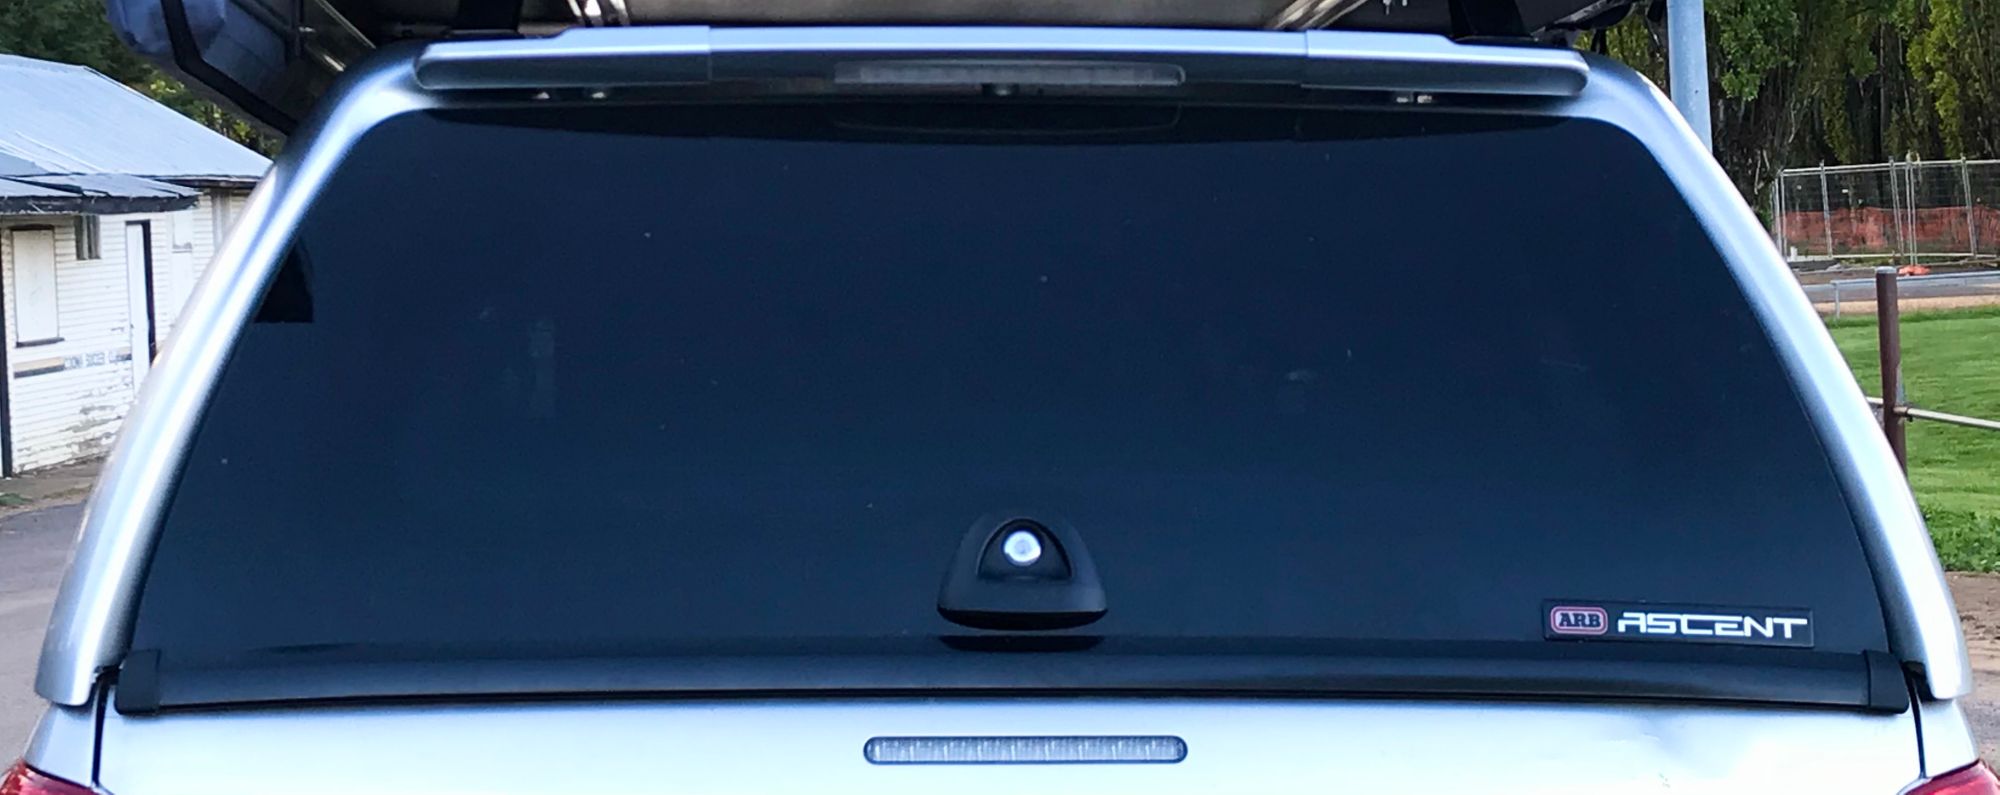
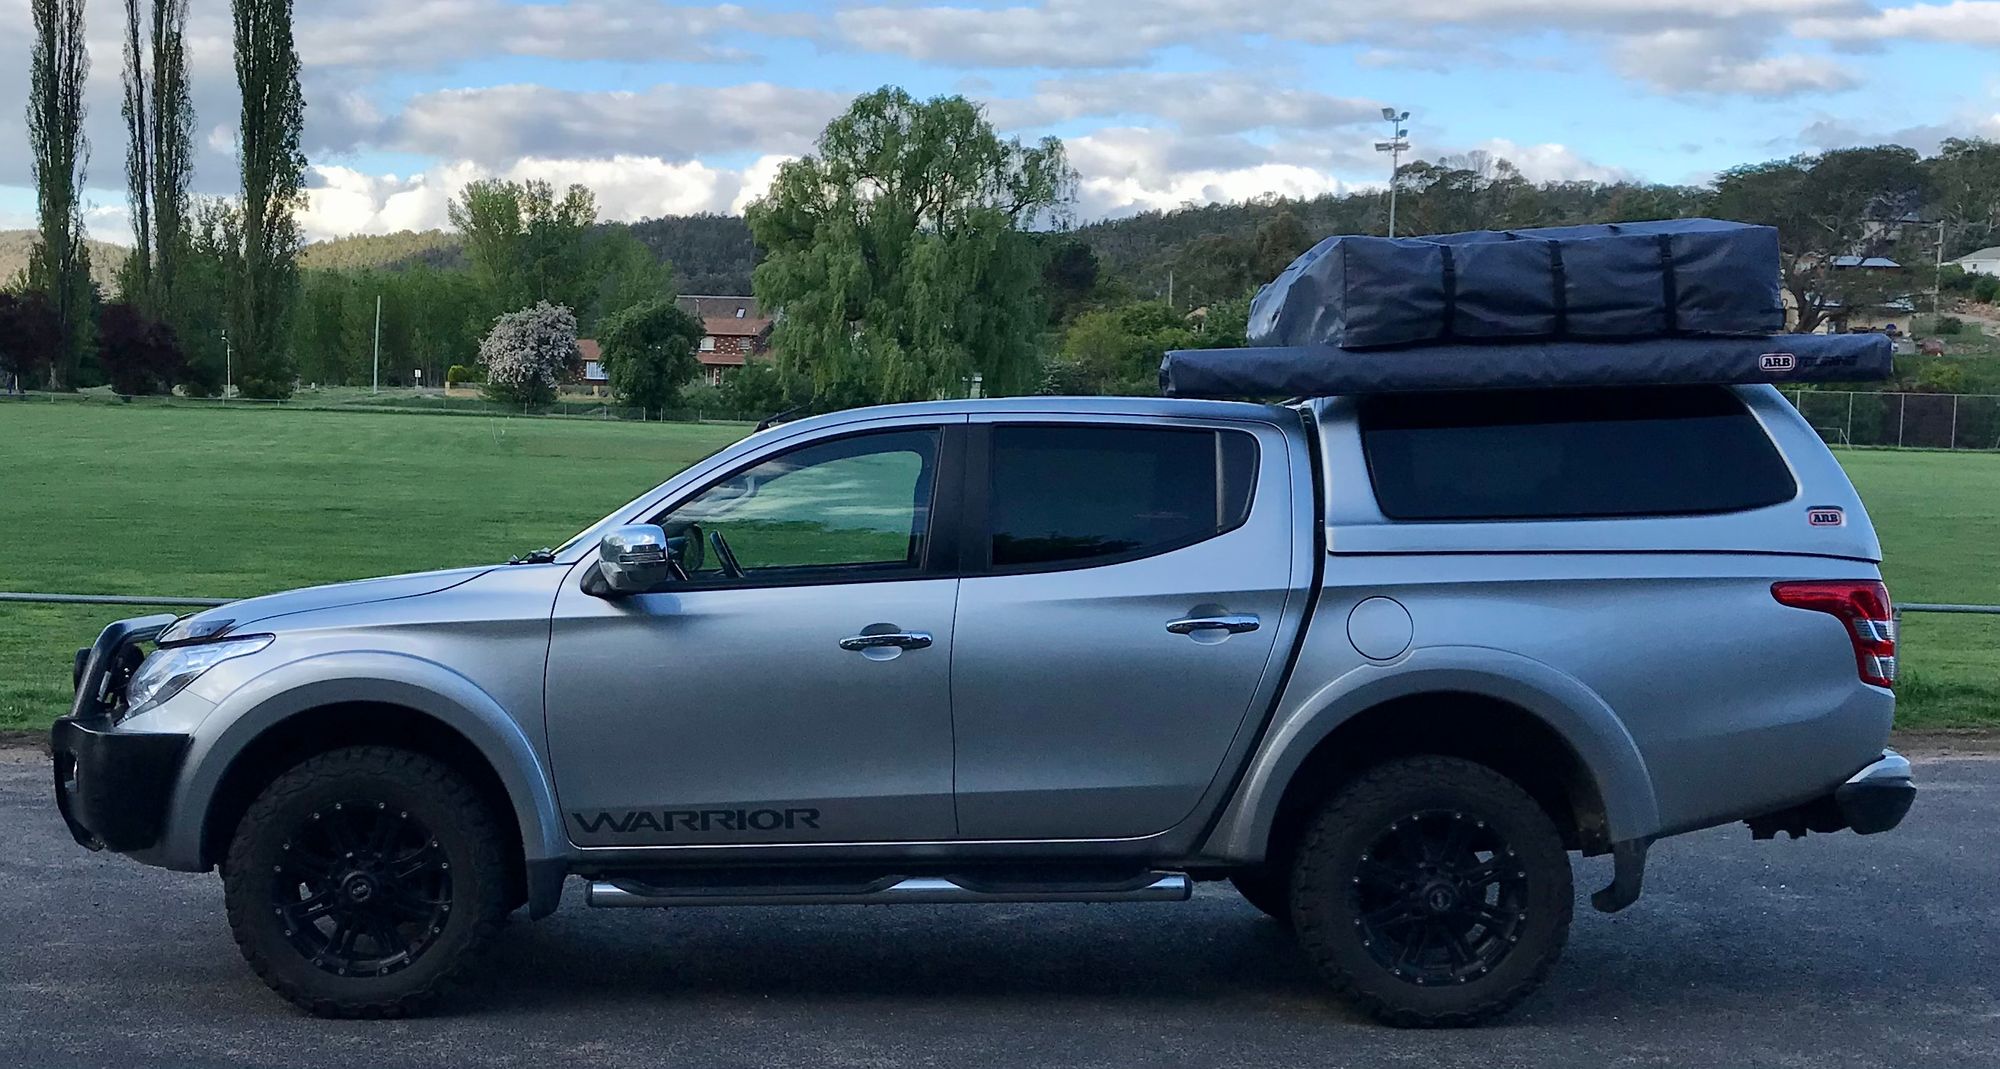
After looking around at different canopies we chose the ARB Ascent canopy
A great looking canopy with a slightly higher roofline than the front cab. This gives that feeling of more open space when you open the back doors and provides storage for larger tubs you may wish to stack on the drawers in the back.
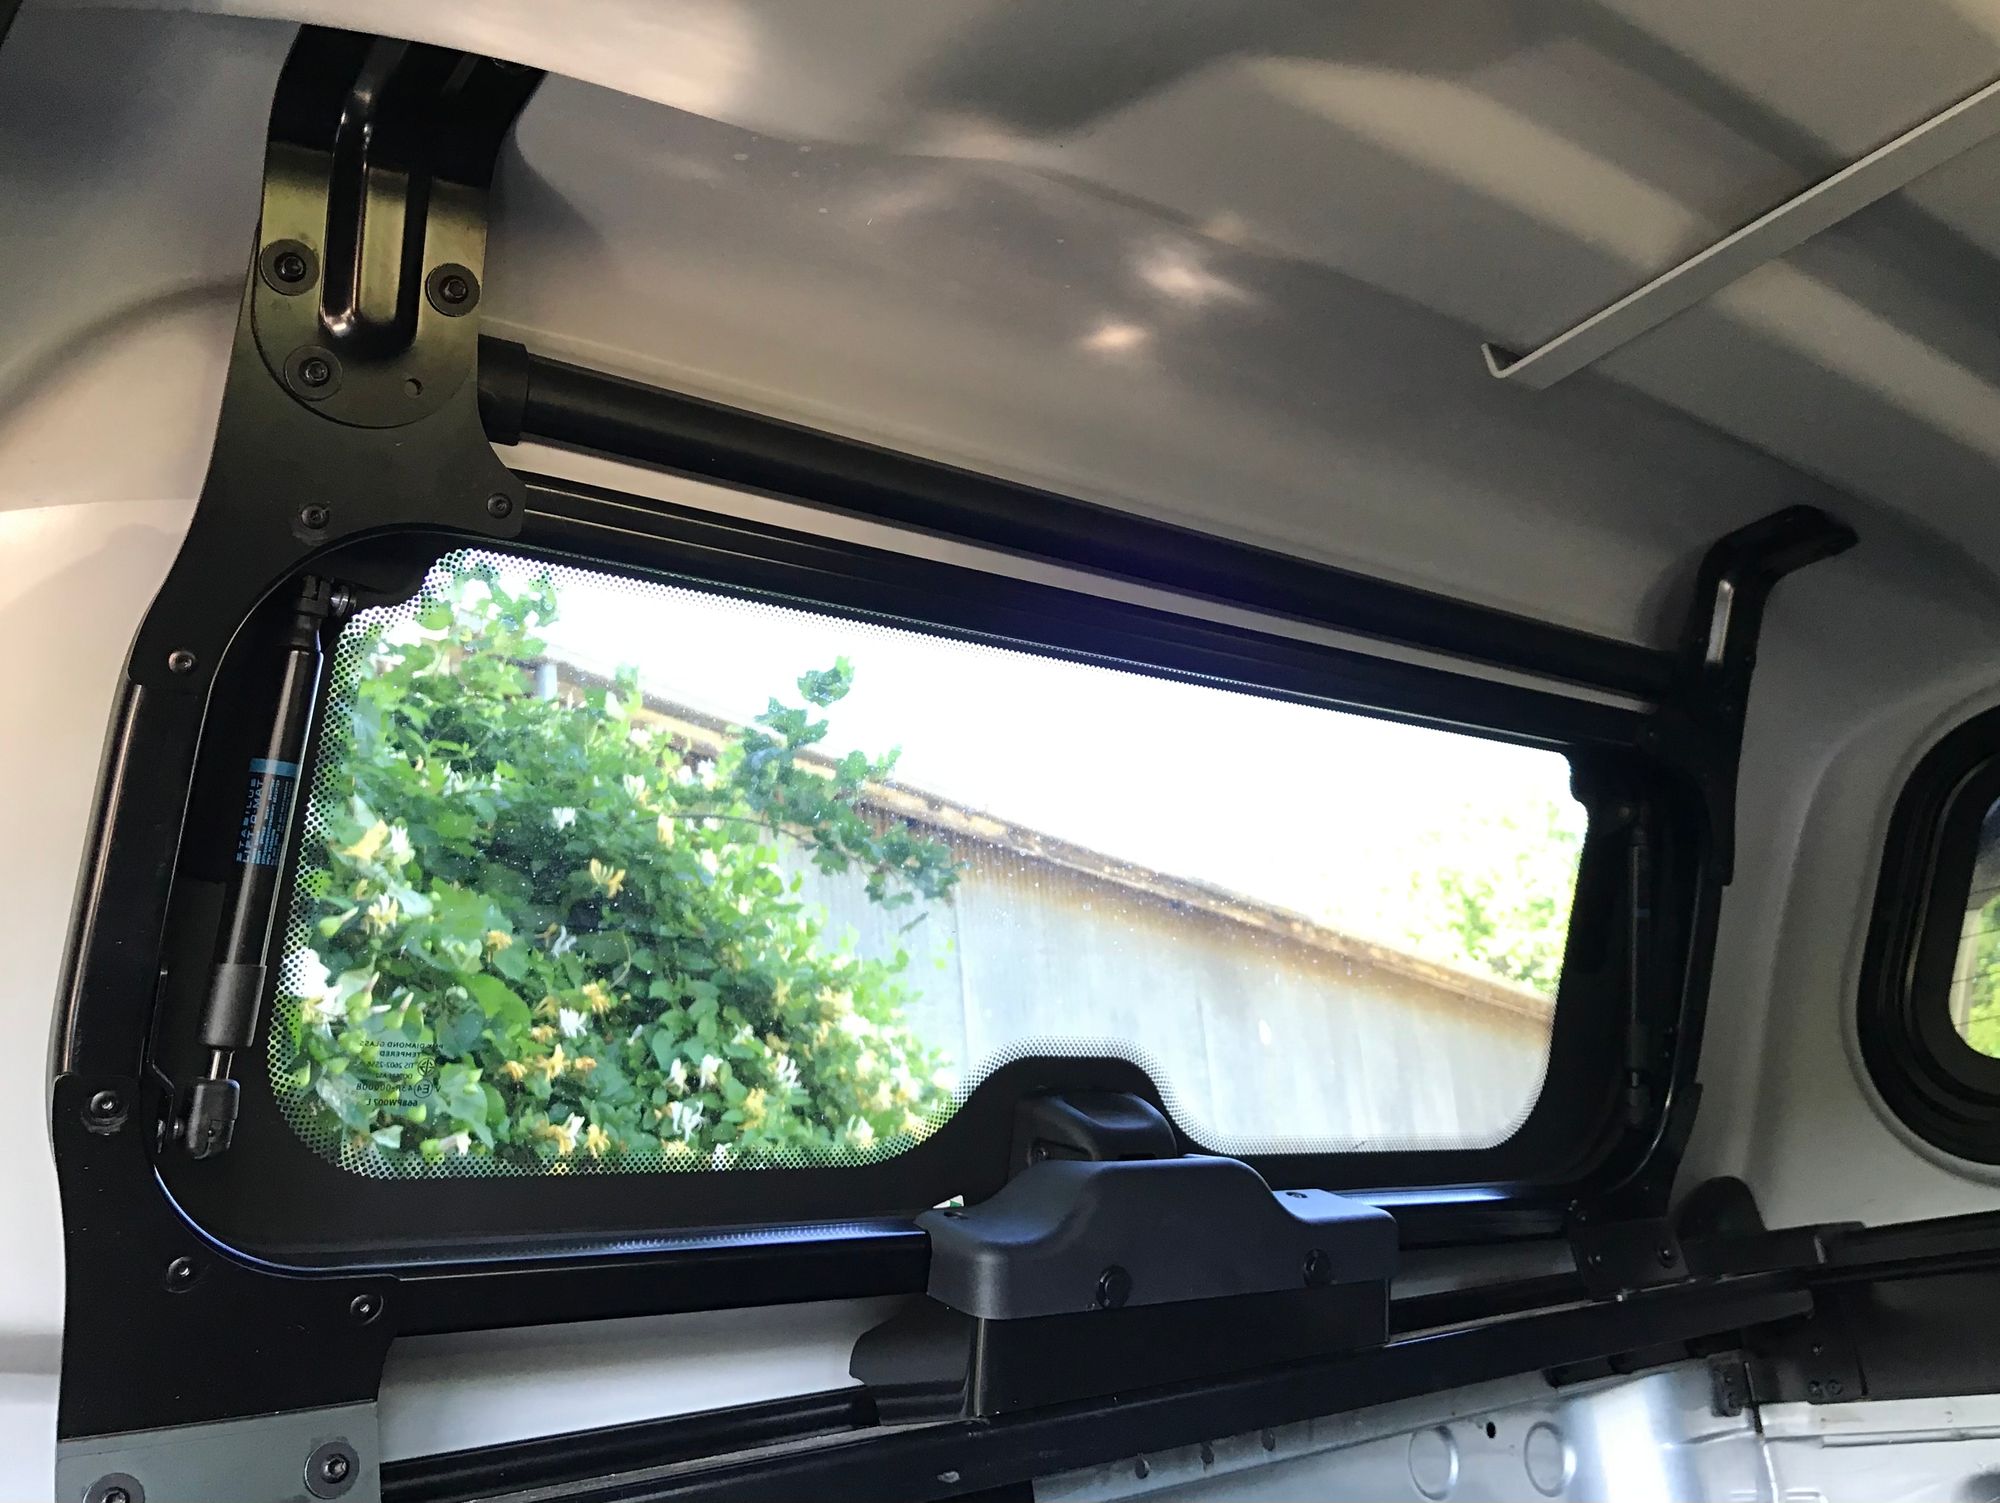
The BEST feature we absolutely LOVE is the fully integrated central locking and push button window switches. The Ascent canopy has electronic unlatching for the rear door and pop up windows. NO HANDLES! After using our canopy and knowing that we have regularly needed access to gear from all sides, we can't imagine having to use or unlock seperate handles all the time. There is always something you need to access and push button switches and central locking makes it tooooo easy! There is also an anti-entrapment dial that allows the Ascent's rear door to be locked or unlocked from within the canopy itself.
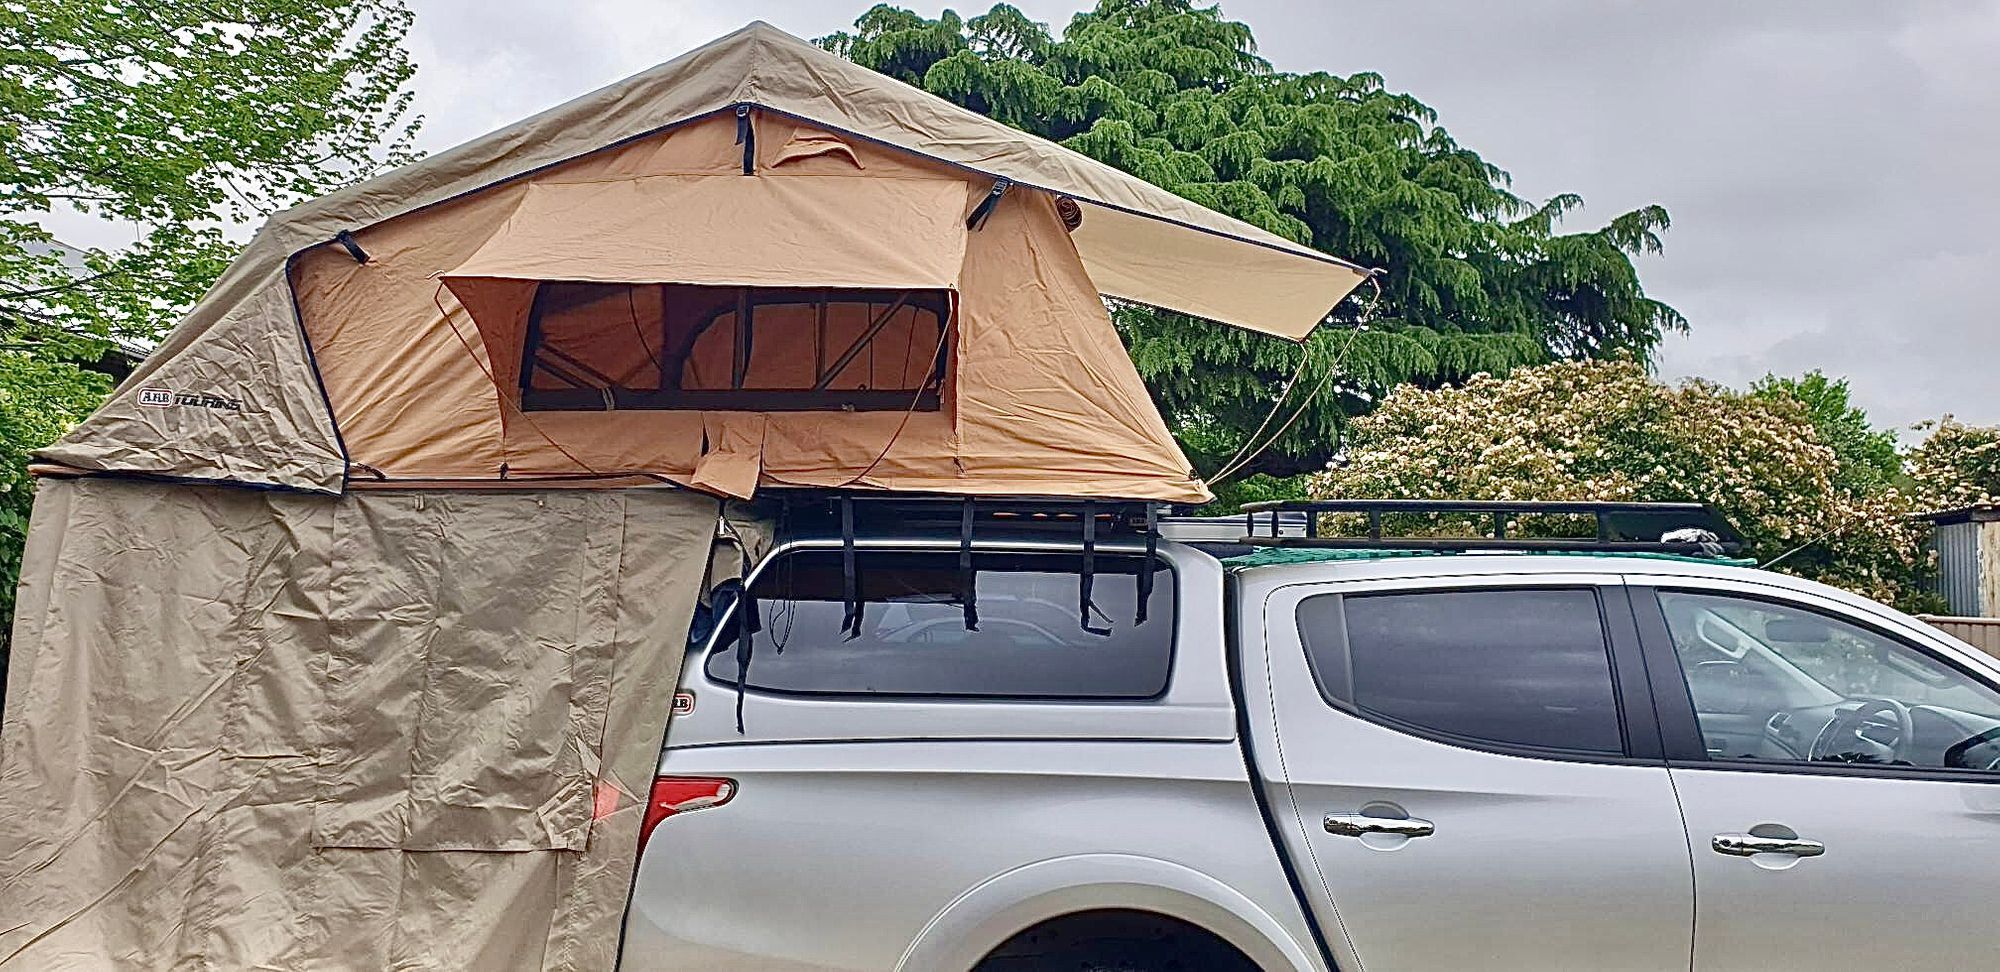
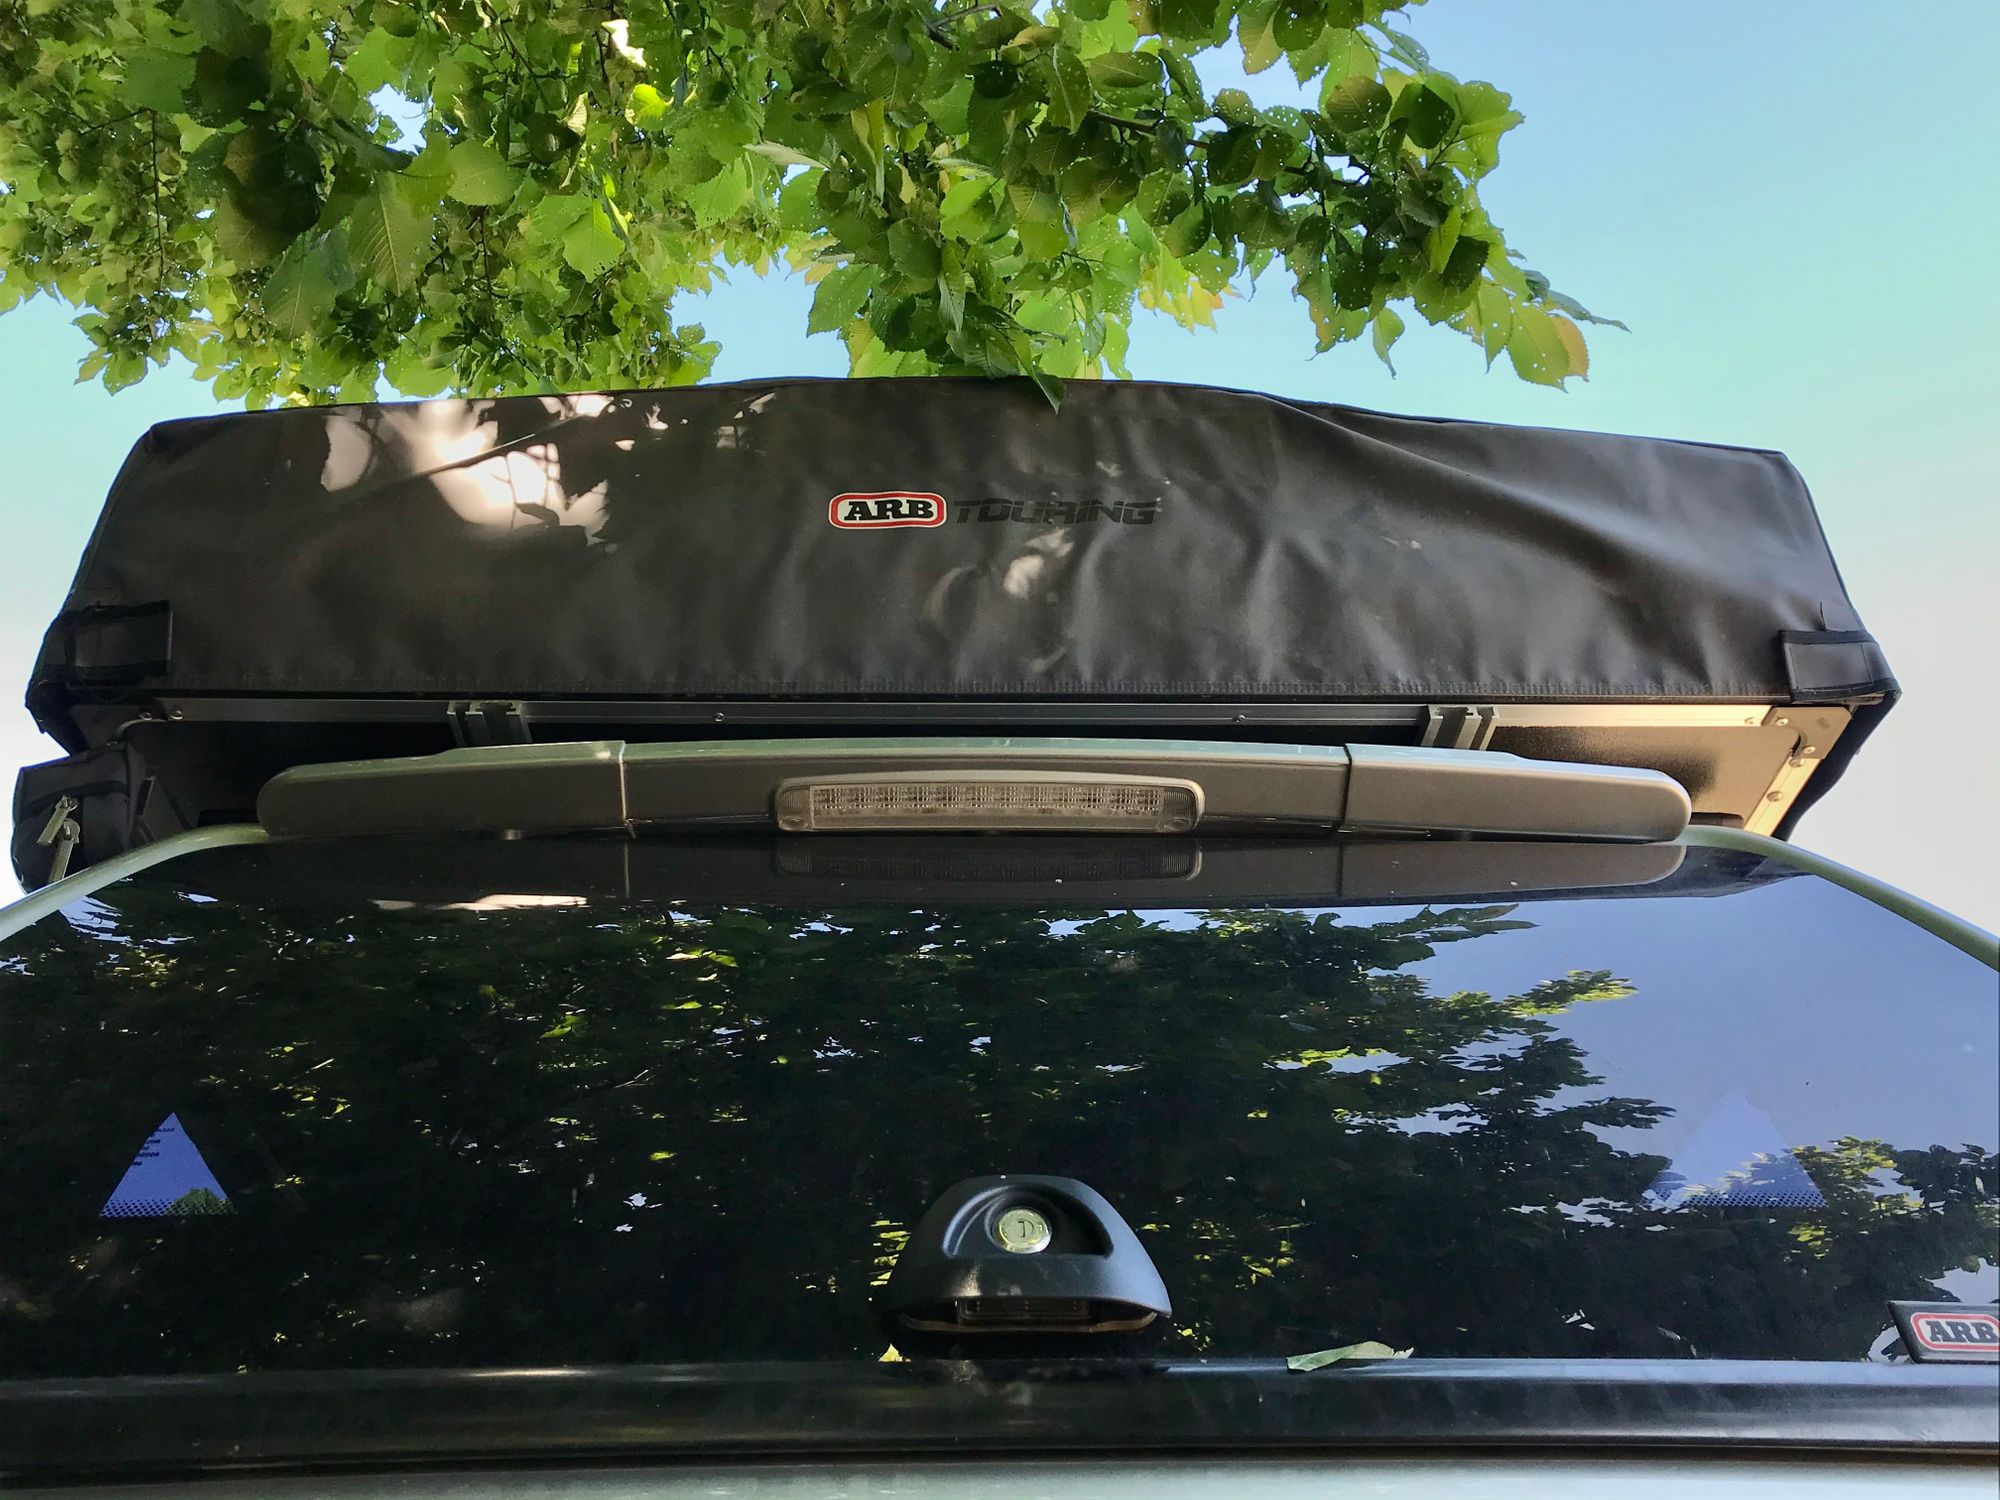
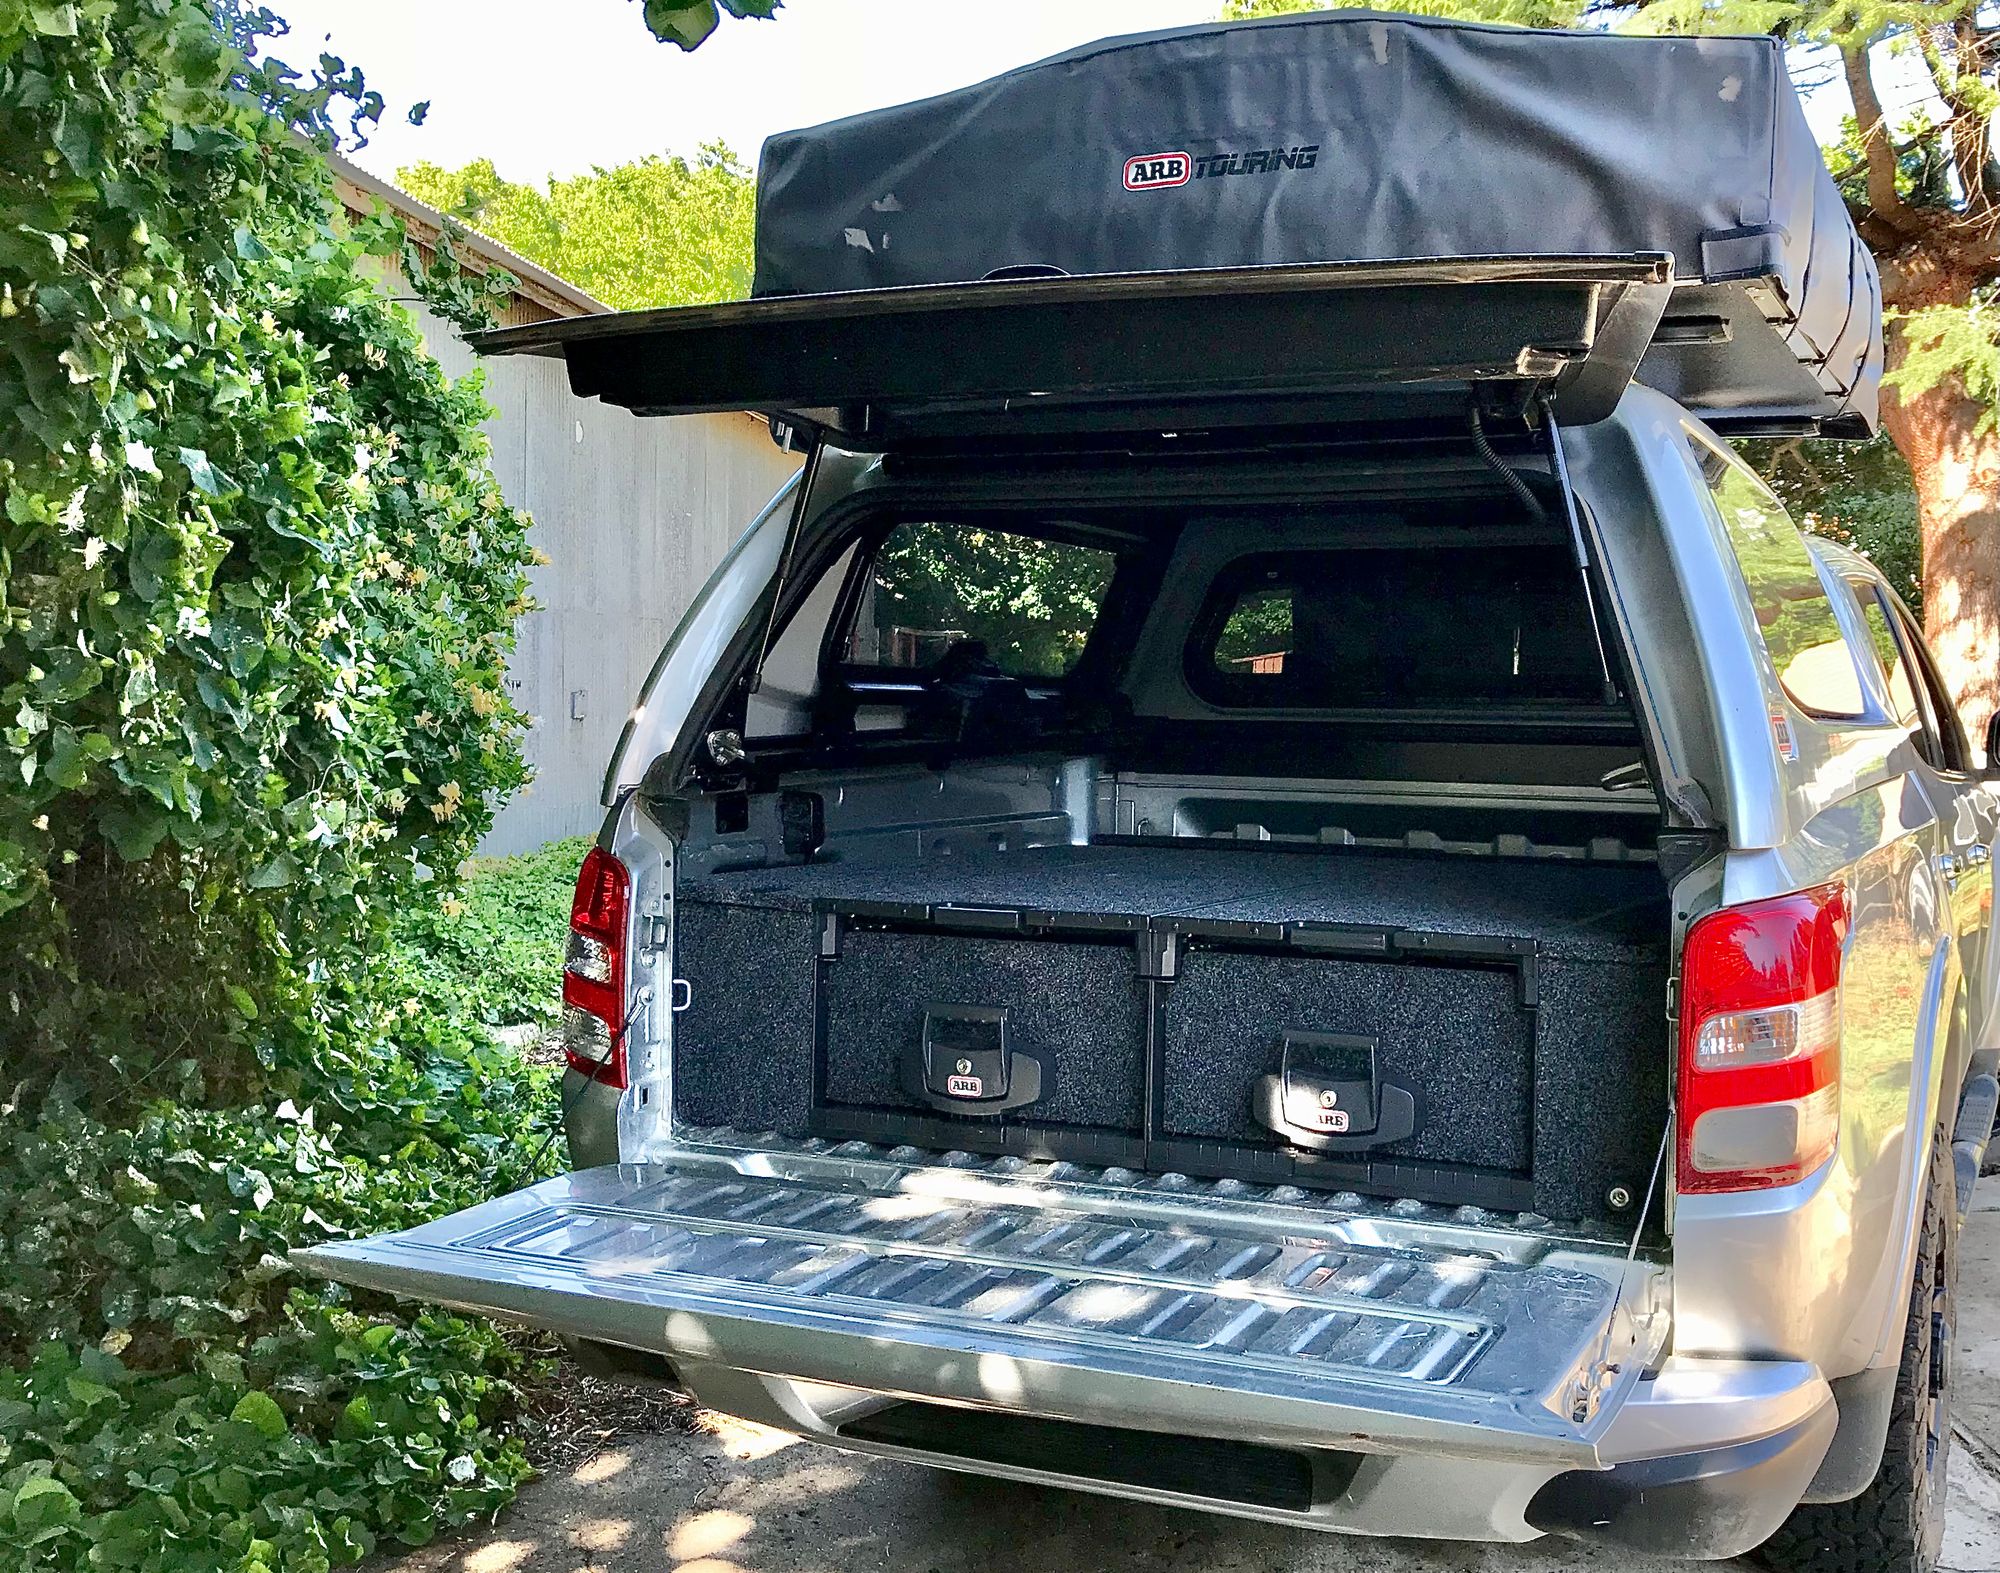
One thing we didn't realise was that conopies have different weight ratings and require supports when mounting gear on top. So that is something you will need to consider and ask a technician about. The Ascent canopy has a roof load weight limit of 100kg. Strutts have been fitted to the canopy walls to support our Roof Top Tent. Refer to picture 3.
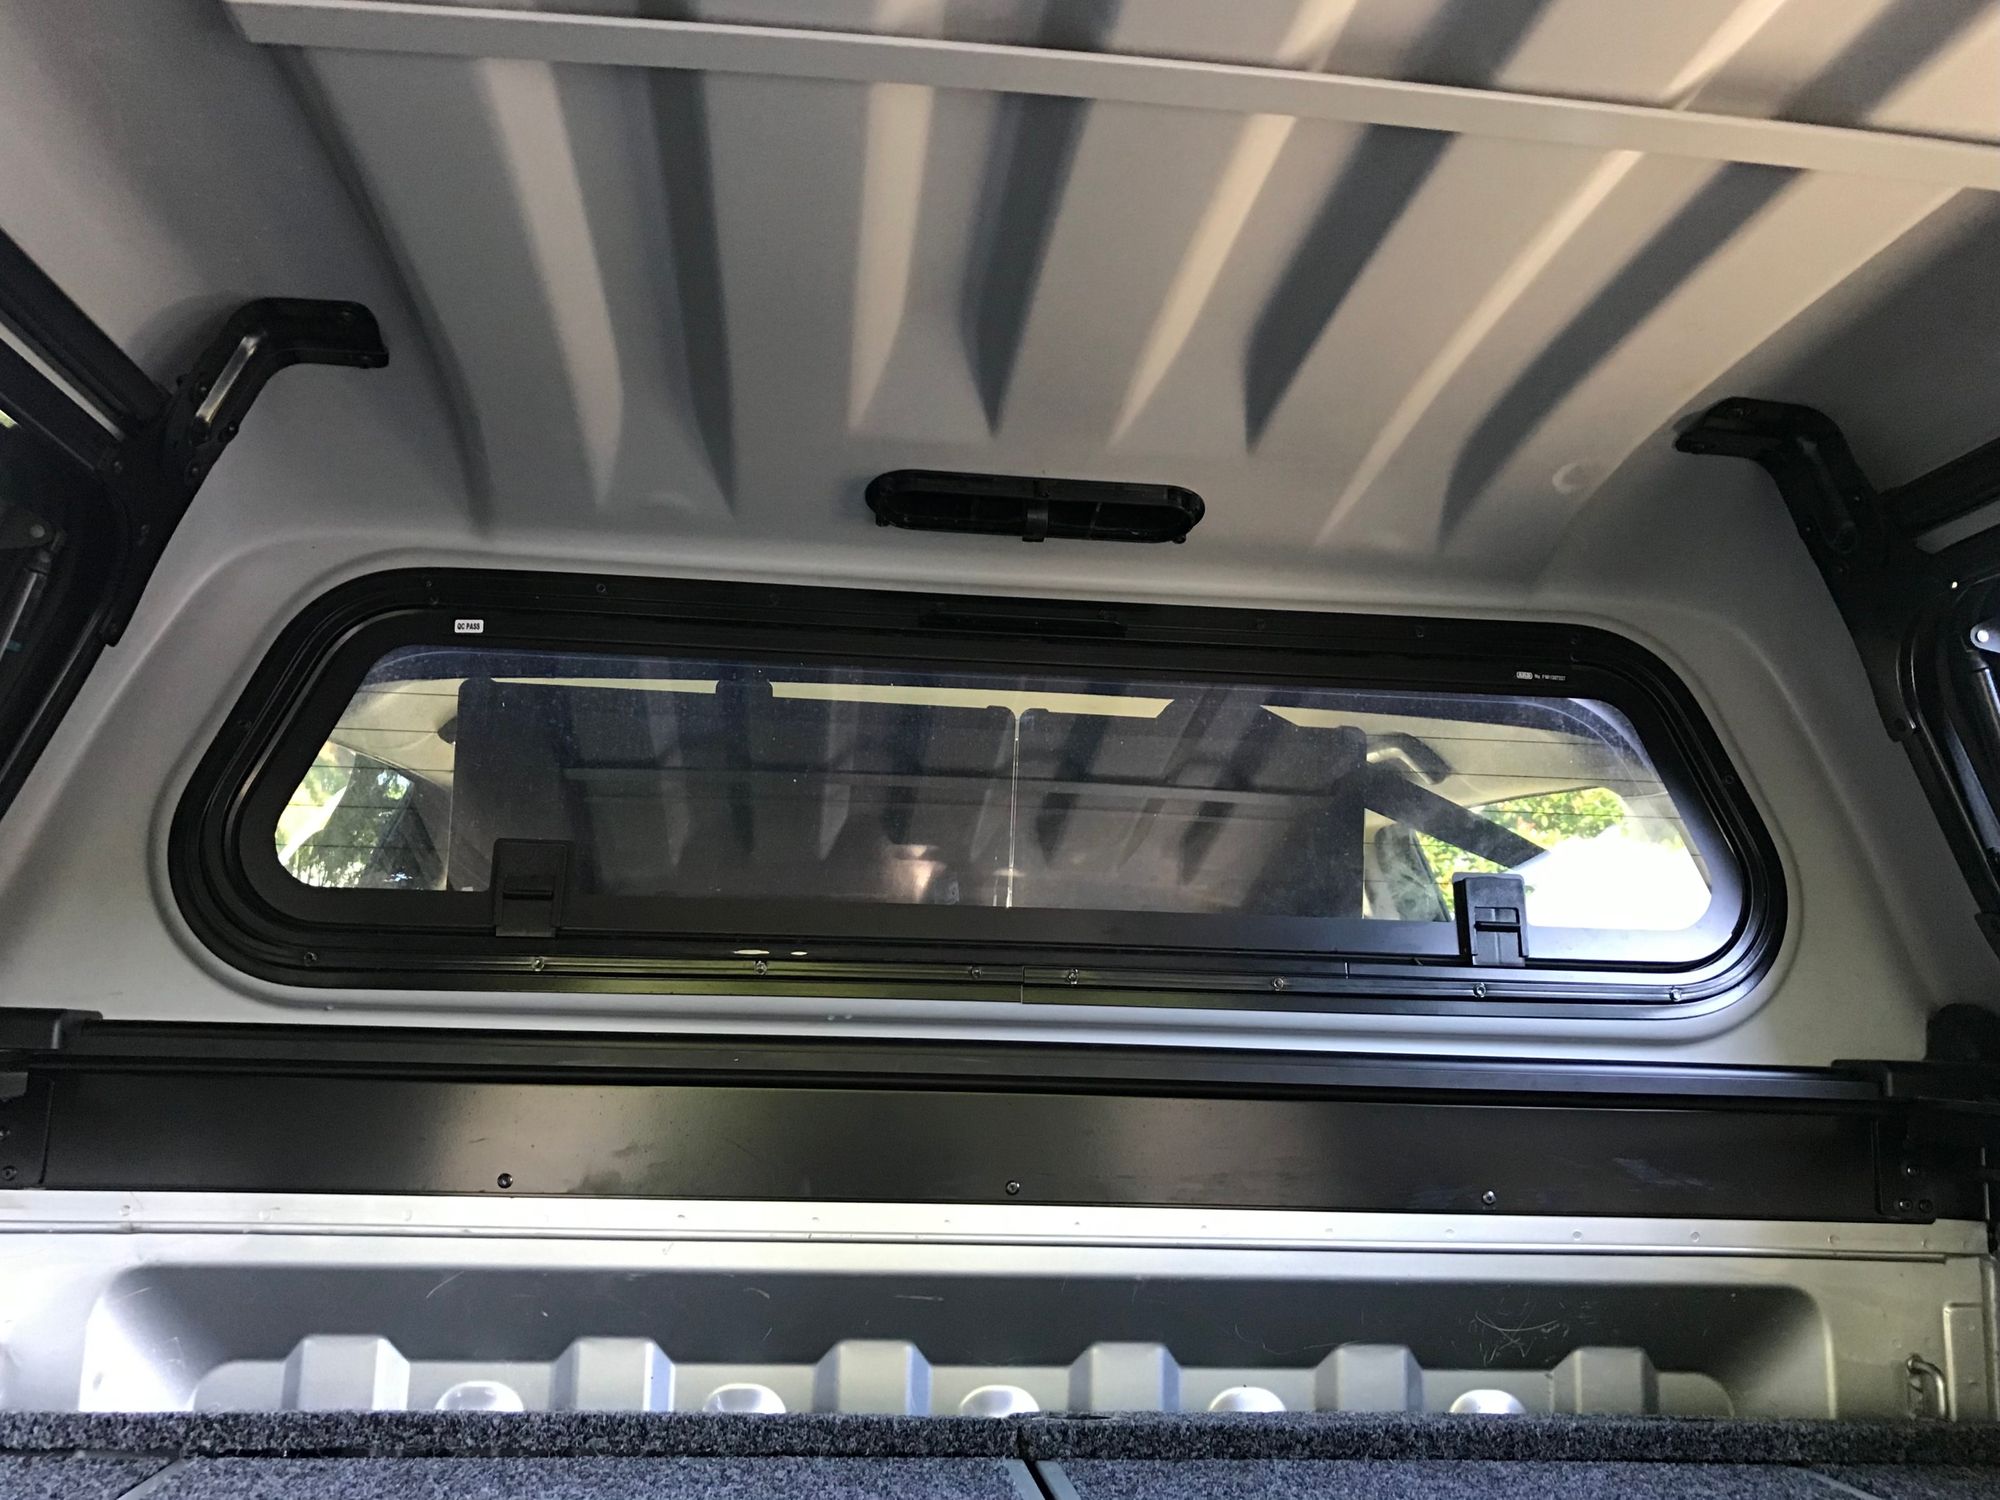
The windows are tinted which helps to both keep out the sun and restricts vision of snooping eyes passing by your vehicle.
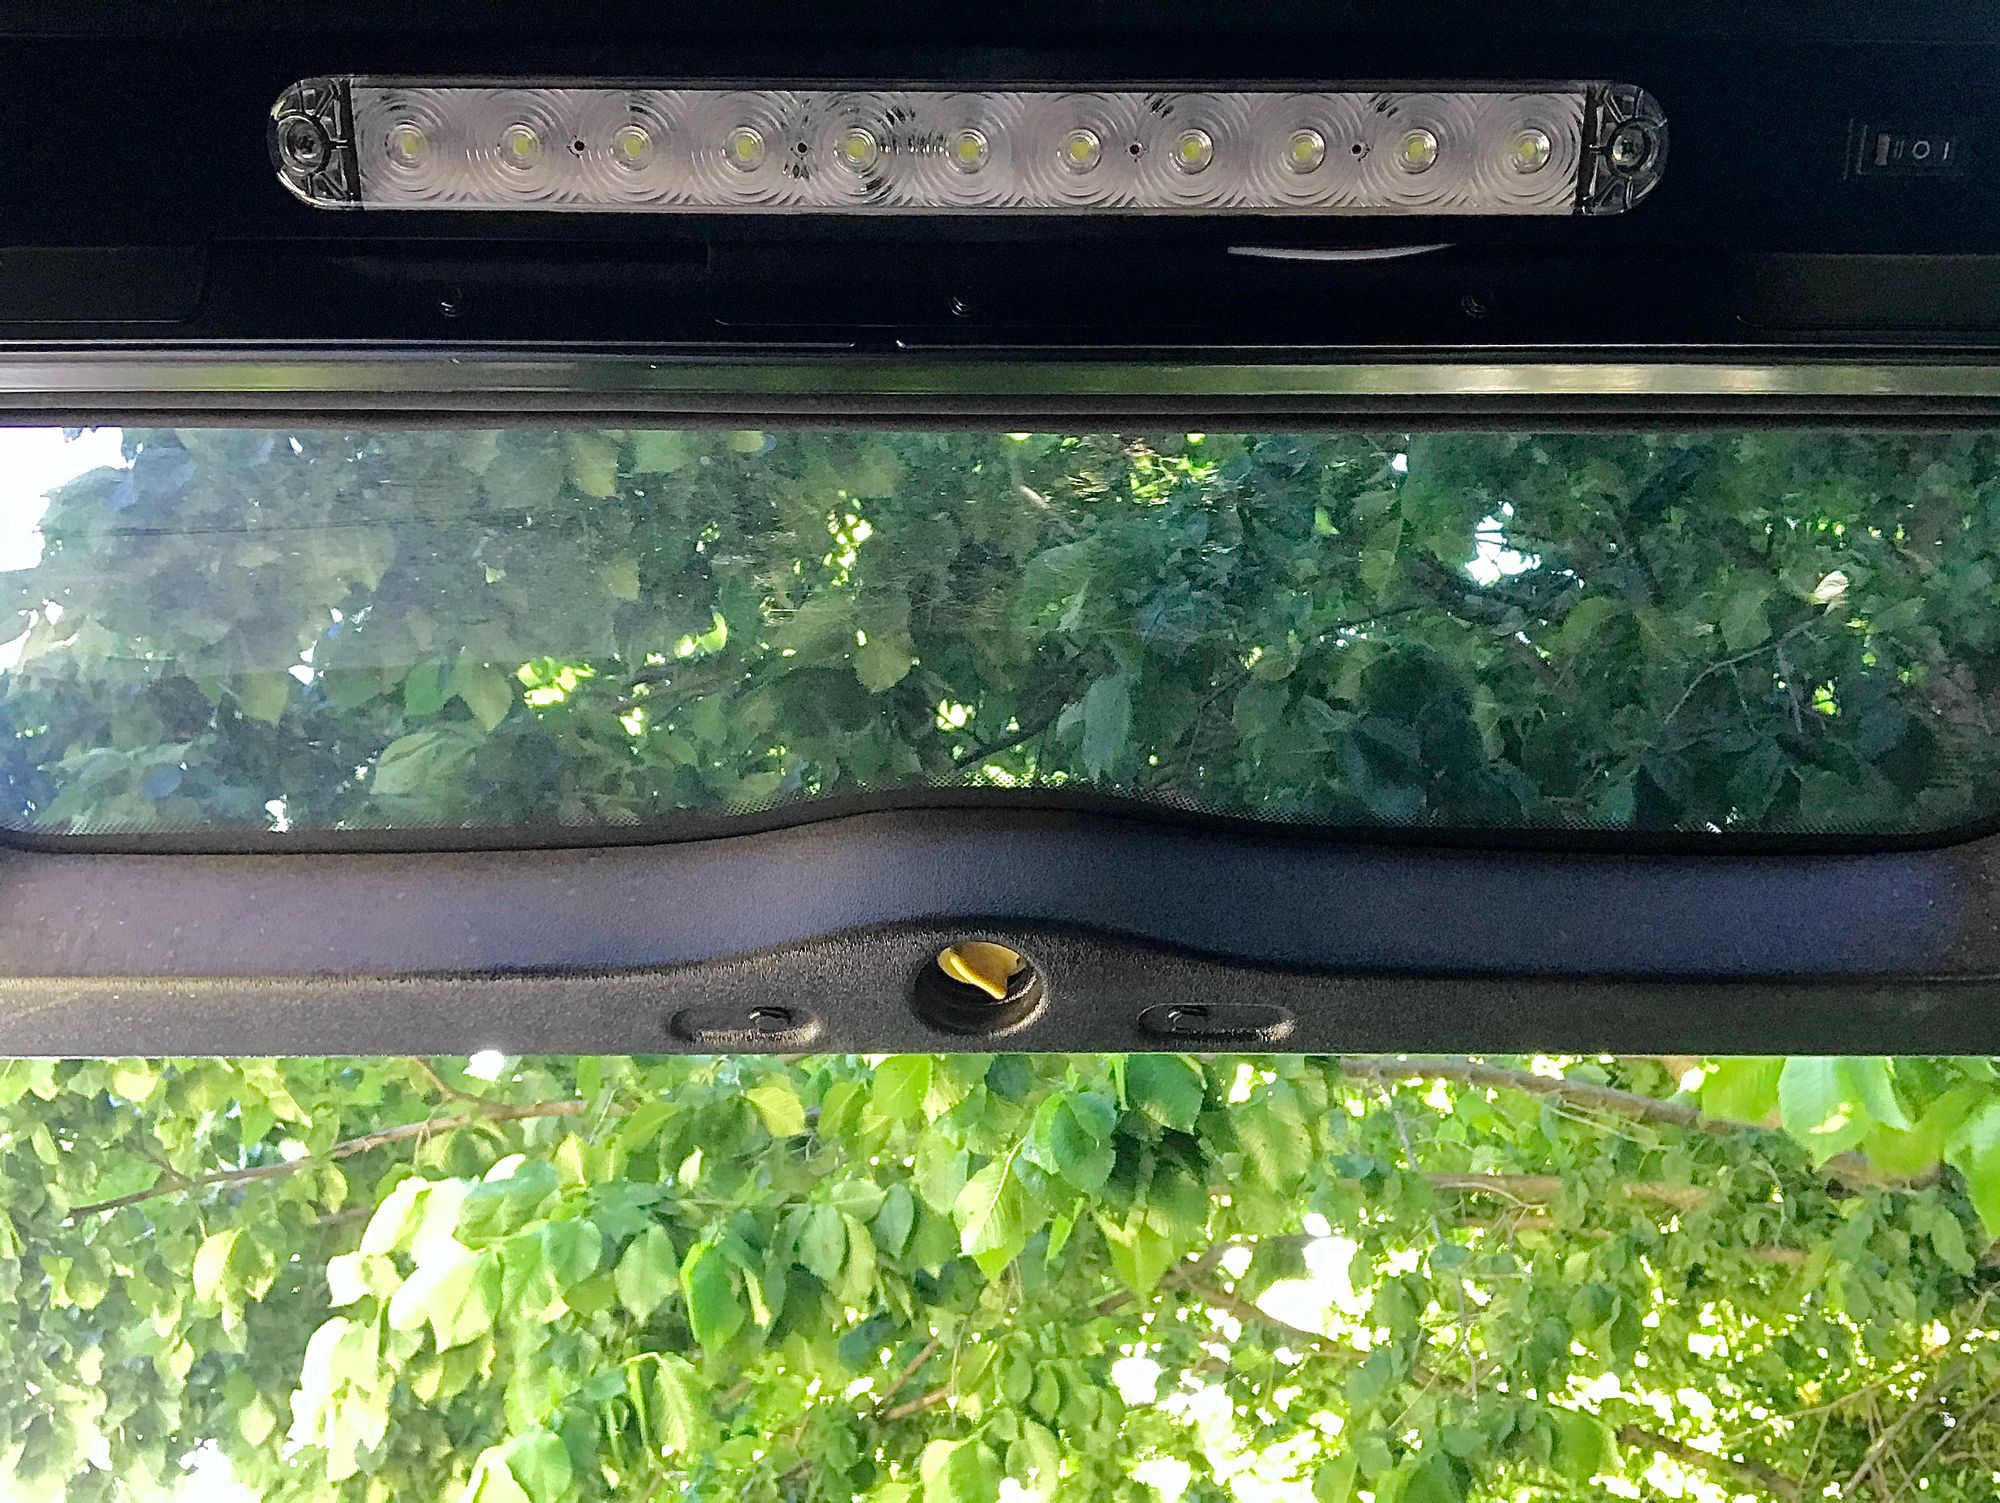
The ARB Ascent canopy also has great lighting. Refer to photos 6 & 7. Inside the canopy in picture 6 is a high output LED light bar that can be set to turn on when opening. This is a fantastic feature as we have found we don't need extra lights mounted to your roof racks or a torch as the light is really bright. Photo 7 shows the brake light ........ mounted nice and high for following vehicles to see.
The Ascent caonpy also features a vacuum seal vent and thermoplastic seals to reduce the potential for water and dust getting in.

Our Roof Top Tent and side shade awning
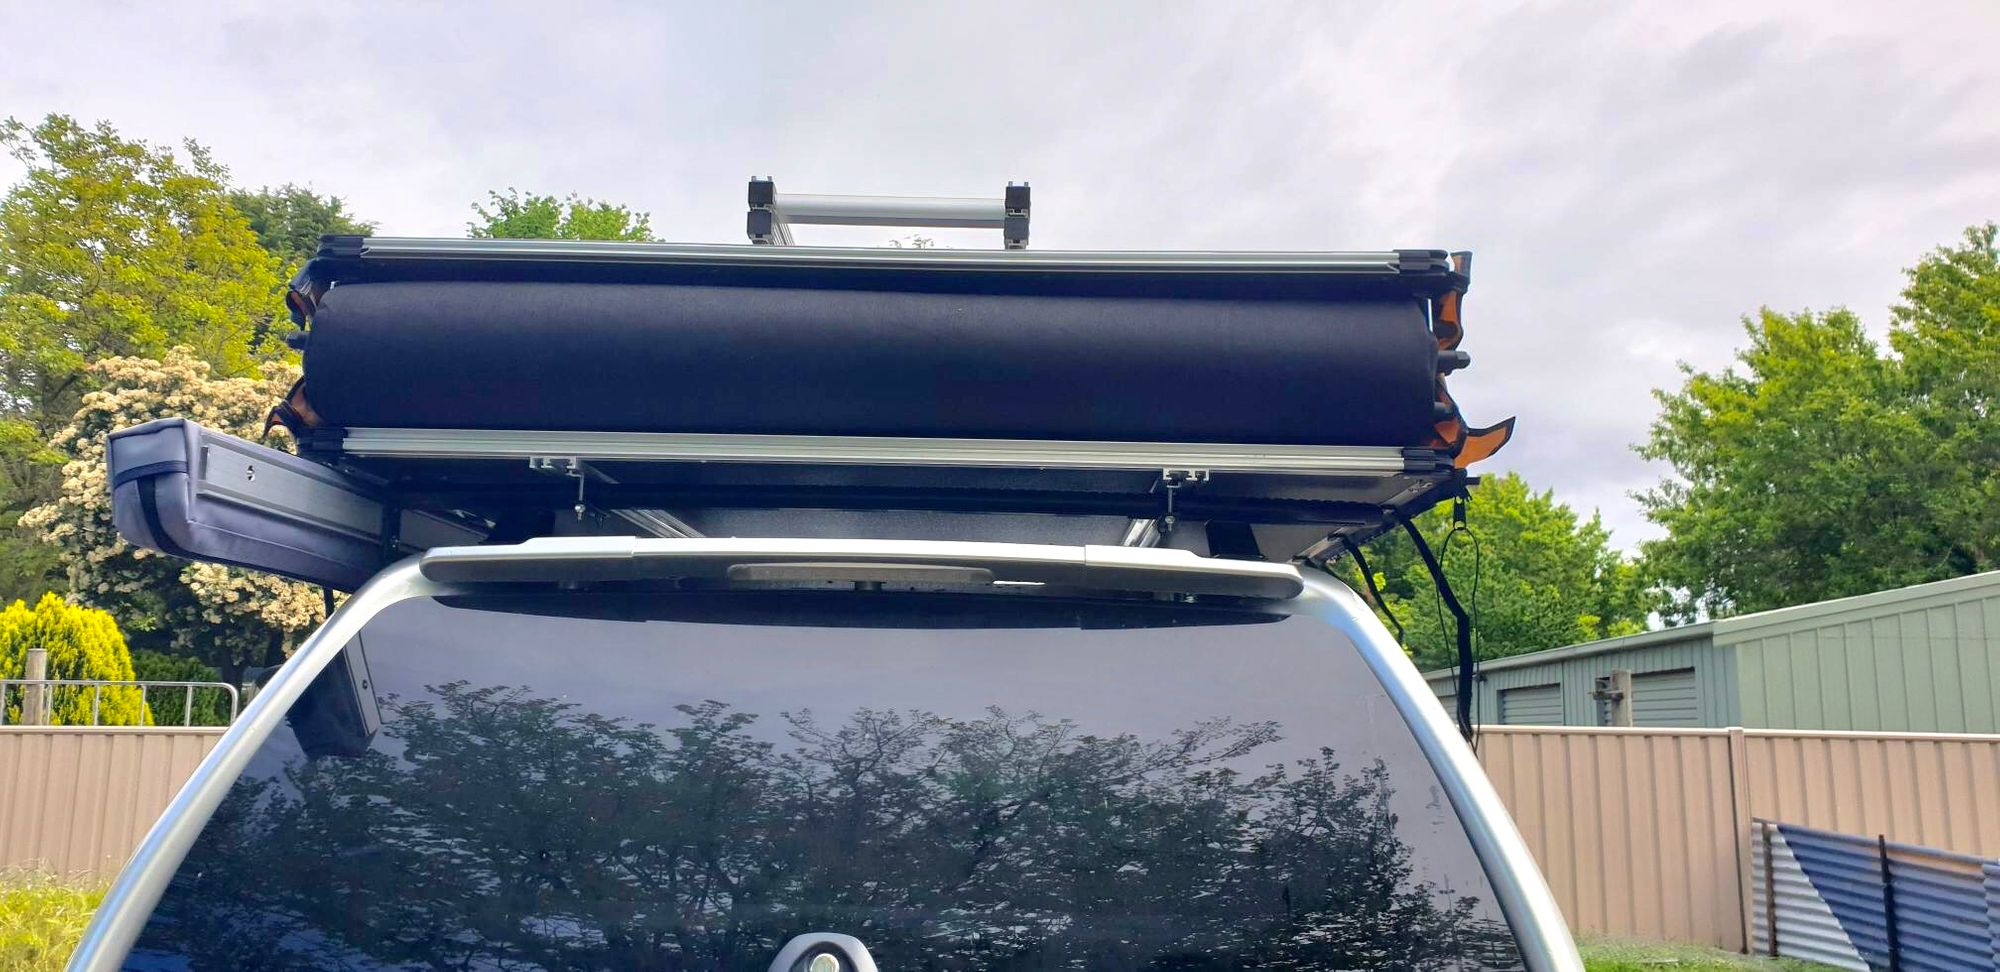
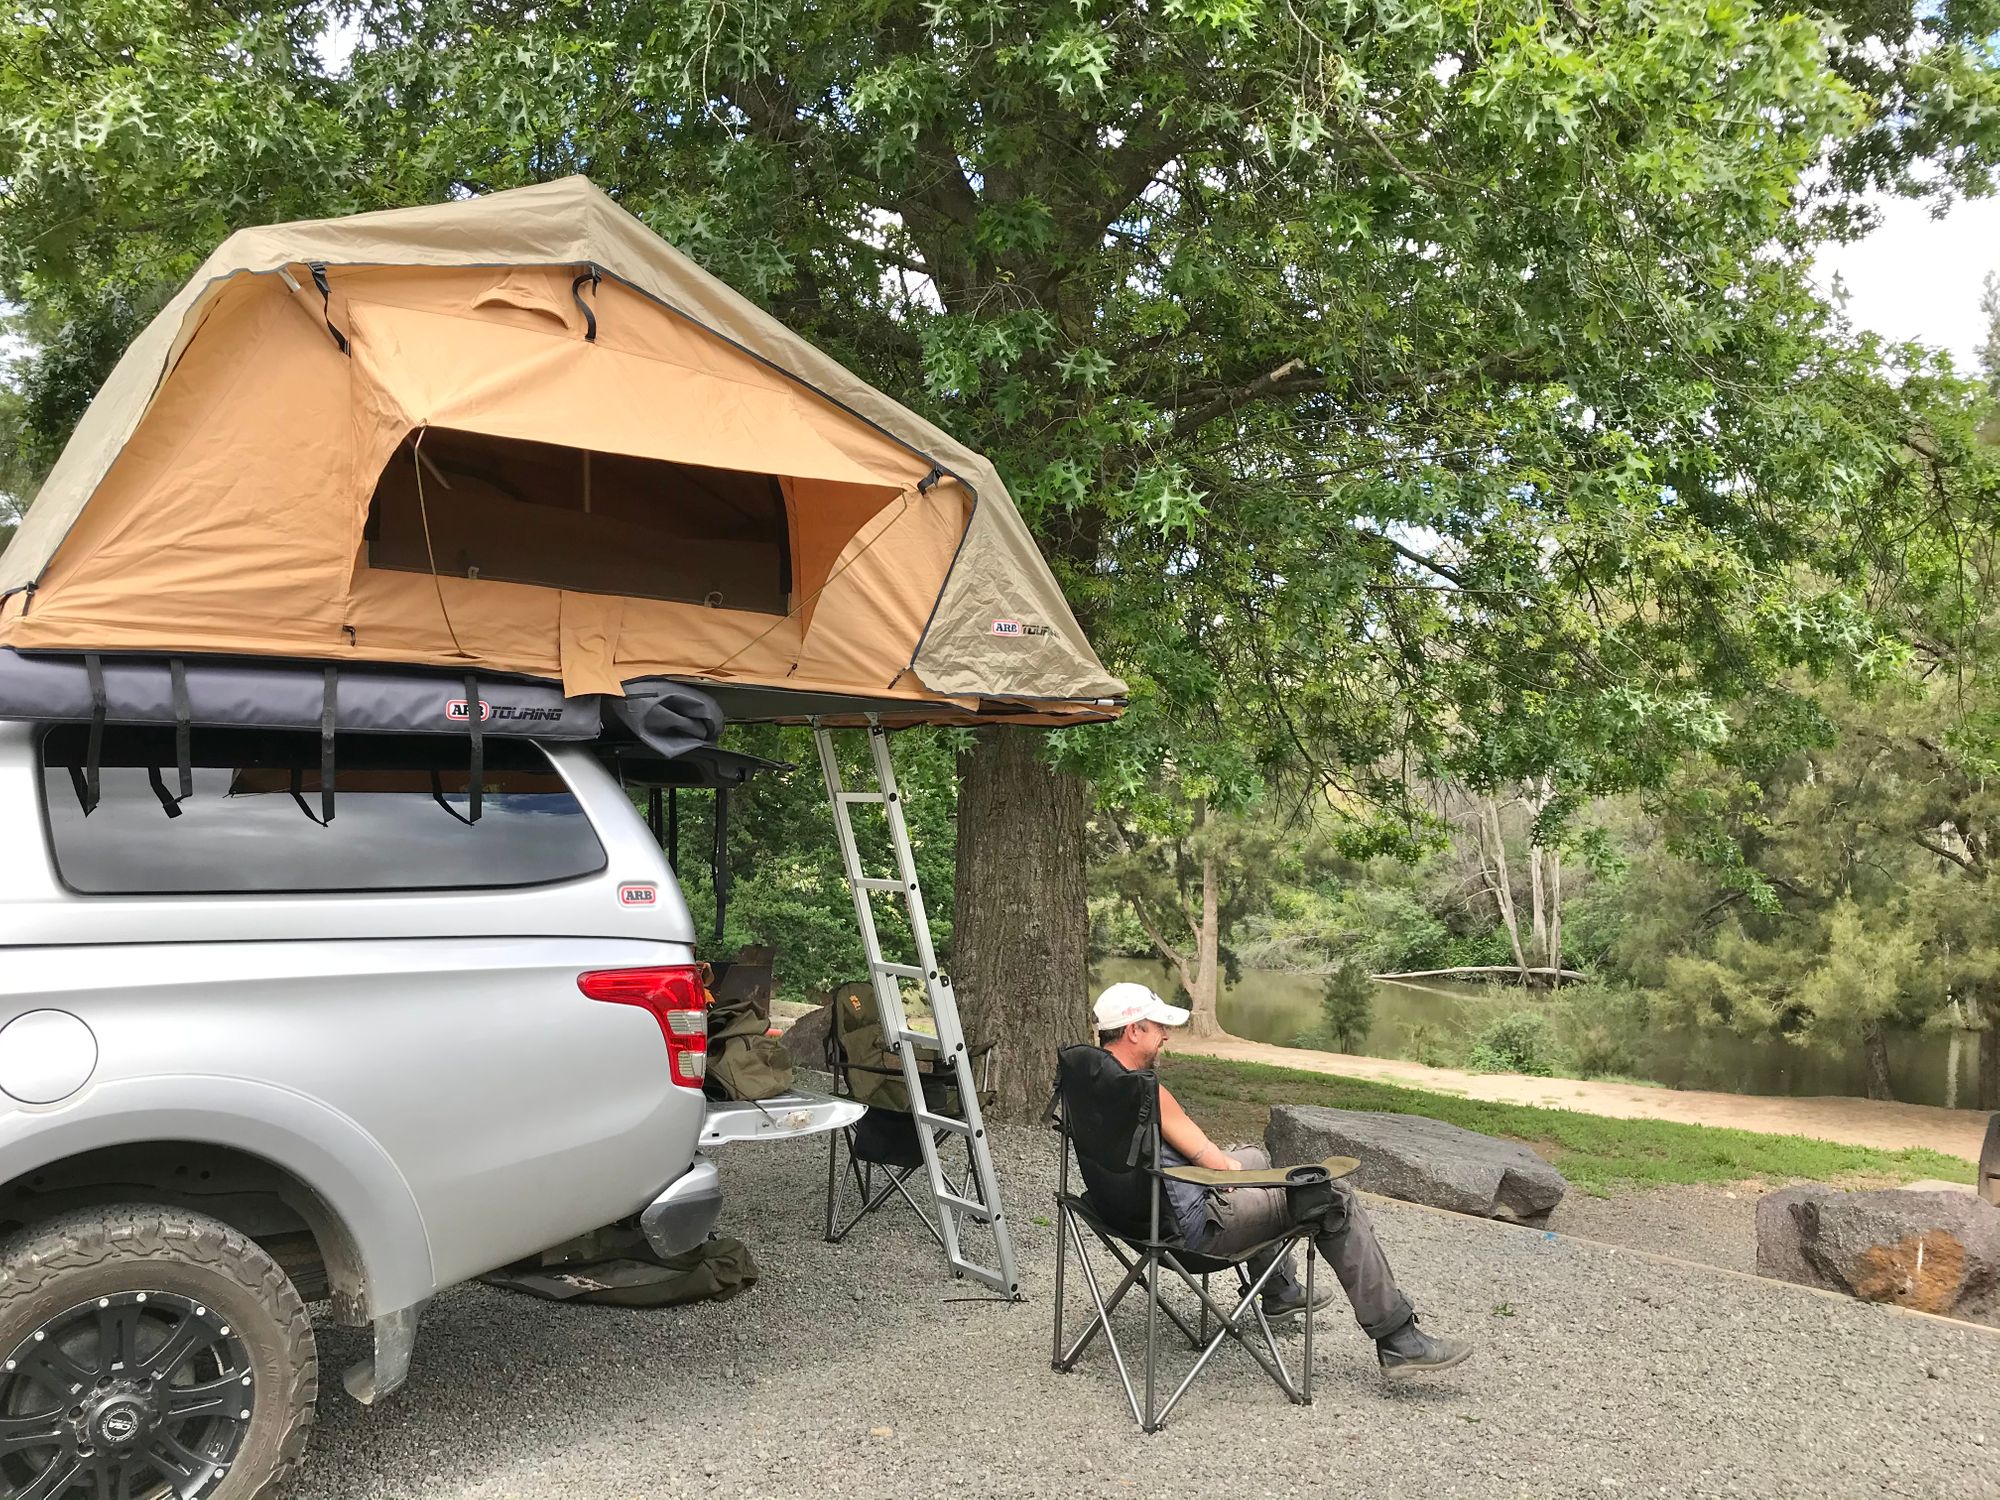
We chose the ARB Simpson III Roof Top Tent. It is such an easy setup. It only takes a few minutes and its done!
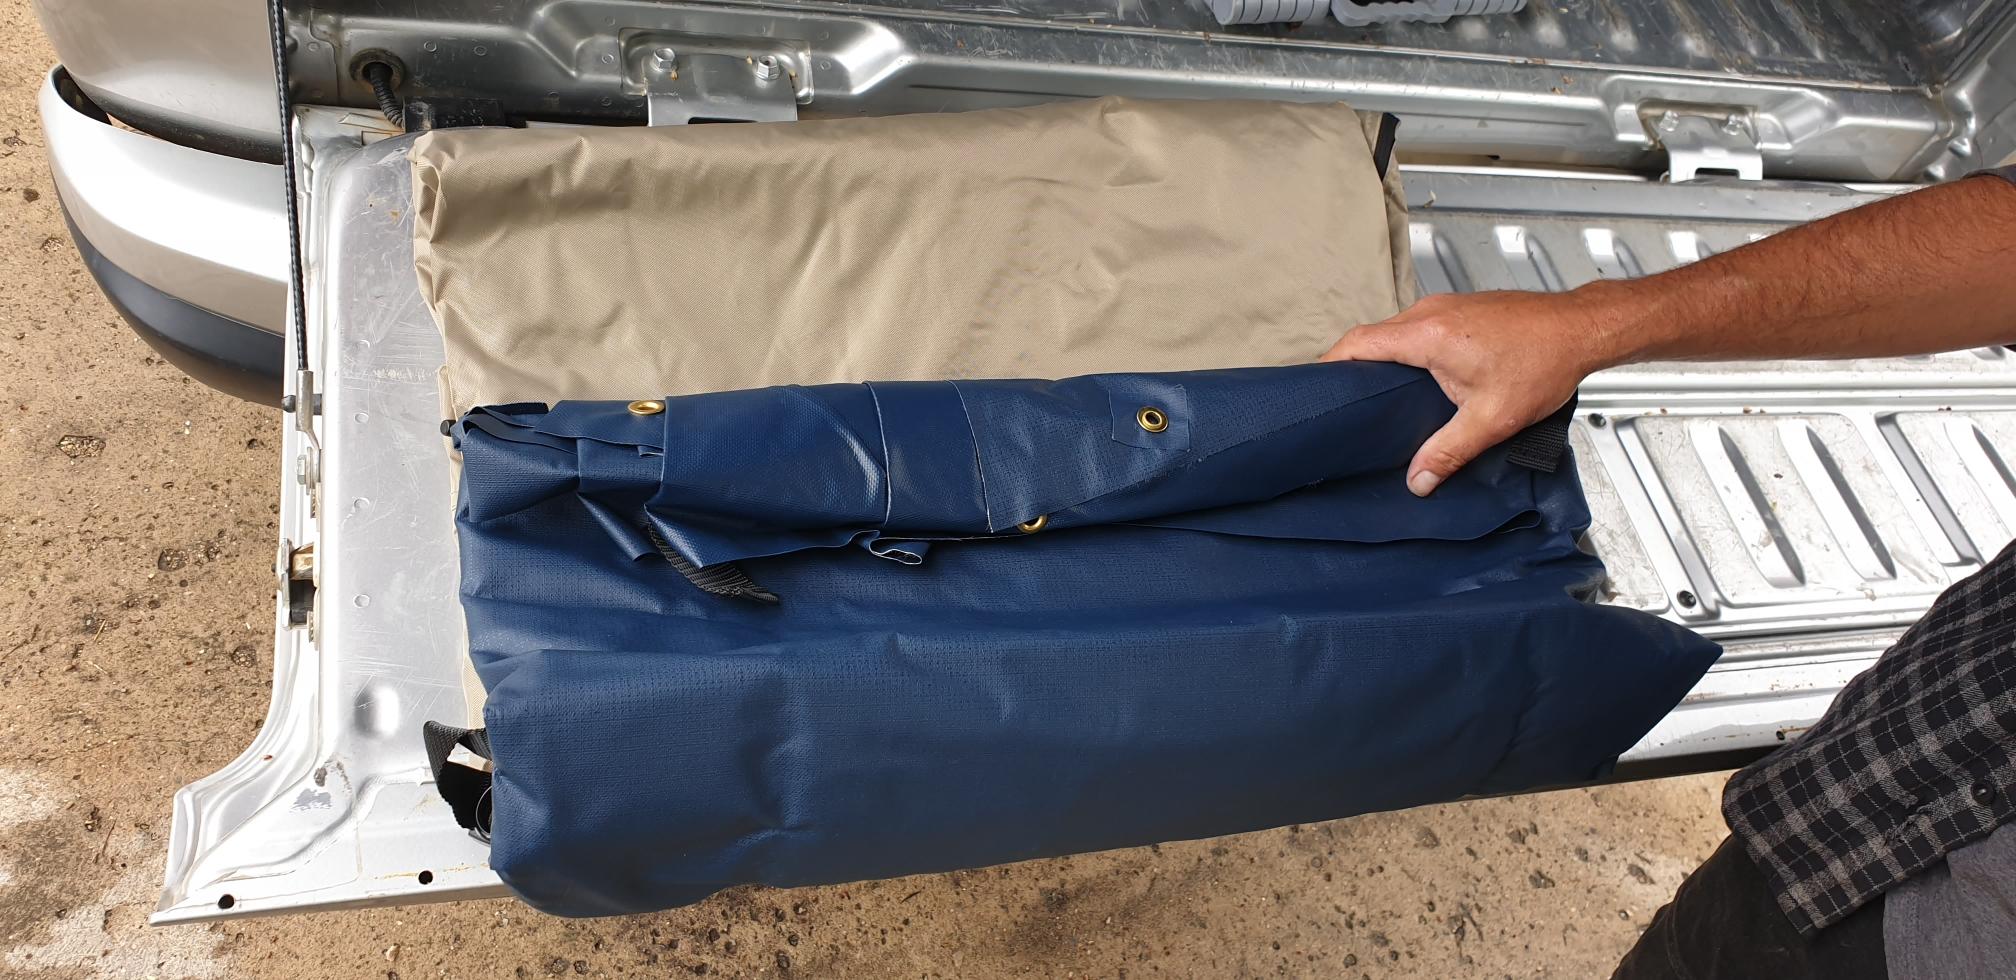
The BEST thing we love is that we can leave all our bedding in the tent and just fold it up. When we pull up to camp we can simply undo the UV stabilised, laminated PVC cover, unfold the tent and voila! Our bed is ready. After travelling with a conventional tent this not only saves alot of time, it save a huge amount of valuable space. With pillows, sheets, blankets, mattress stored neatly away inside the tent and not stuffed into the canopy or all around the back seats.
The Simpson III comes with an annex which is really roomy and gives you a whole new room to use. Especially handy if it is raining and you are staying put at camp for a while, or provides extra sleeping area if family decides to come visit you whilst travelling. It is easy to setbup as well. Refer photo 4 & 7. The annex can be easily stored away for use when required.
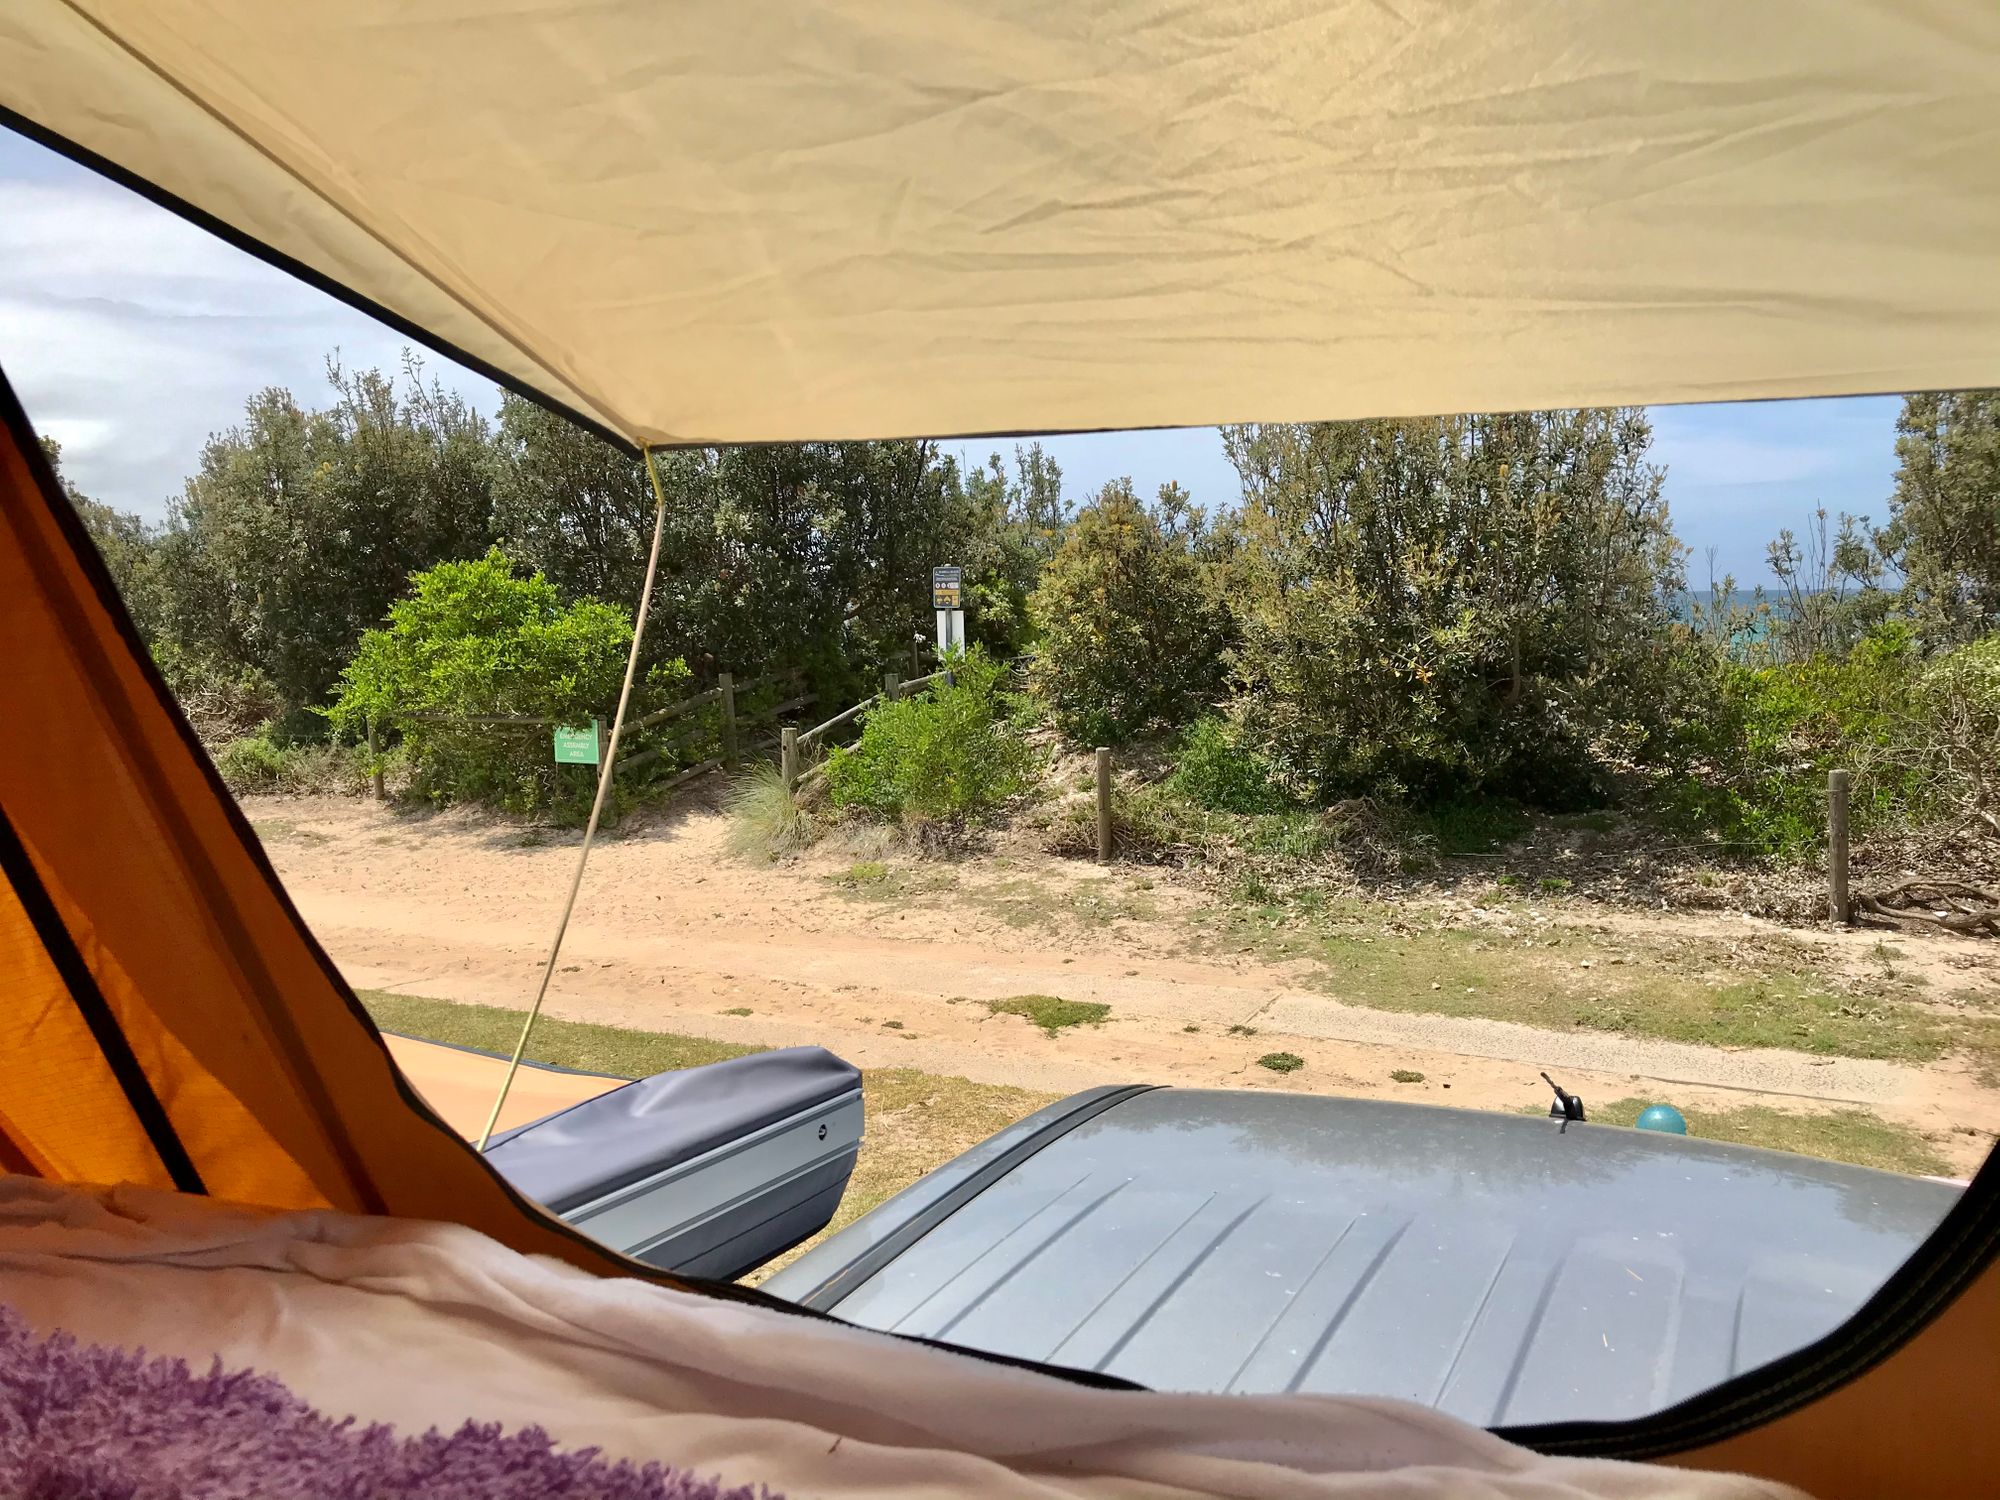
One thing we have done differently to most people we have chosen to mount our tent so that it opens to the rear over our tailgate. This is fantastic for shading the rear of the vehicle when accessing gear. It is even better when it is raining as we can access our drawers and gear without getting wet. There is plenty of room for the tailgate and rear pop up door to be open without restricting access to the ladder. The draws can also be exteneded to there full lenght as well.
The tent also has handy little pockets along the wall on each side, Great for keys, phones, glasses etc. There are two large shoe pockets to store shoes as you access the tent. Refer photo 6.
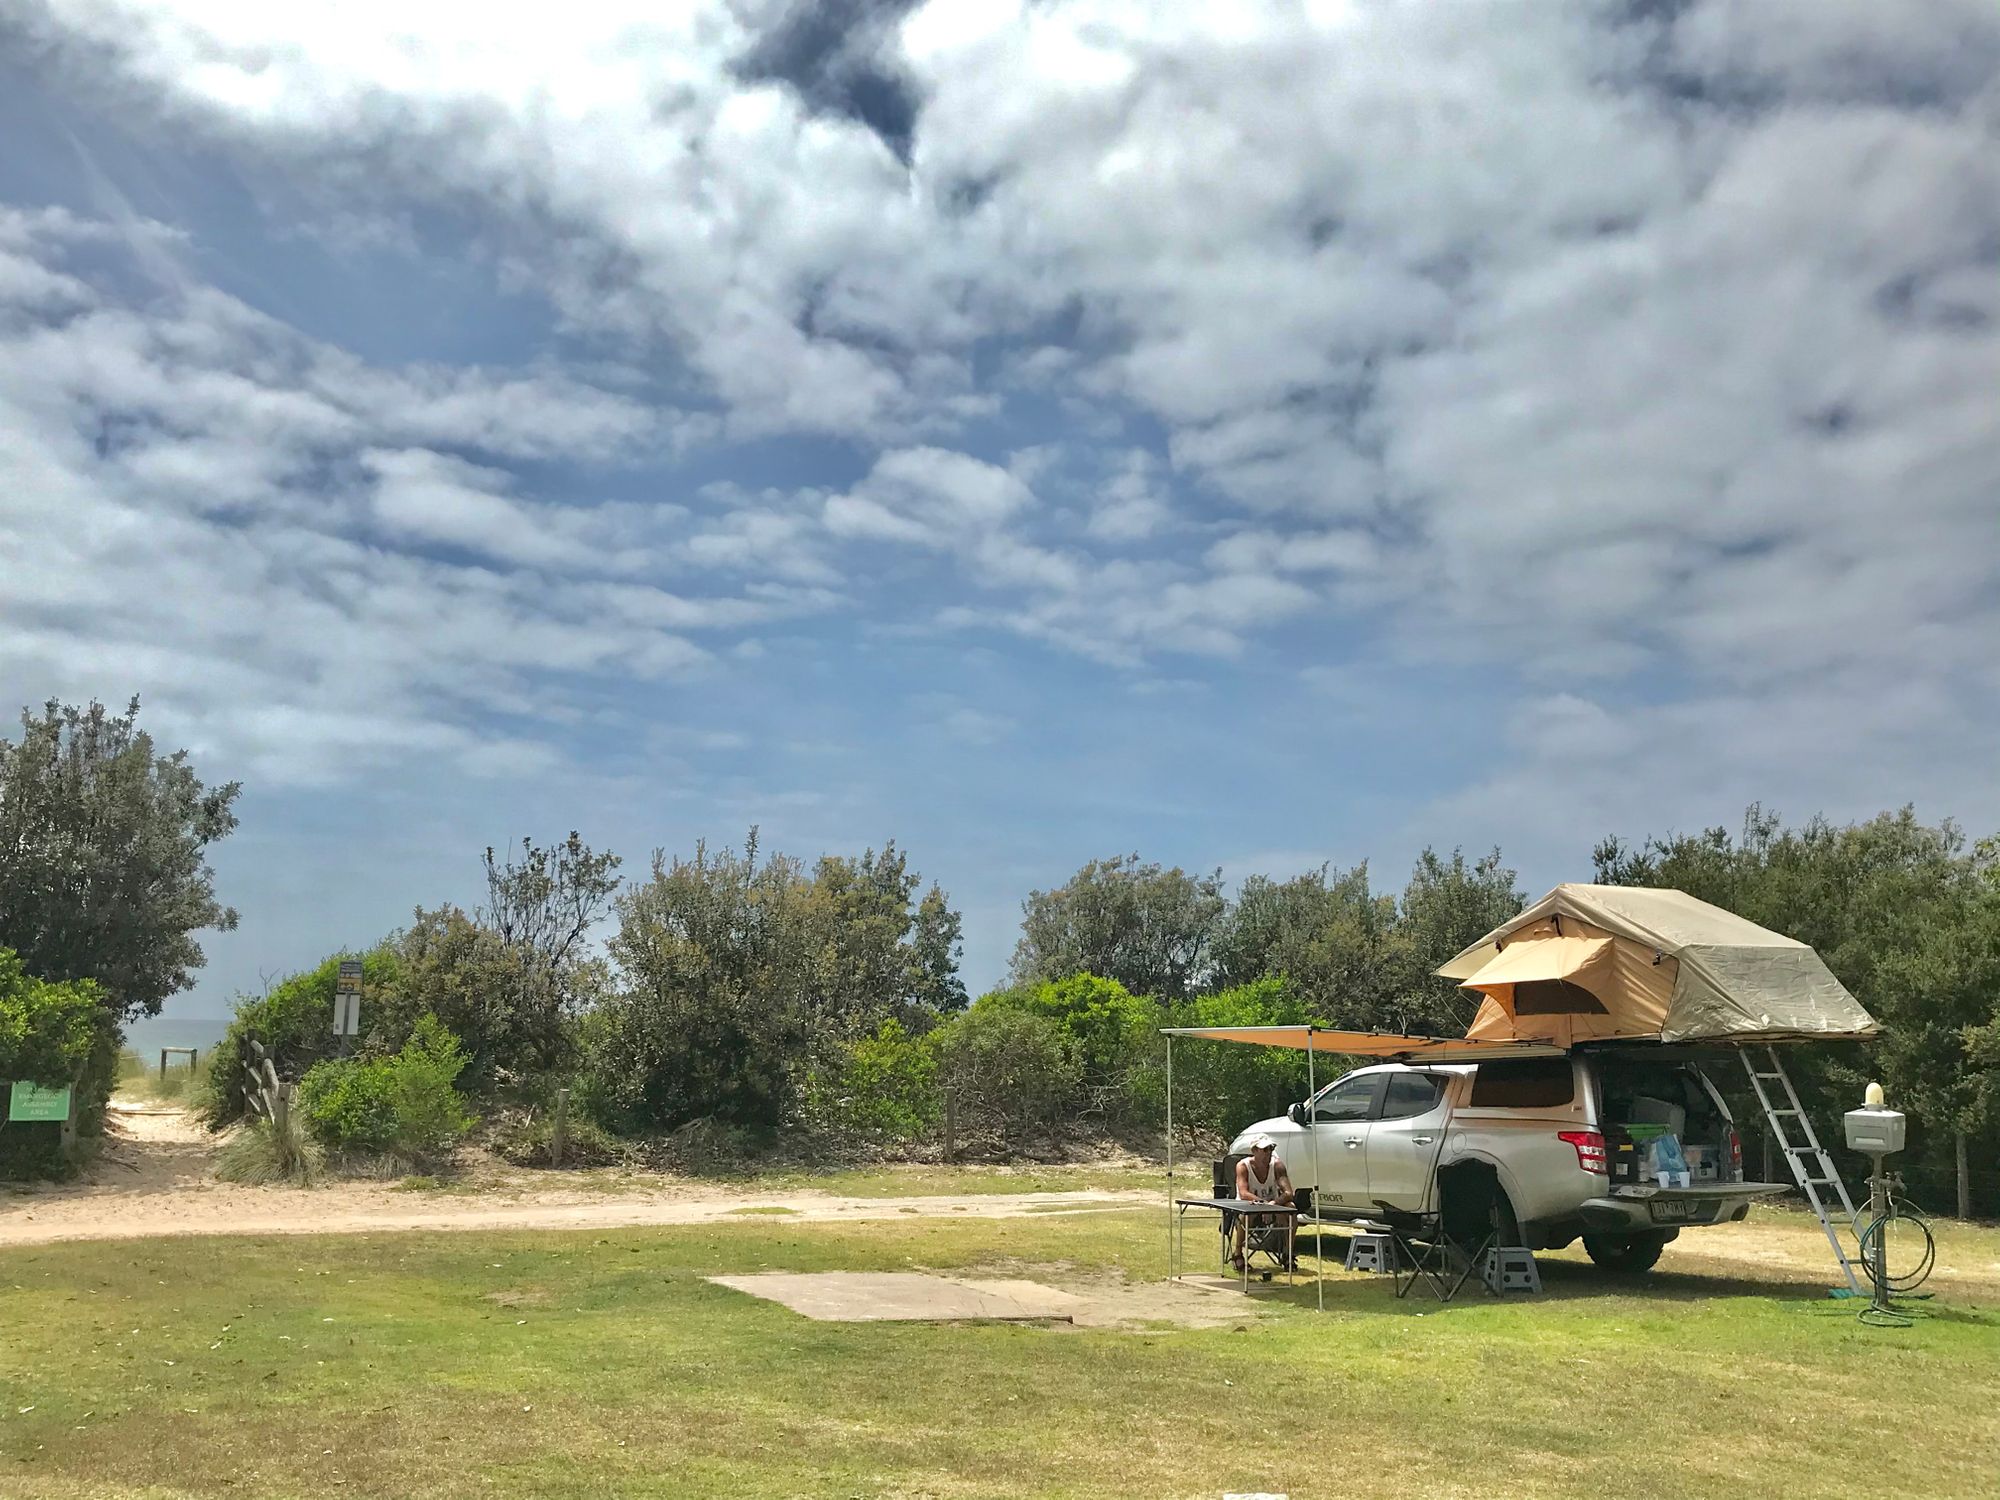
There is plenty of air flow with awning windows on 3 sides and entry on the 4th. Being up high above the ground, the tent allows beautiful sea breezes to flow through. We experienced this recently at Pambula on the South Coast. Down at ground level the air was still and warm yet up high in the tent the air was lovel and cooled by the sea breeze.
Oh, and one more thing, we placed an egg shell topper over the mattress that came with our tent for extra comfort. We are now nice and comfy!


Installing the Fridge and Freezer combo
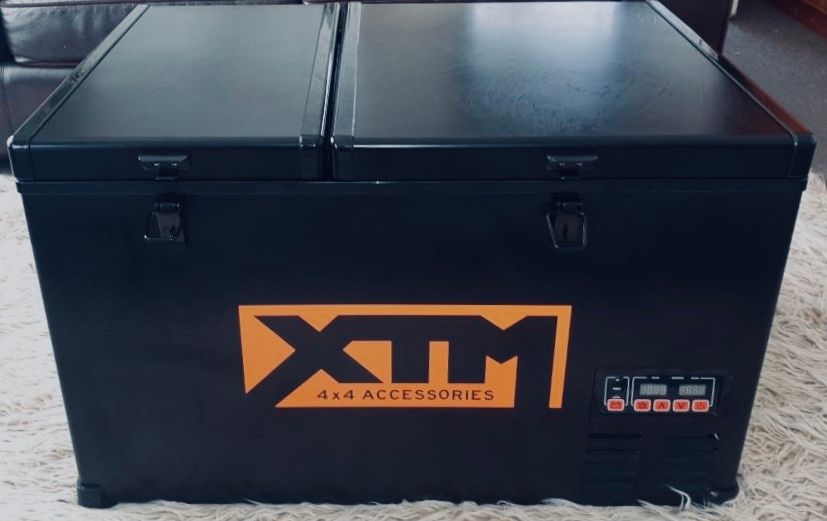
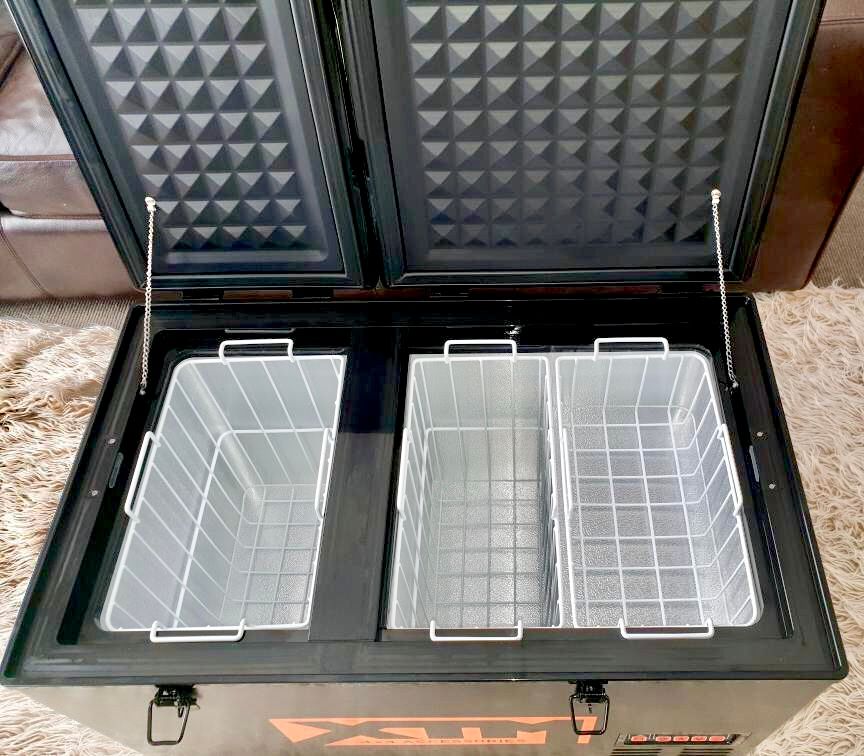
We had NO IDEA which portable fridge to choose. What we DID KNOW was that we wanted to have a seperate fridge AND freezer. We ended up buying a 75lt XTM fridge freezer combo from BCF. We have been really happy with it. It came with good reviews and a great price. We became a BCF memebr which saved us hundreds of dollars on the fridge/freezer.
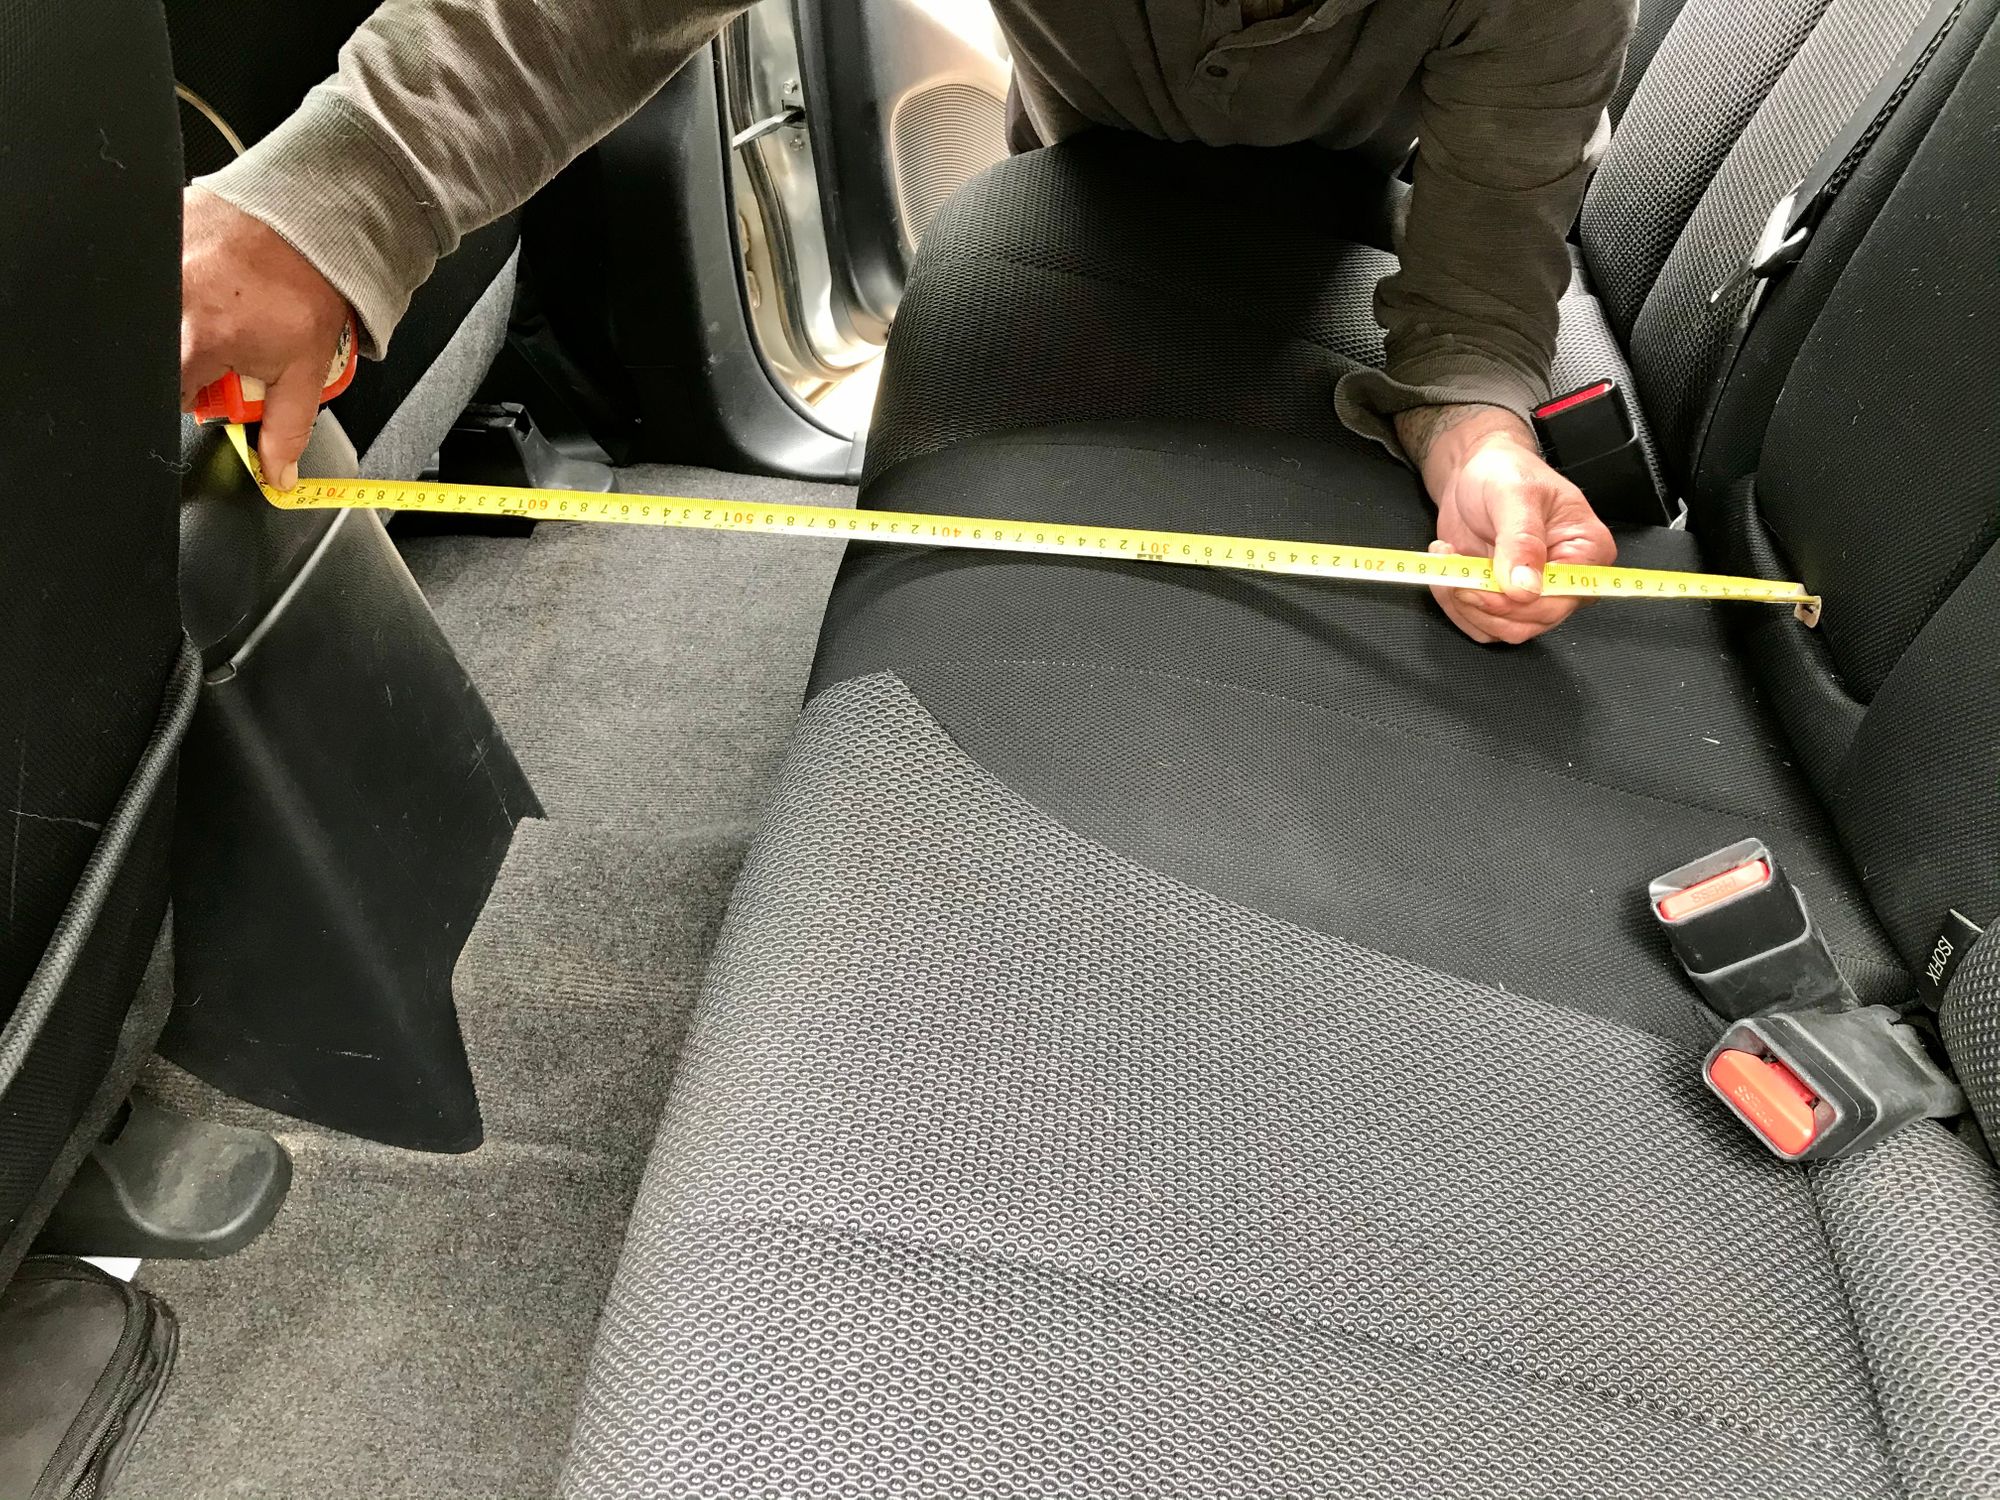
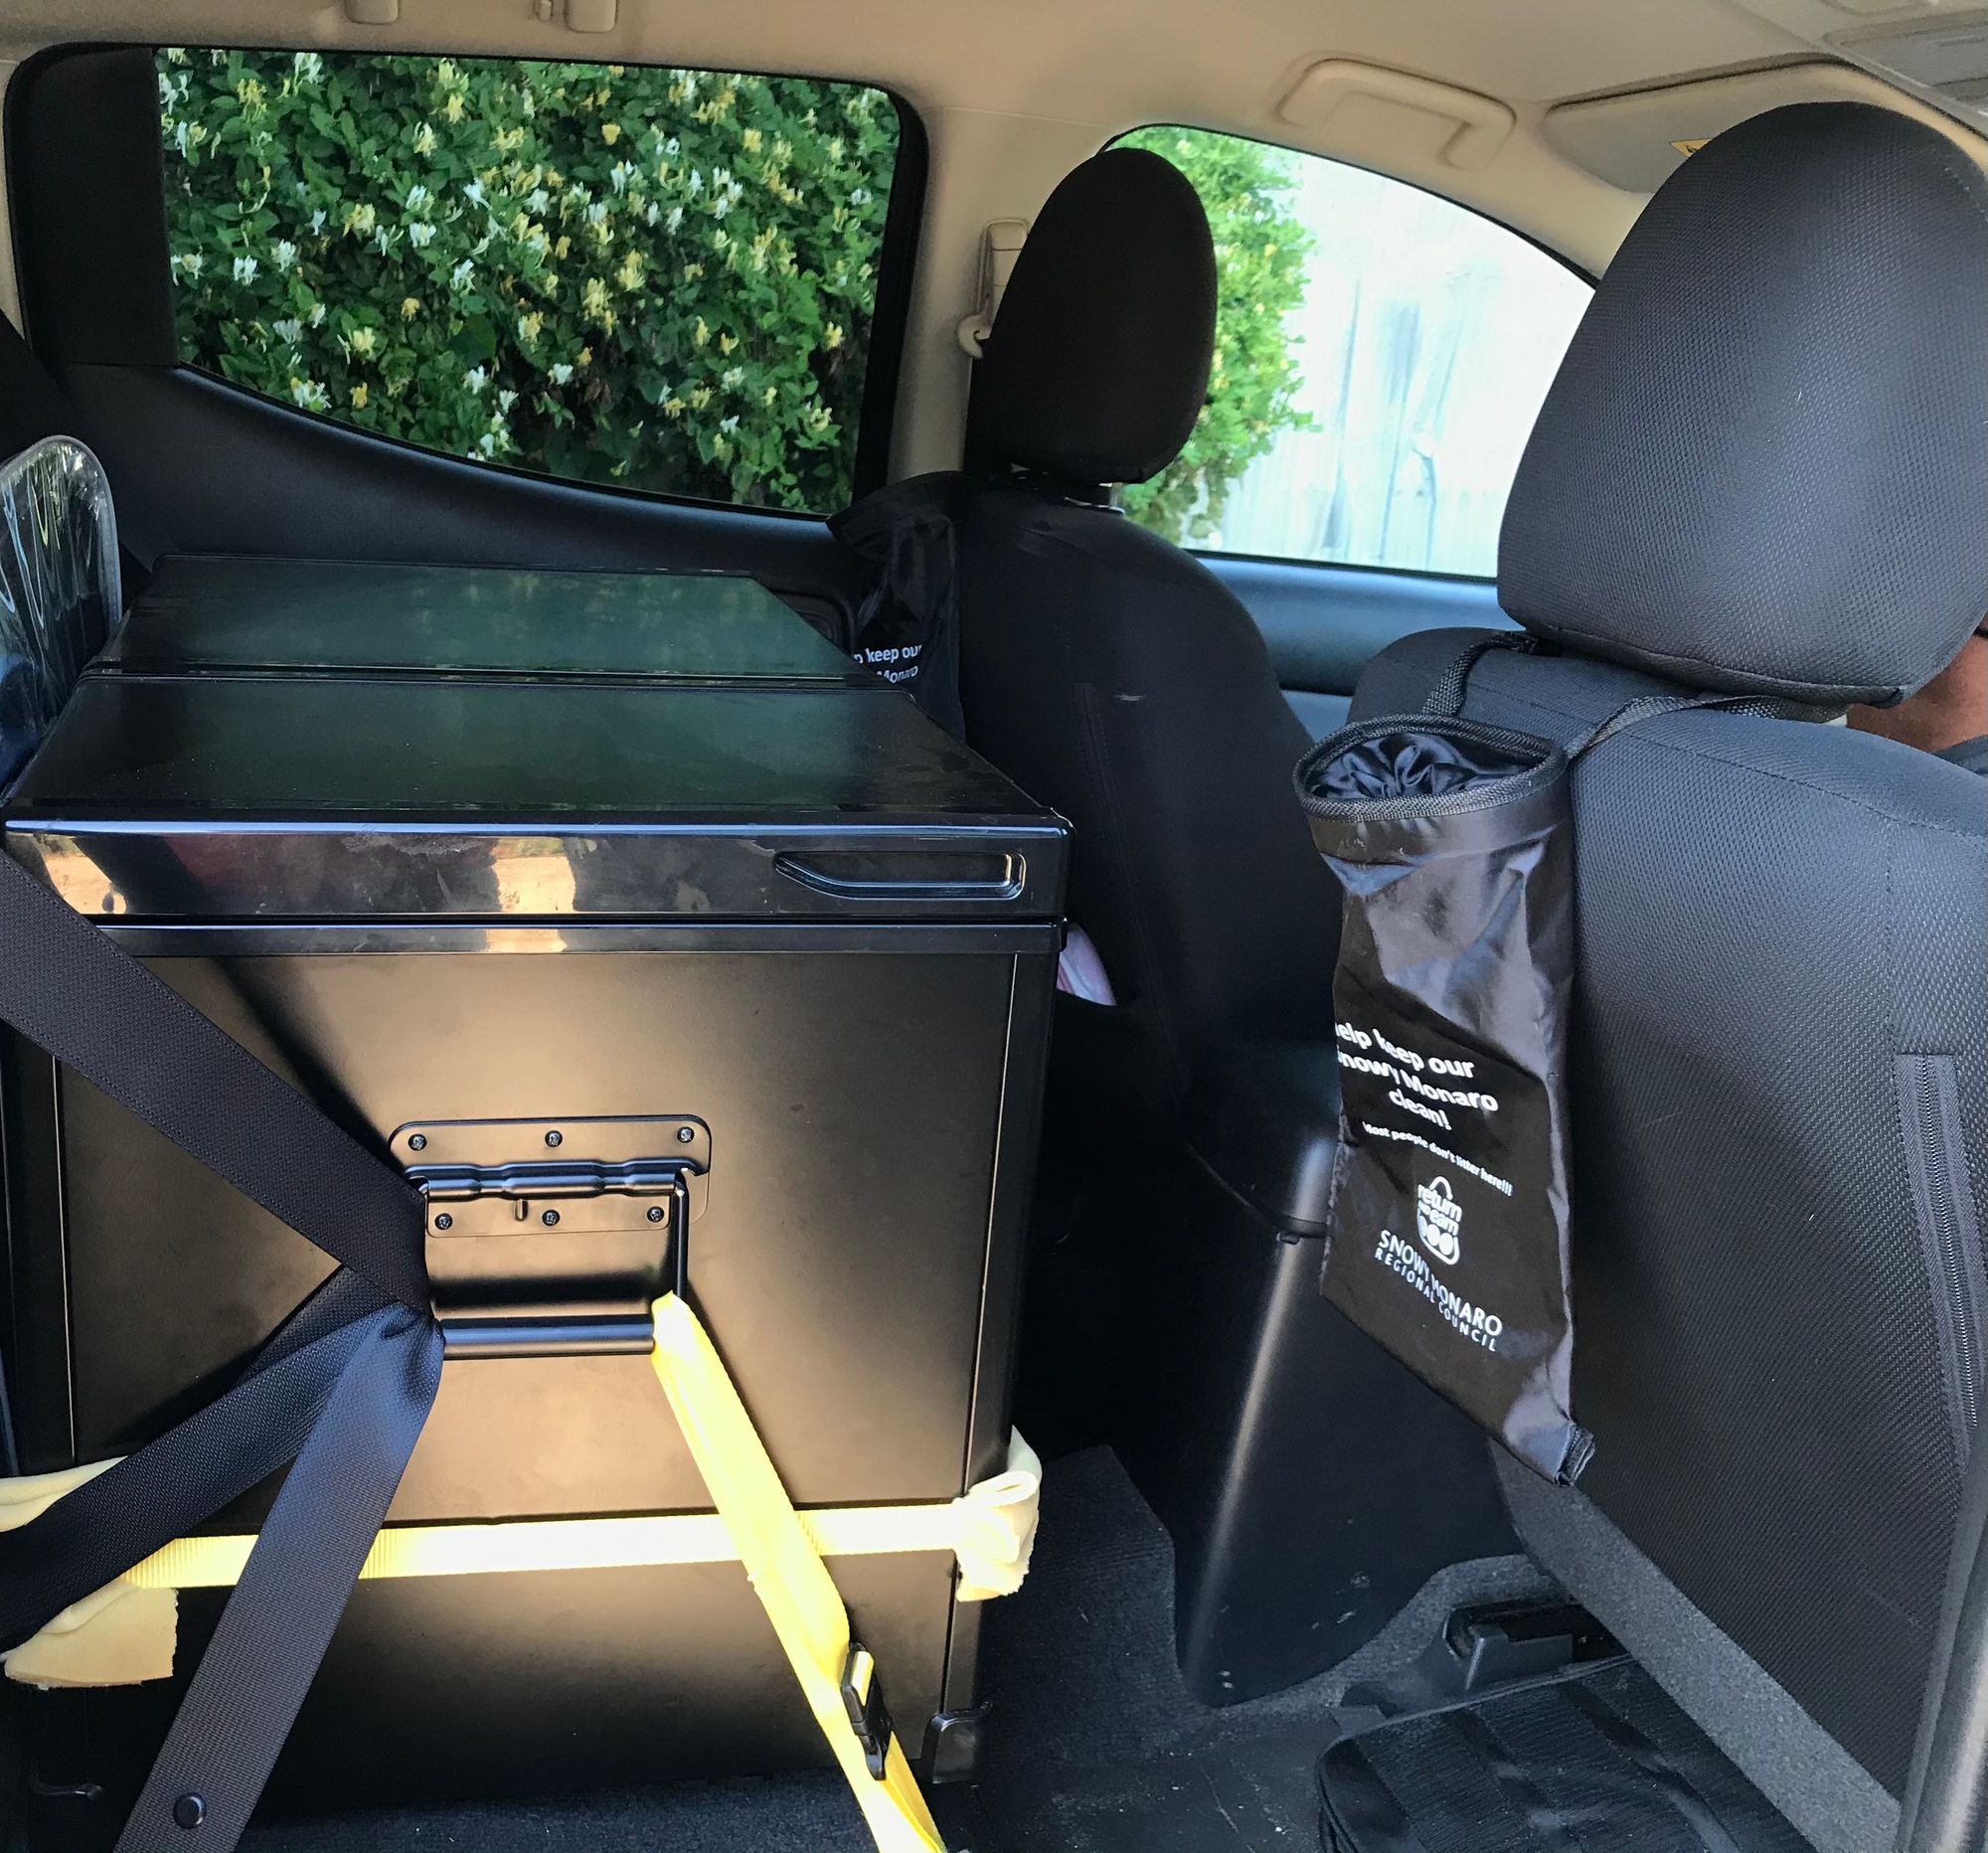
We know there are fridge slide drawers that mount on top of draws in the canopy. However, as we are travelling as a couple we really didnt need the back seats in our ute. We measured the space we had in the back of the ute to see what size fridge/freezer we could fit. We plan to be off grid for long periods of time so wanted something sustainable. We ended up with our XTM 75 lt which fills up a lot of the area yet we still have plentof room behind it and beside it on one side for jackets or soft items. We also have floor space between it and our seats.
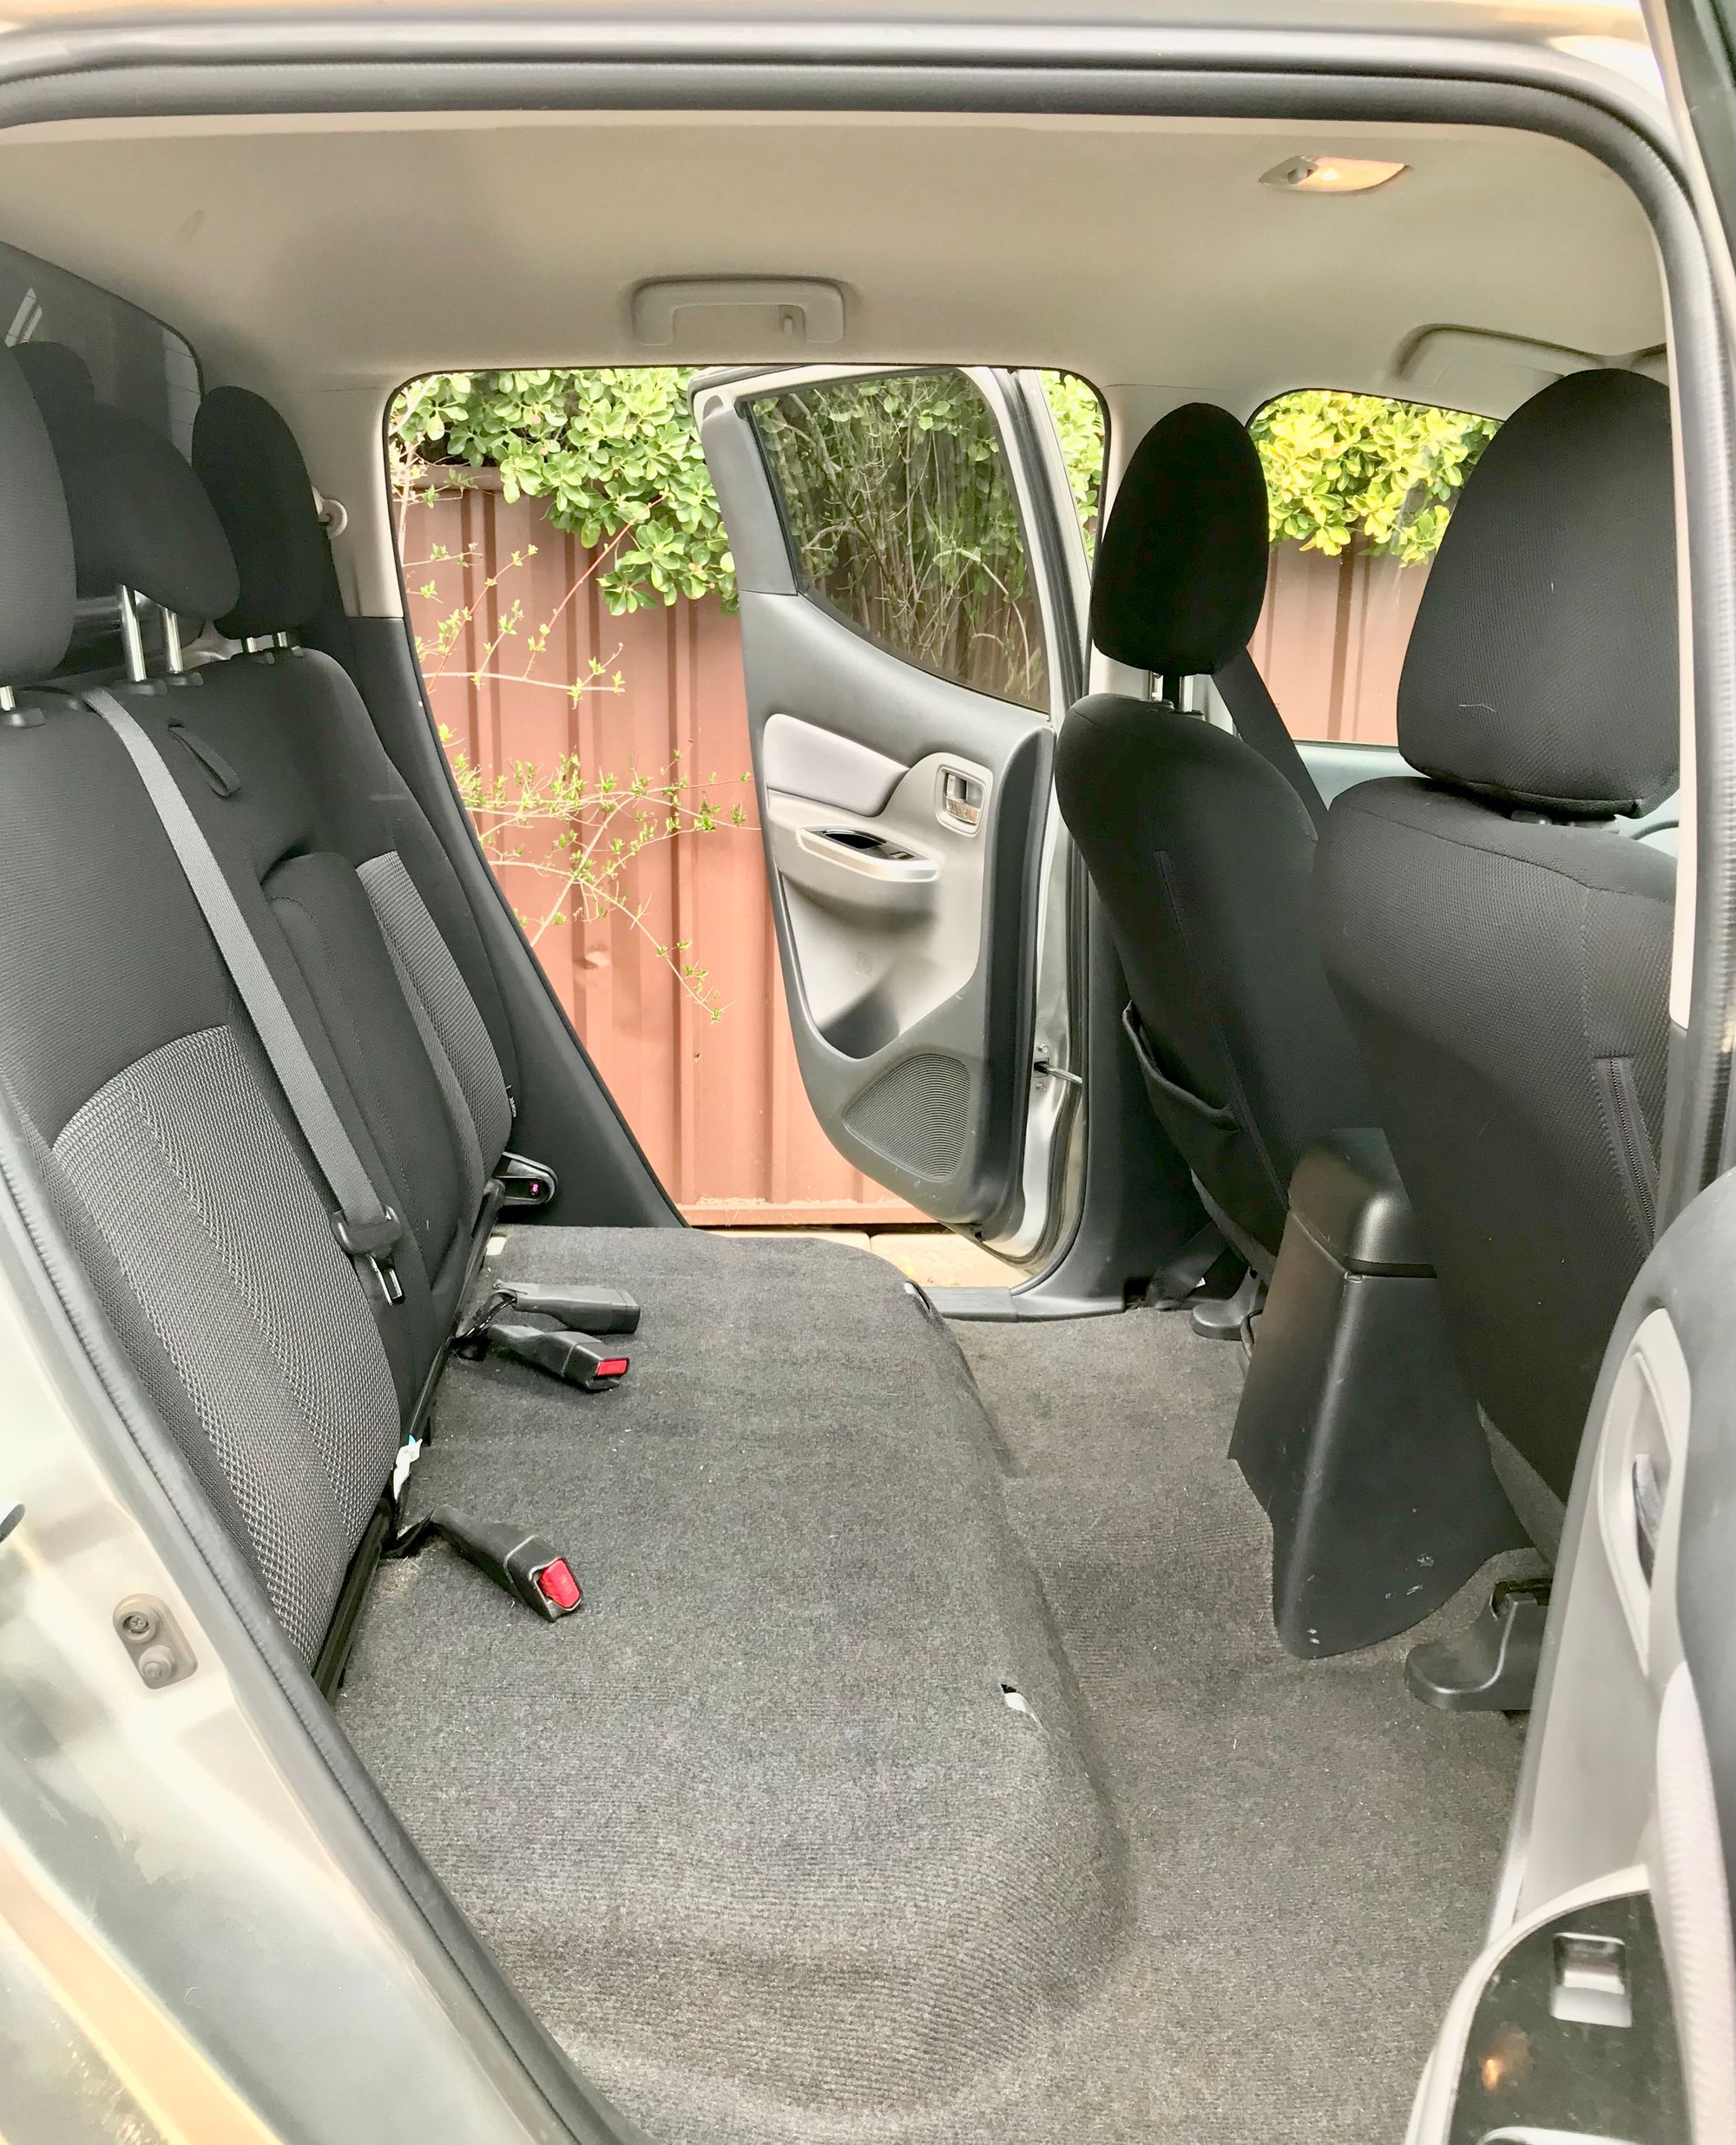
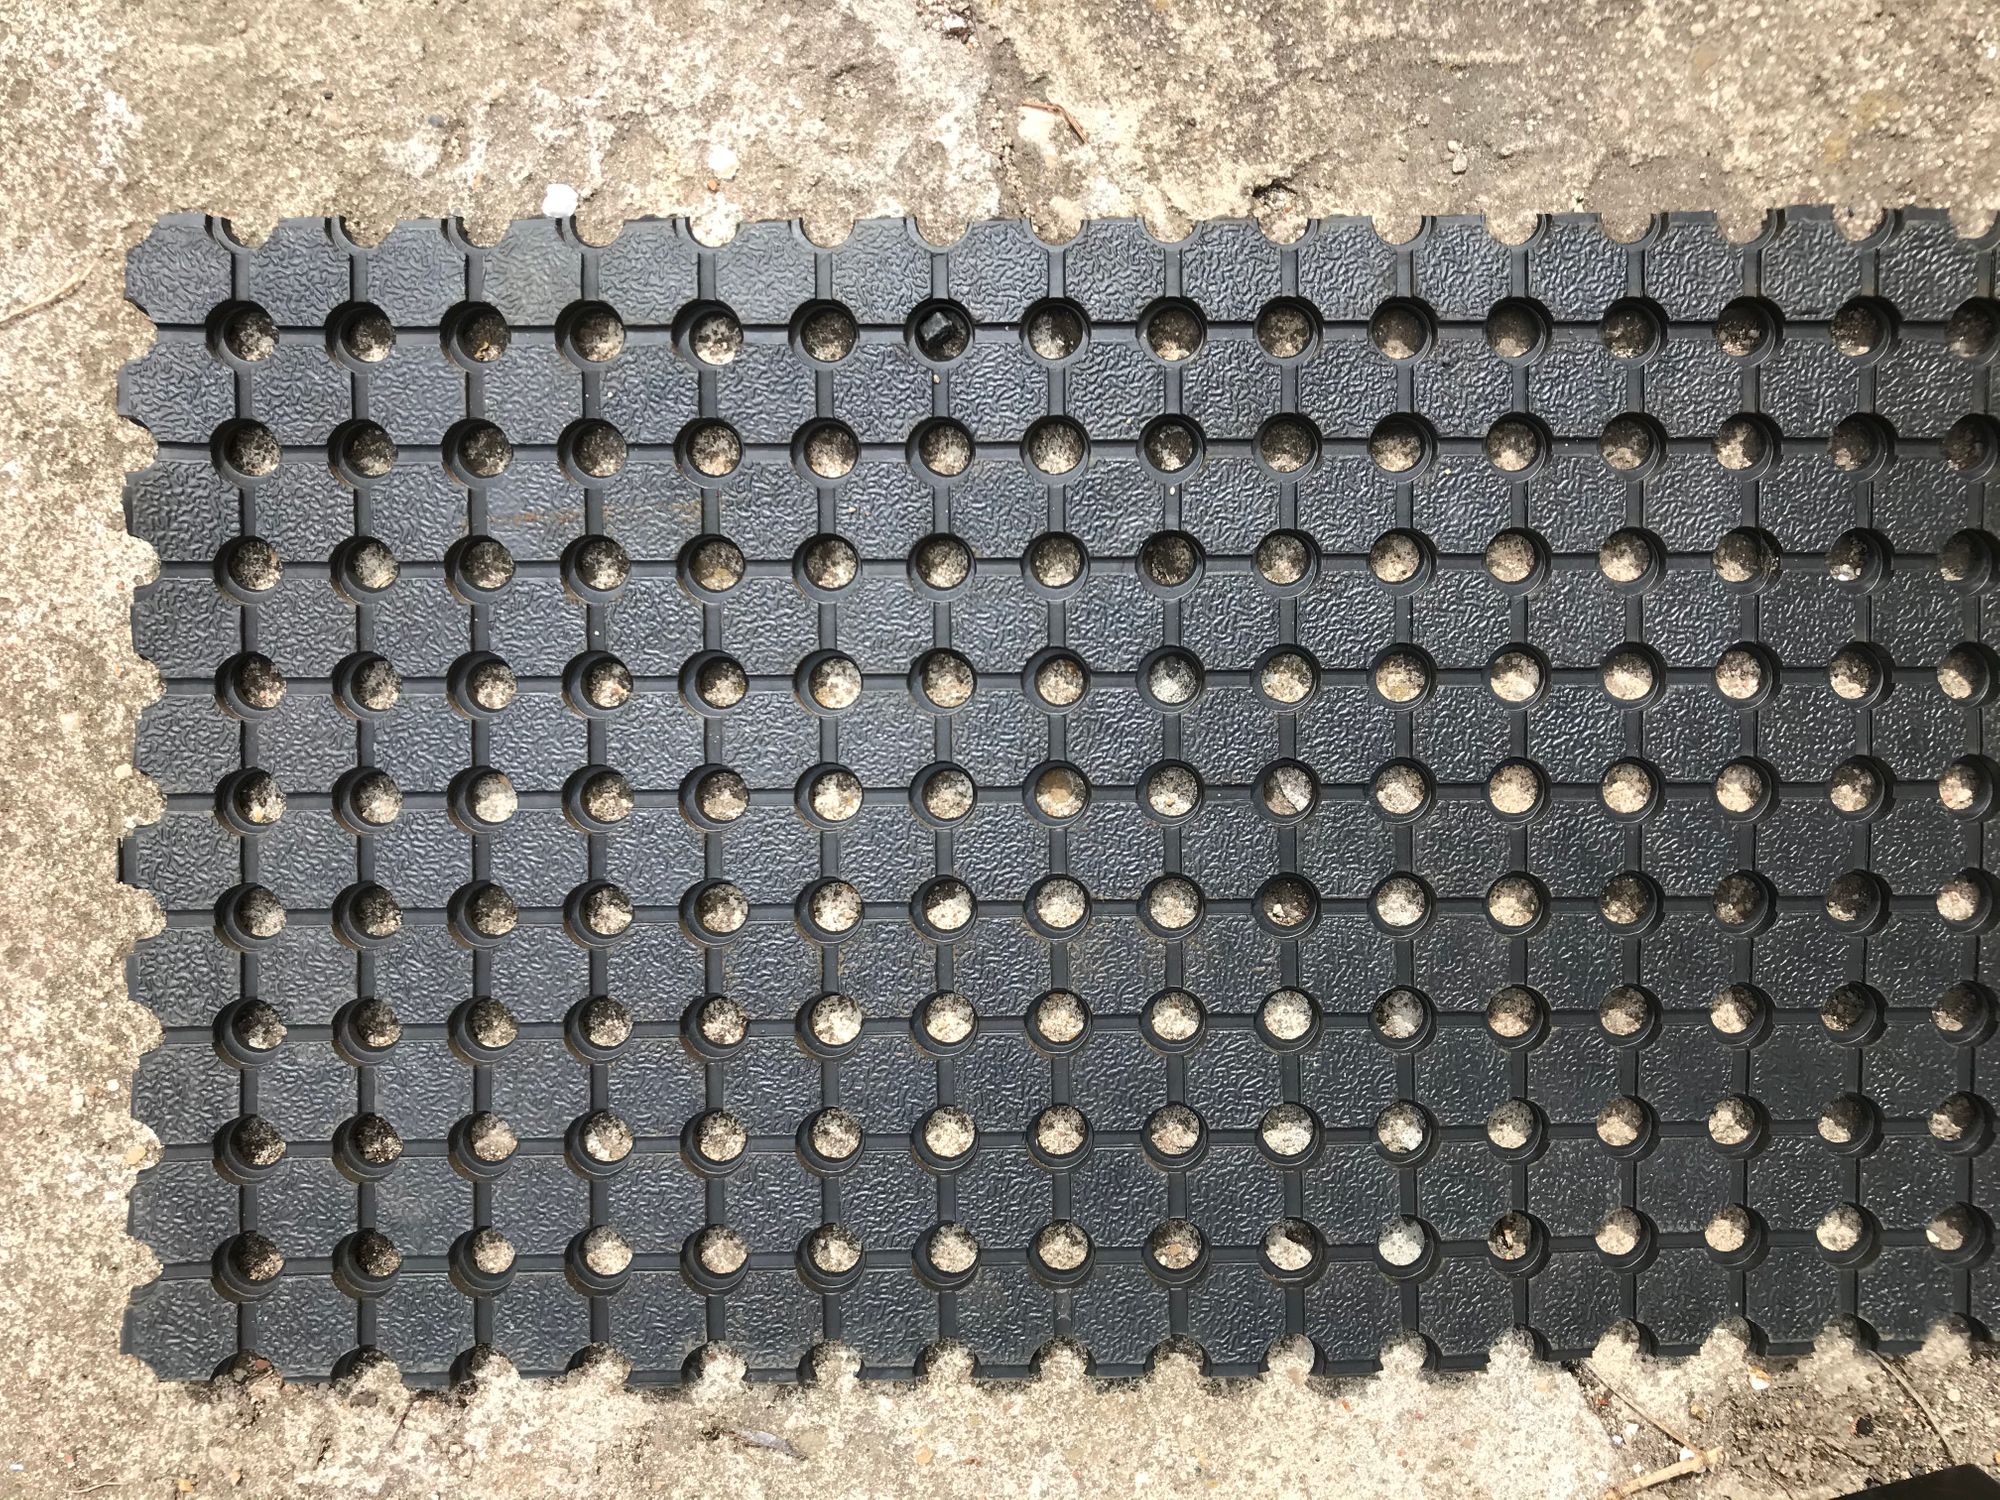
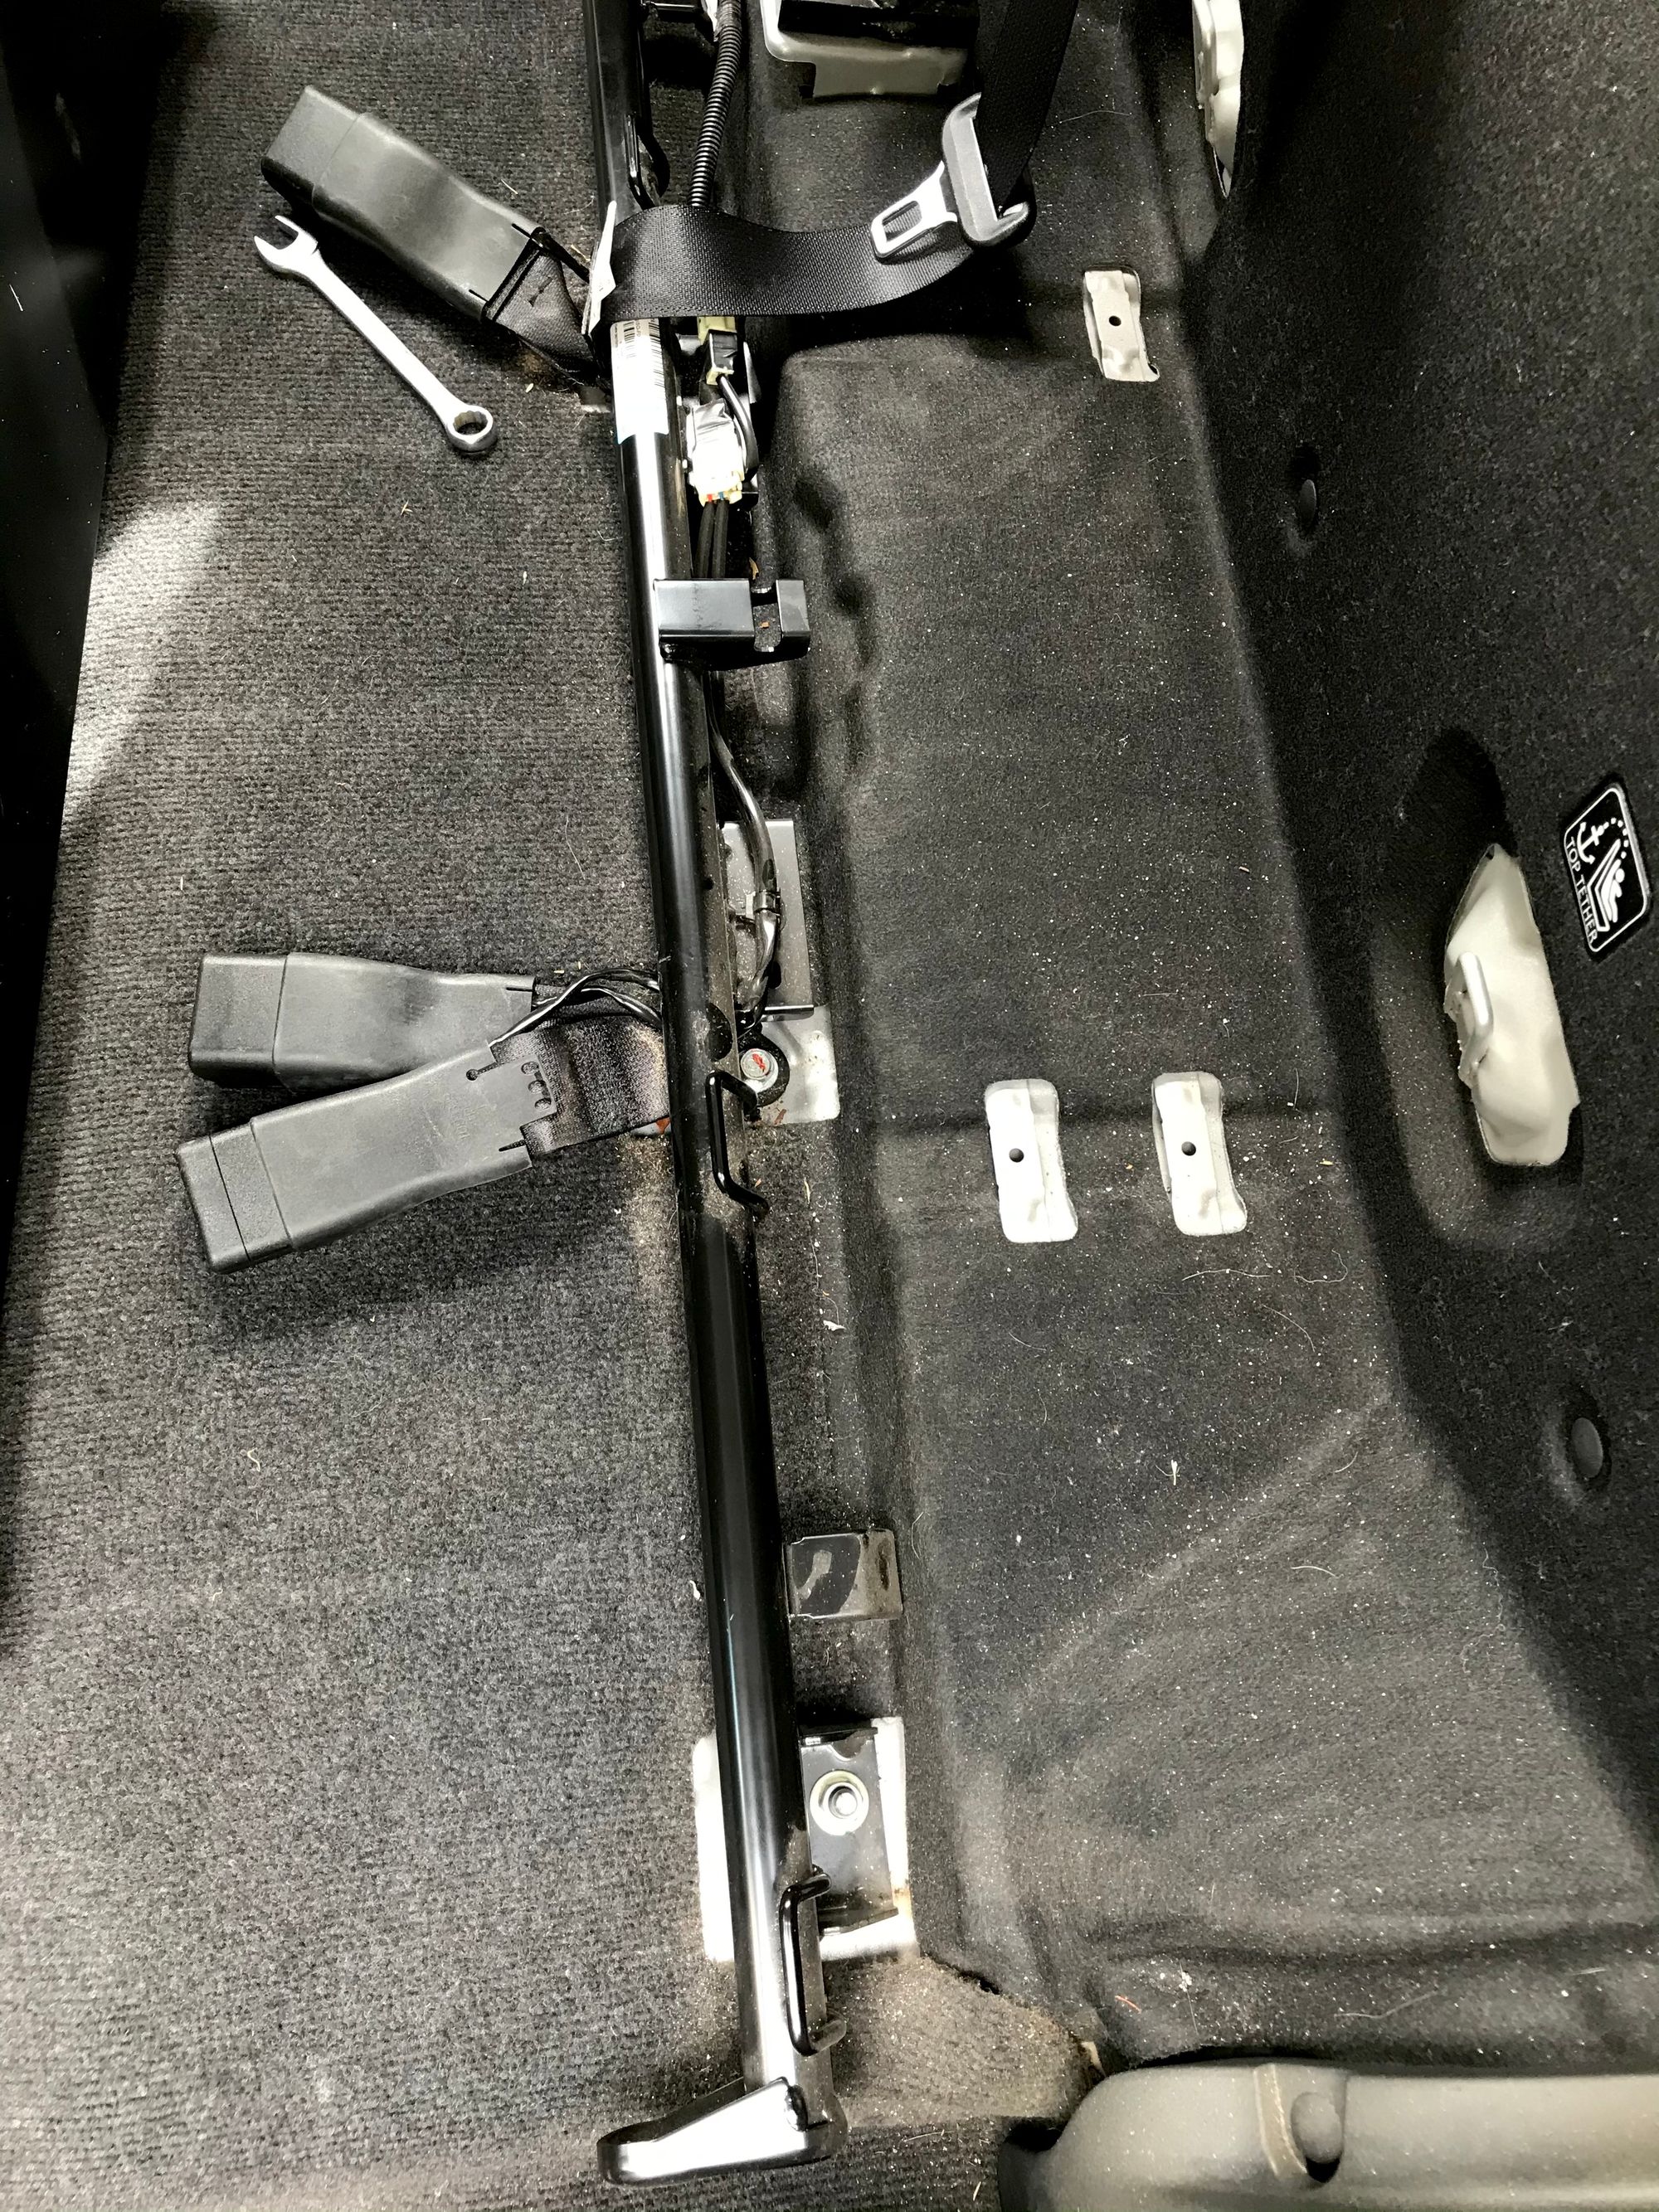
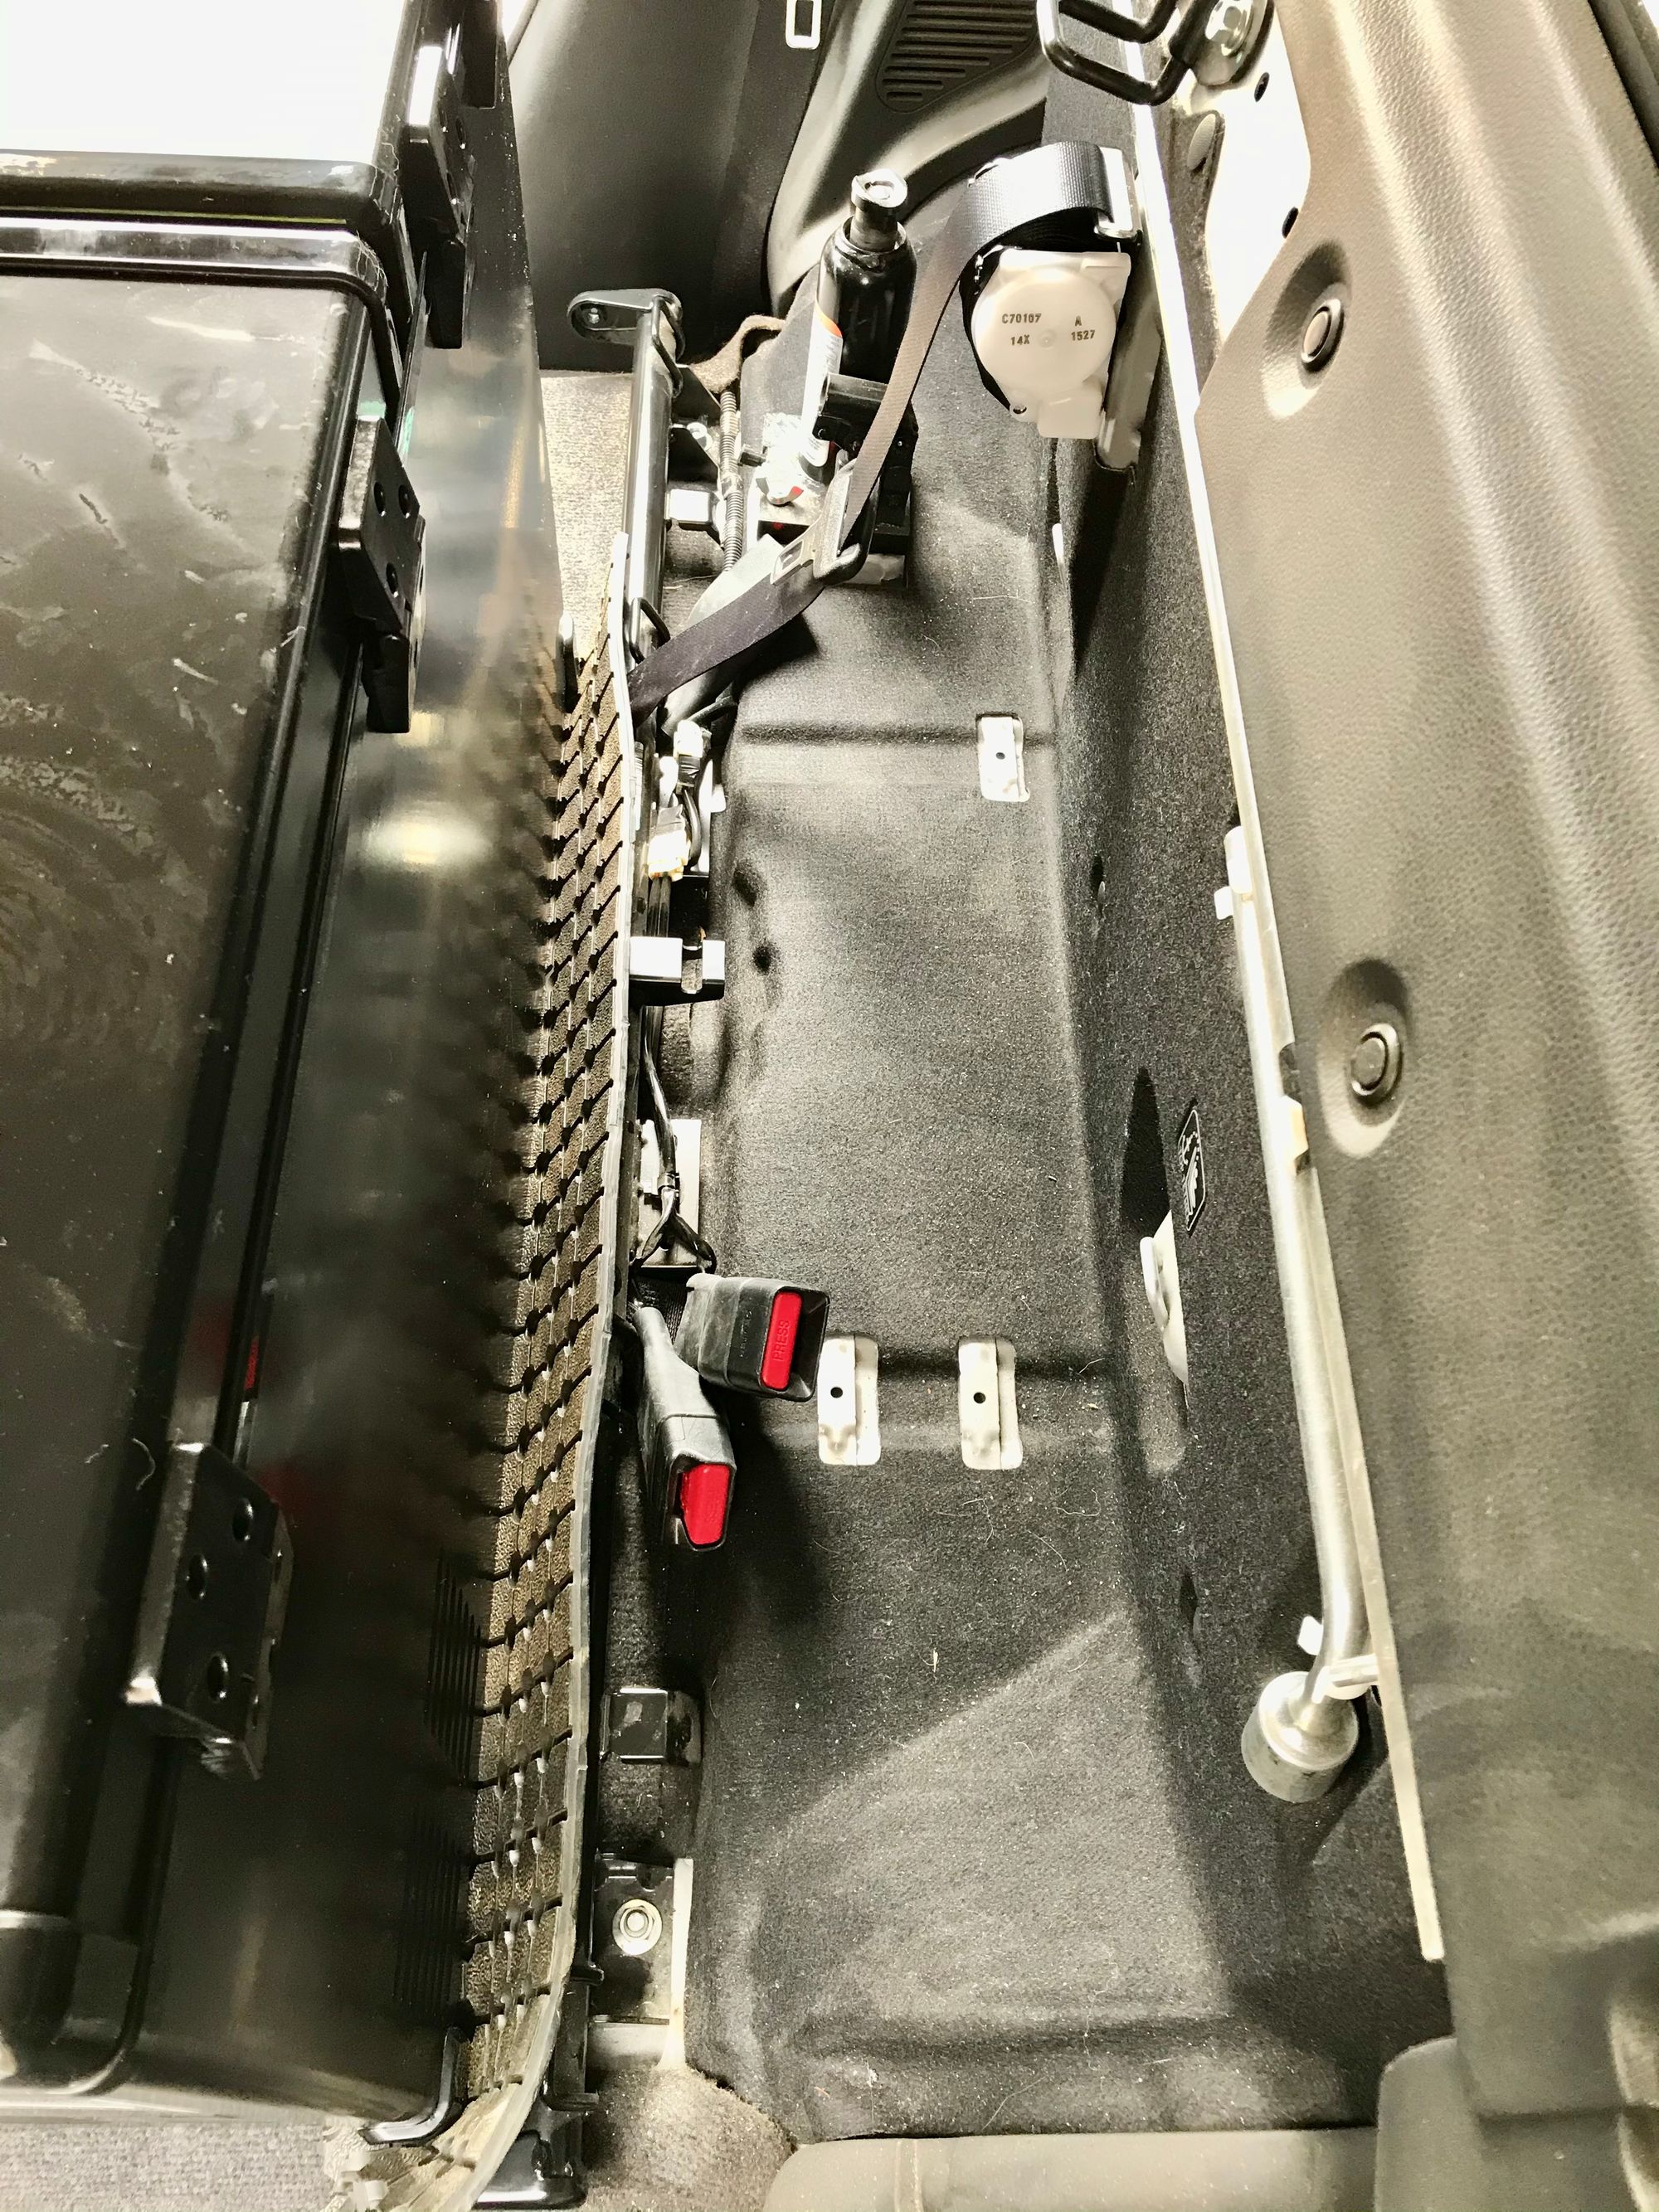
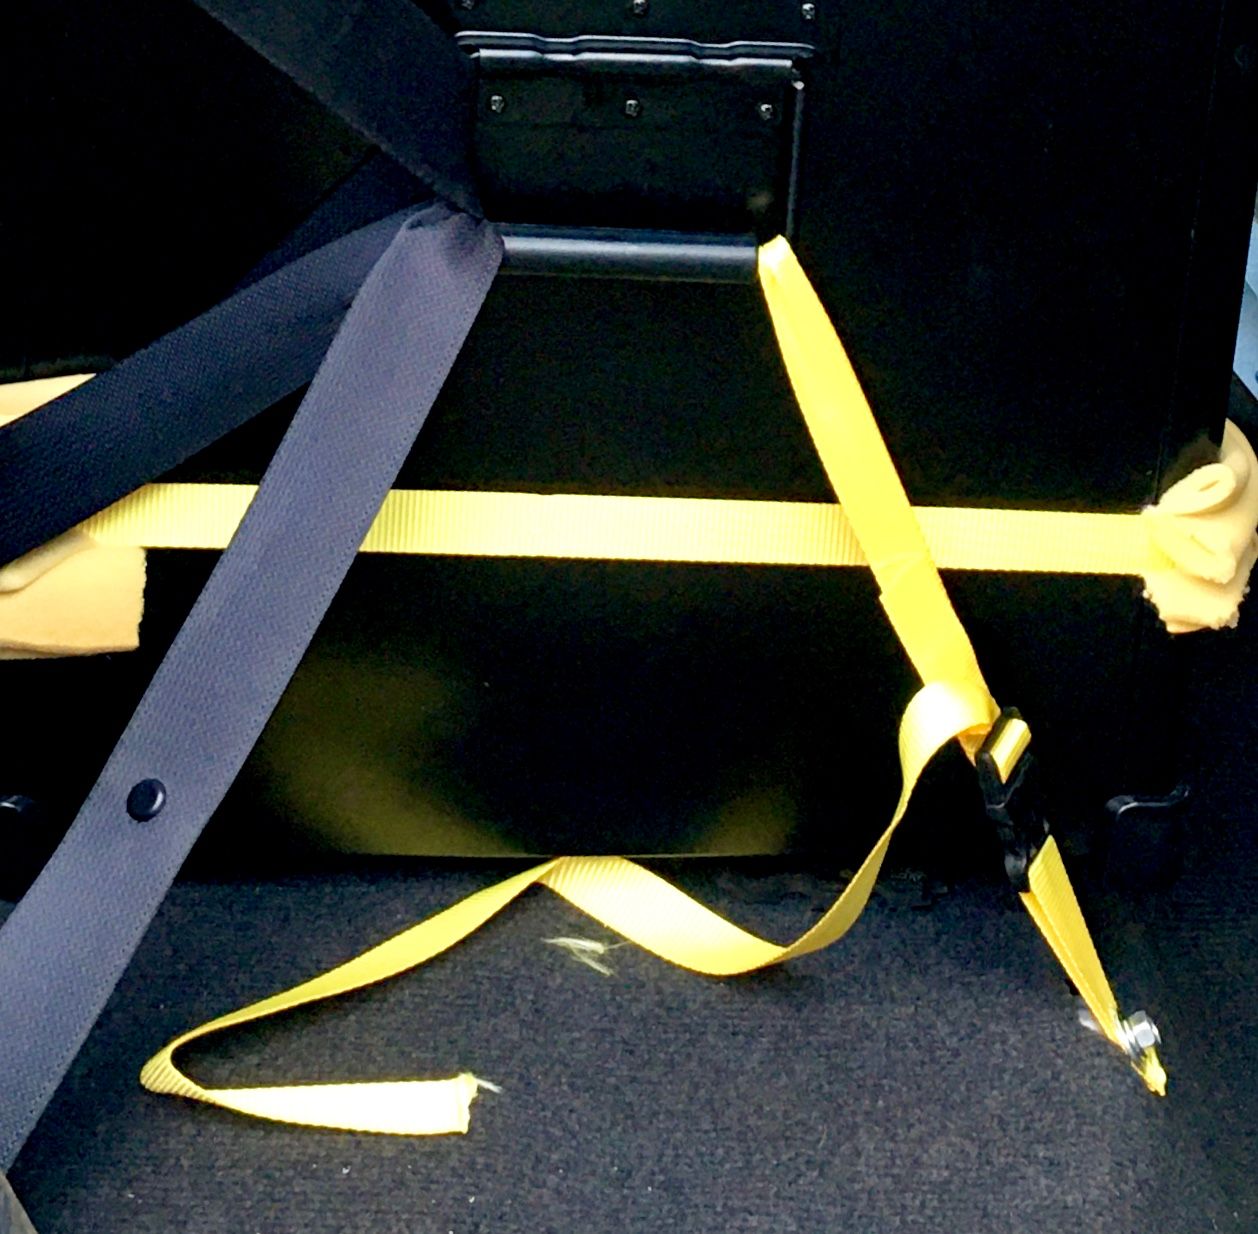
We chose to remove the whole back seat and mounted our fridge/freezer to the floor in the back seat void. We utilised the brackets from the seat and the floor bolts to secure the fridge/freezer. We also use the seat belts through the handles for extra restraint. No-one wants a heavy projectile flying about the cab should you have to brake quickly. We also used rubber matting as shown to level and absord some of the shock and vibration of the vehicle when we are on rough roads.
Linx
What is Linx?
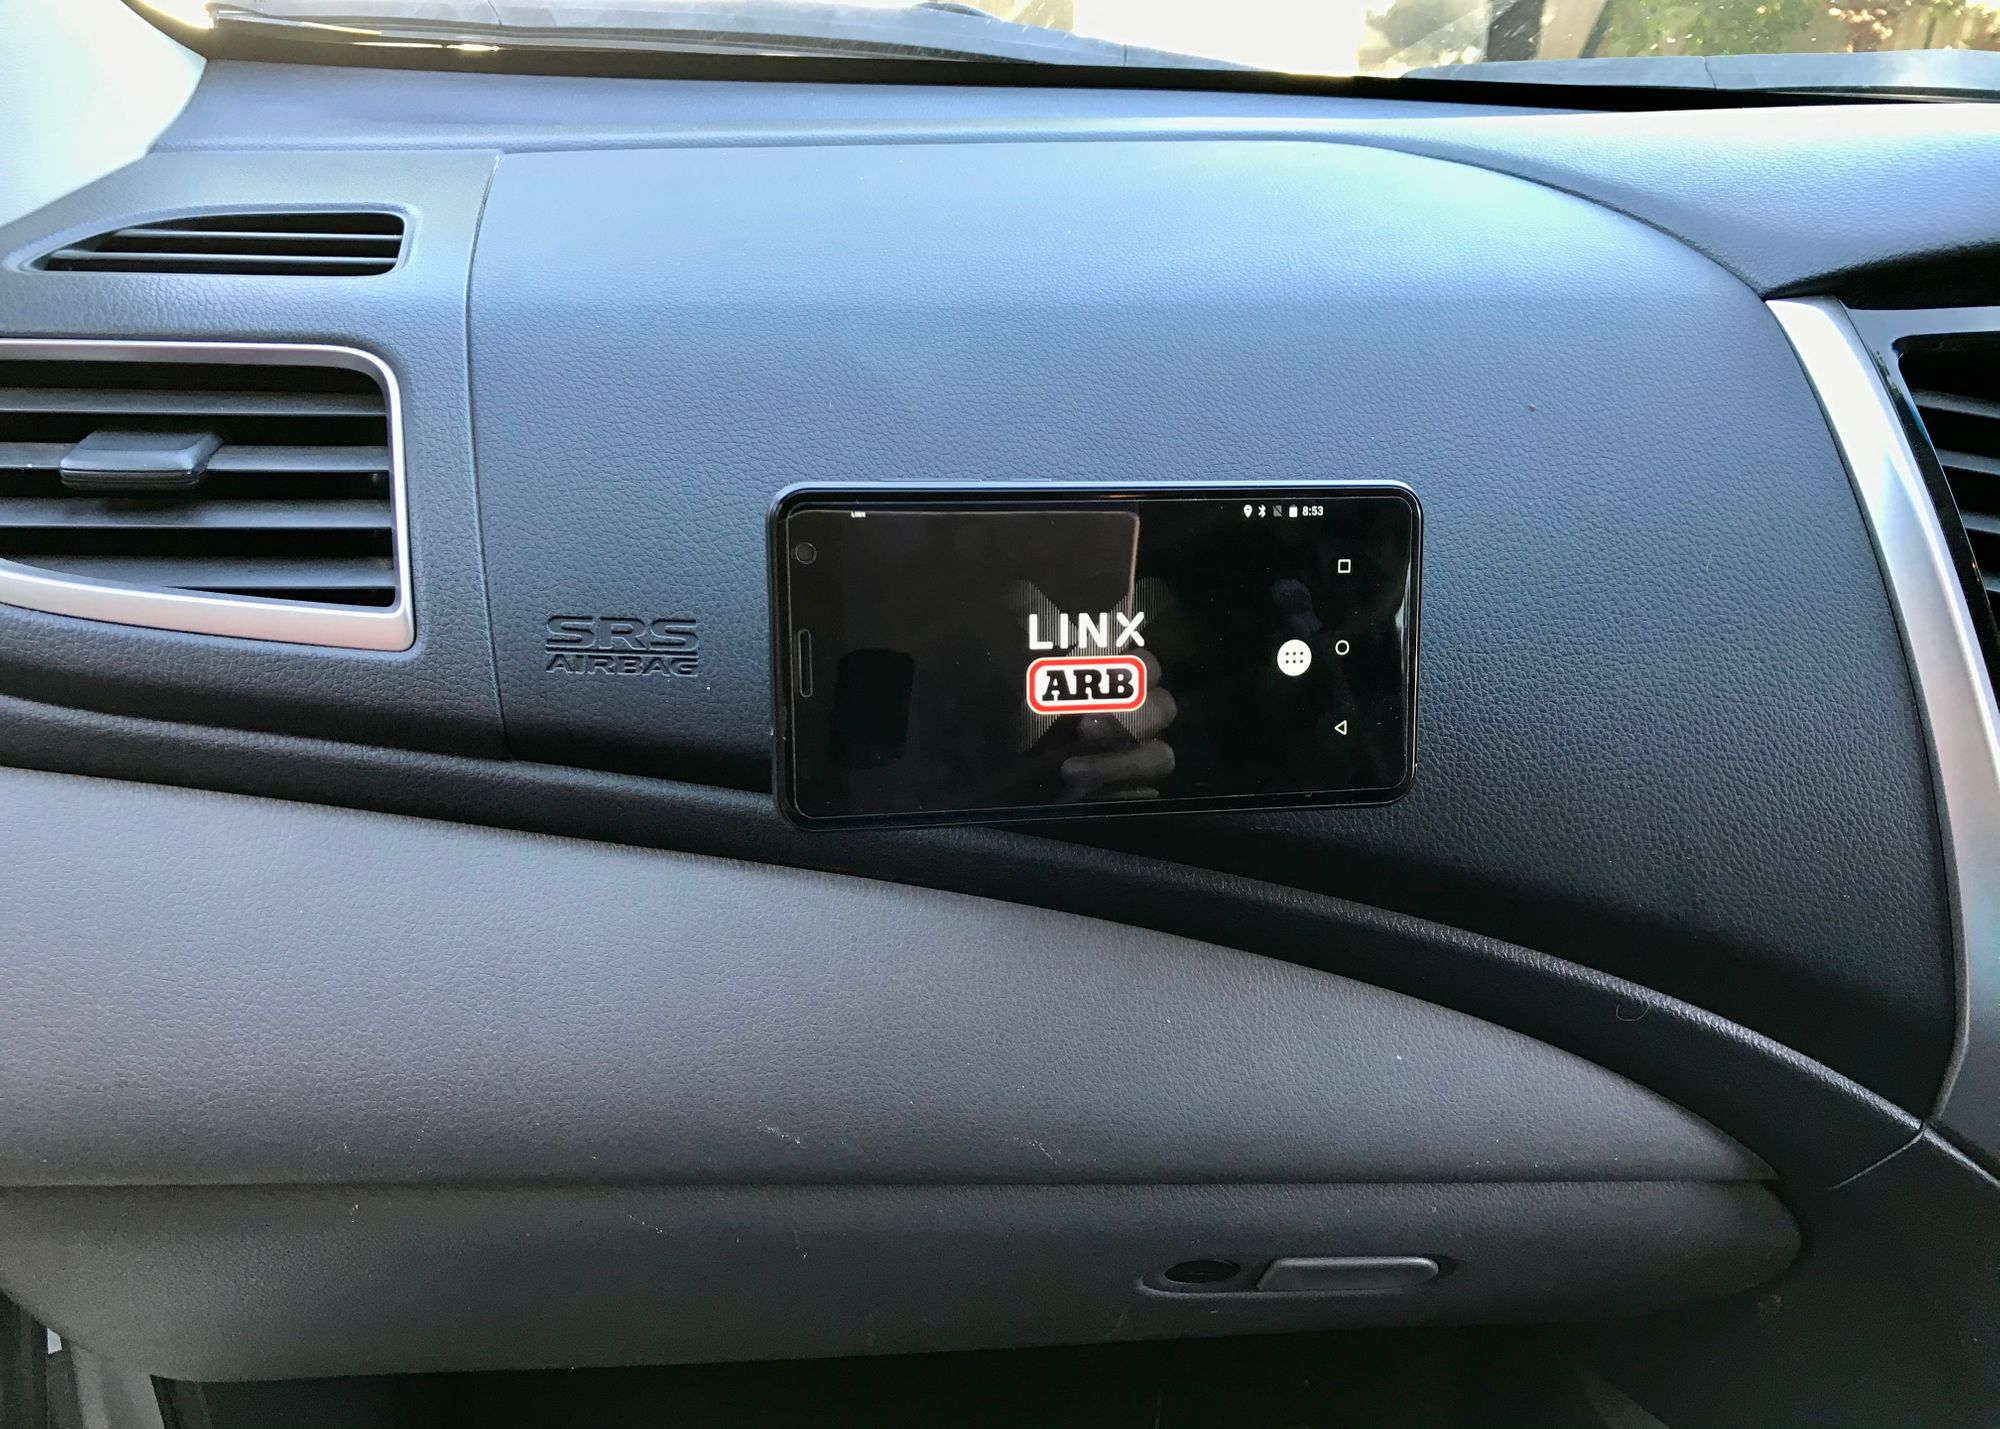
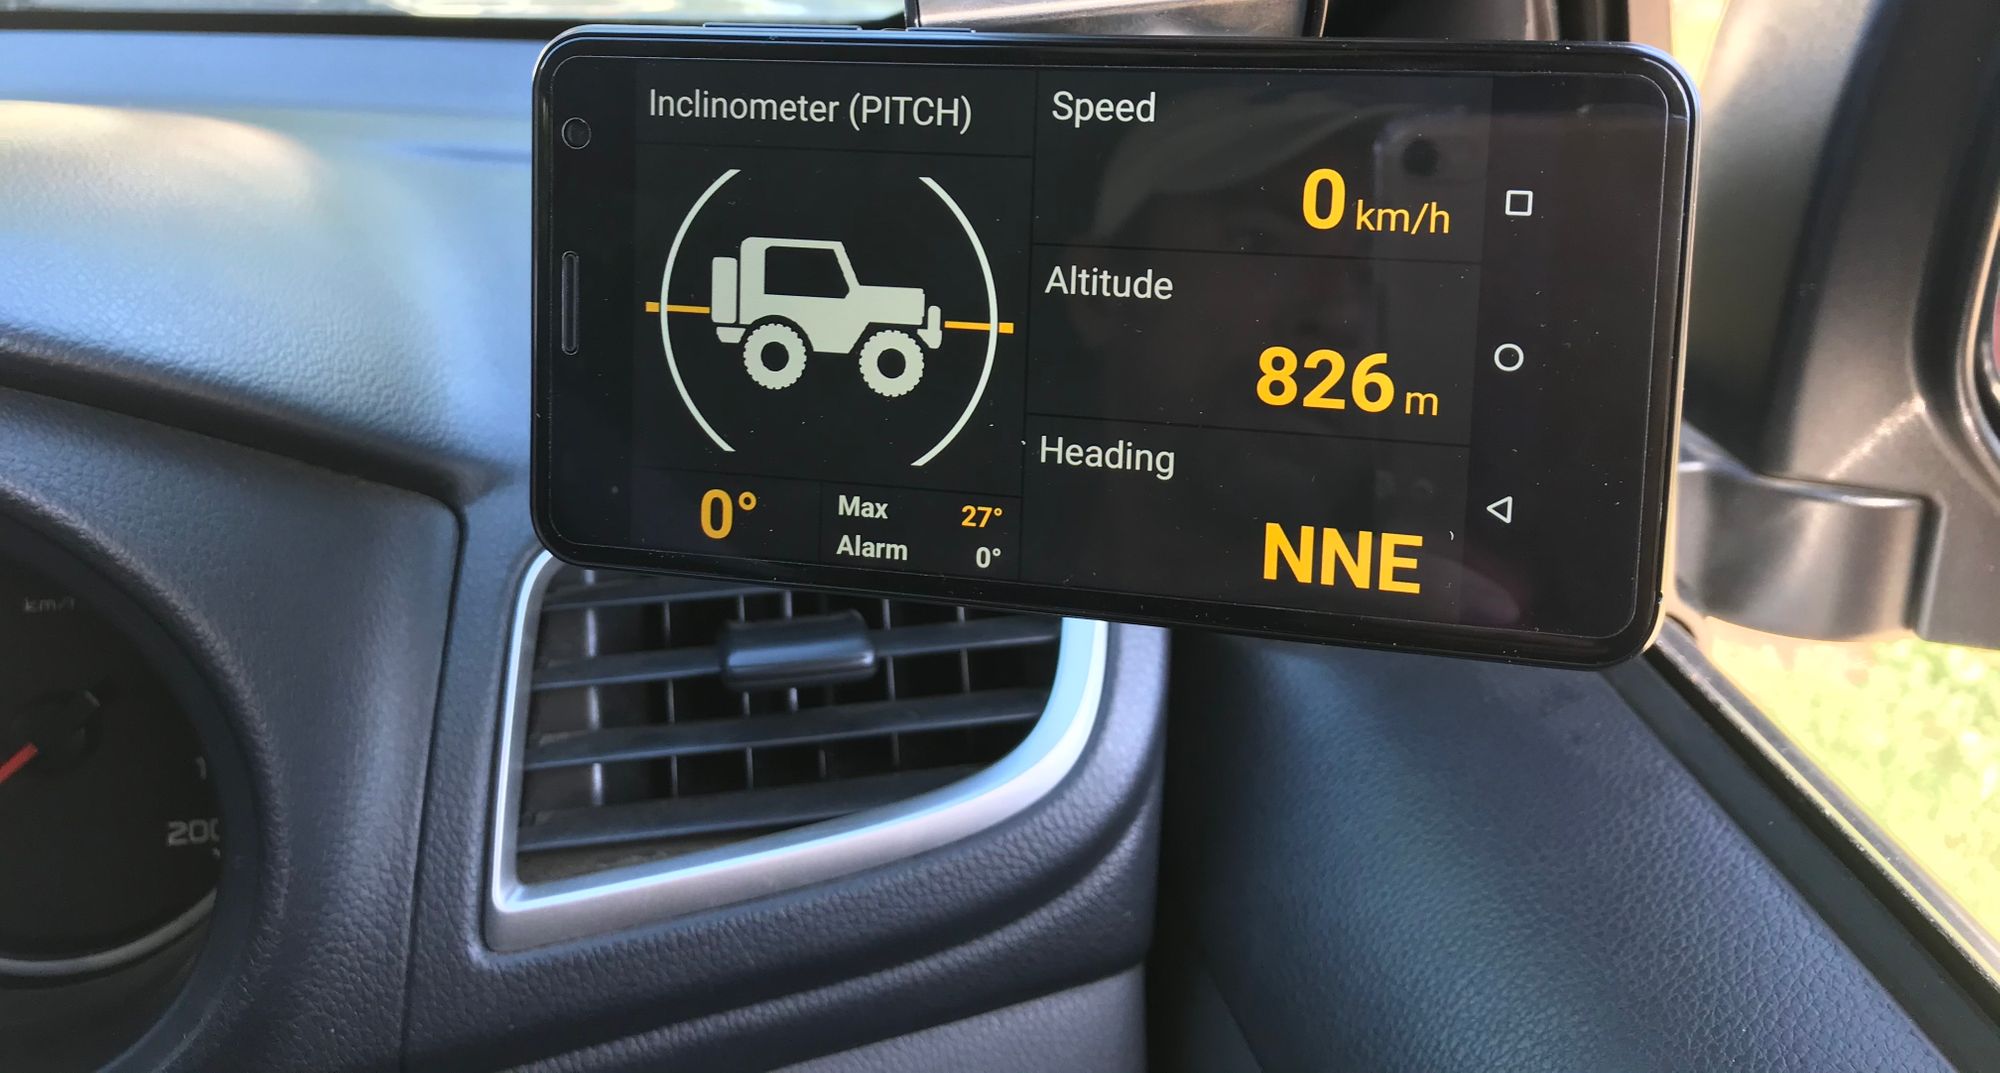
Linx is a unique controller that centralises the command of vehicle accessories by replacing classic switches, gauges and monitors, with one driver interface. The more accessories you add the more you can control on one device with your Linx system.
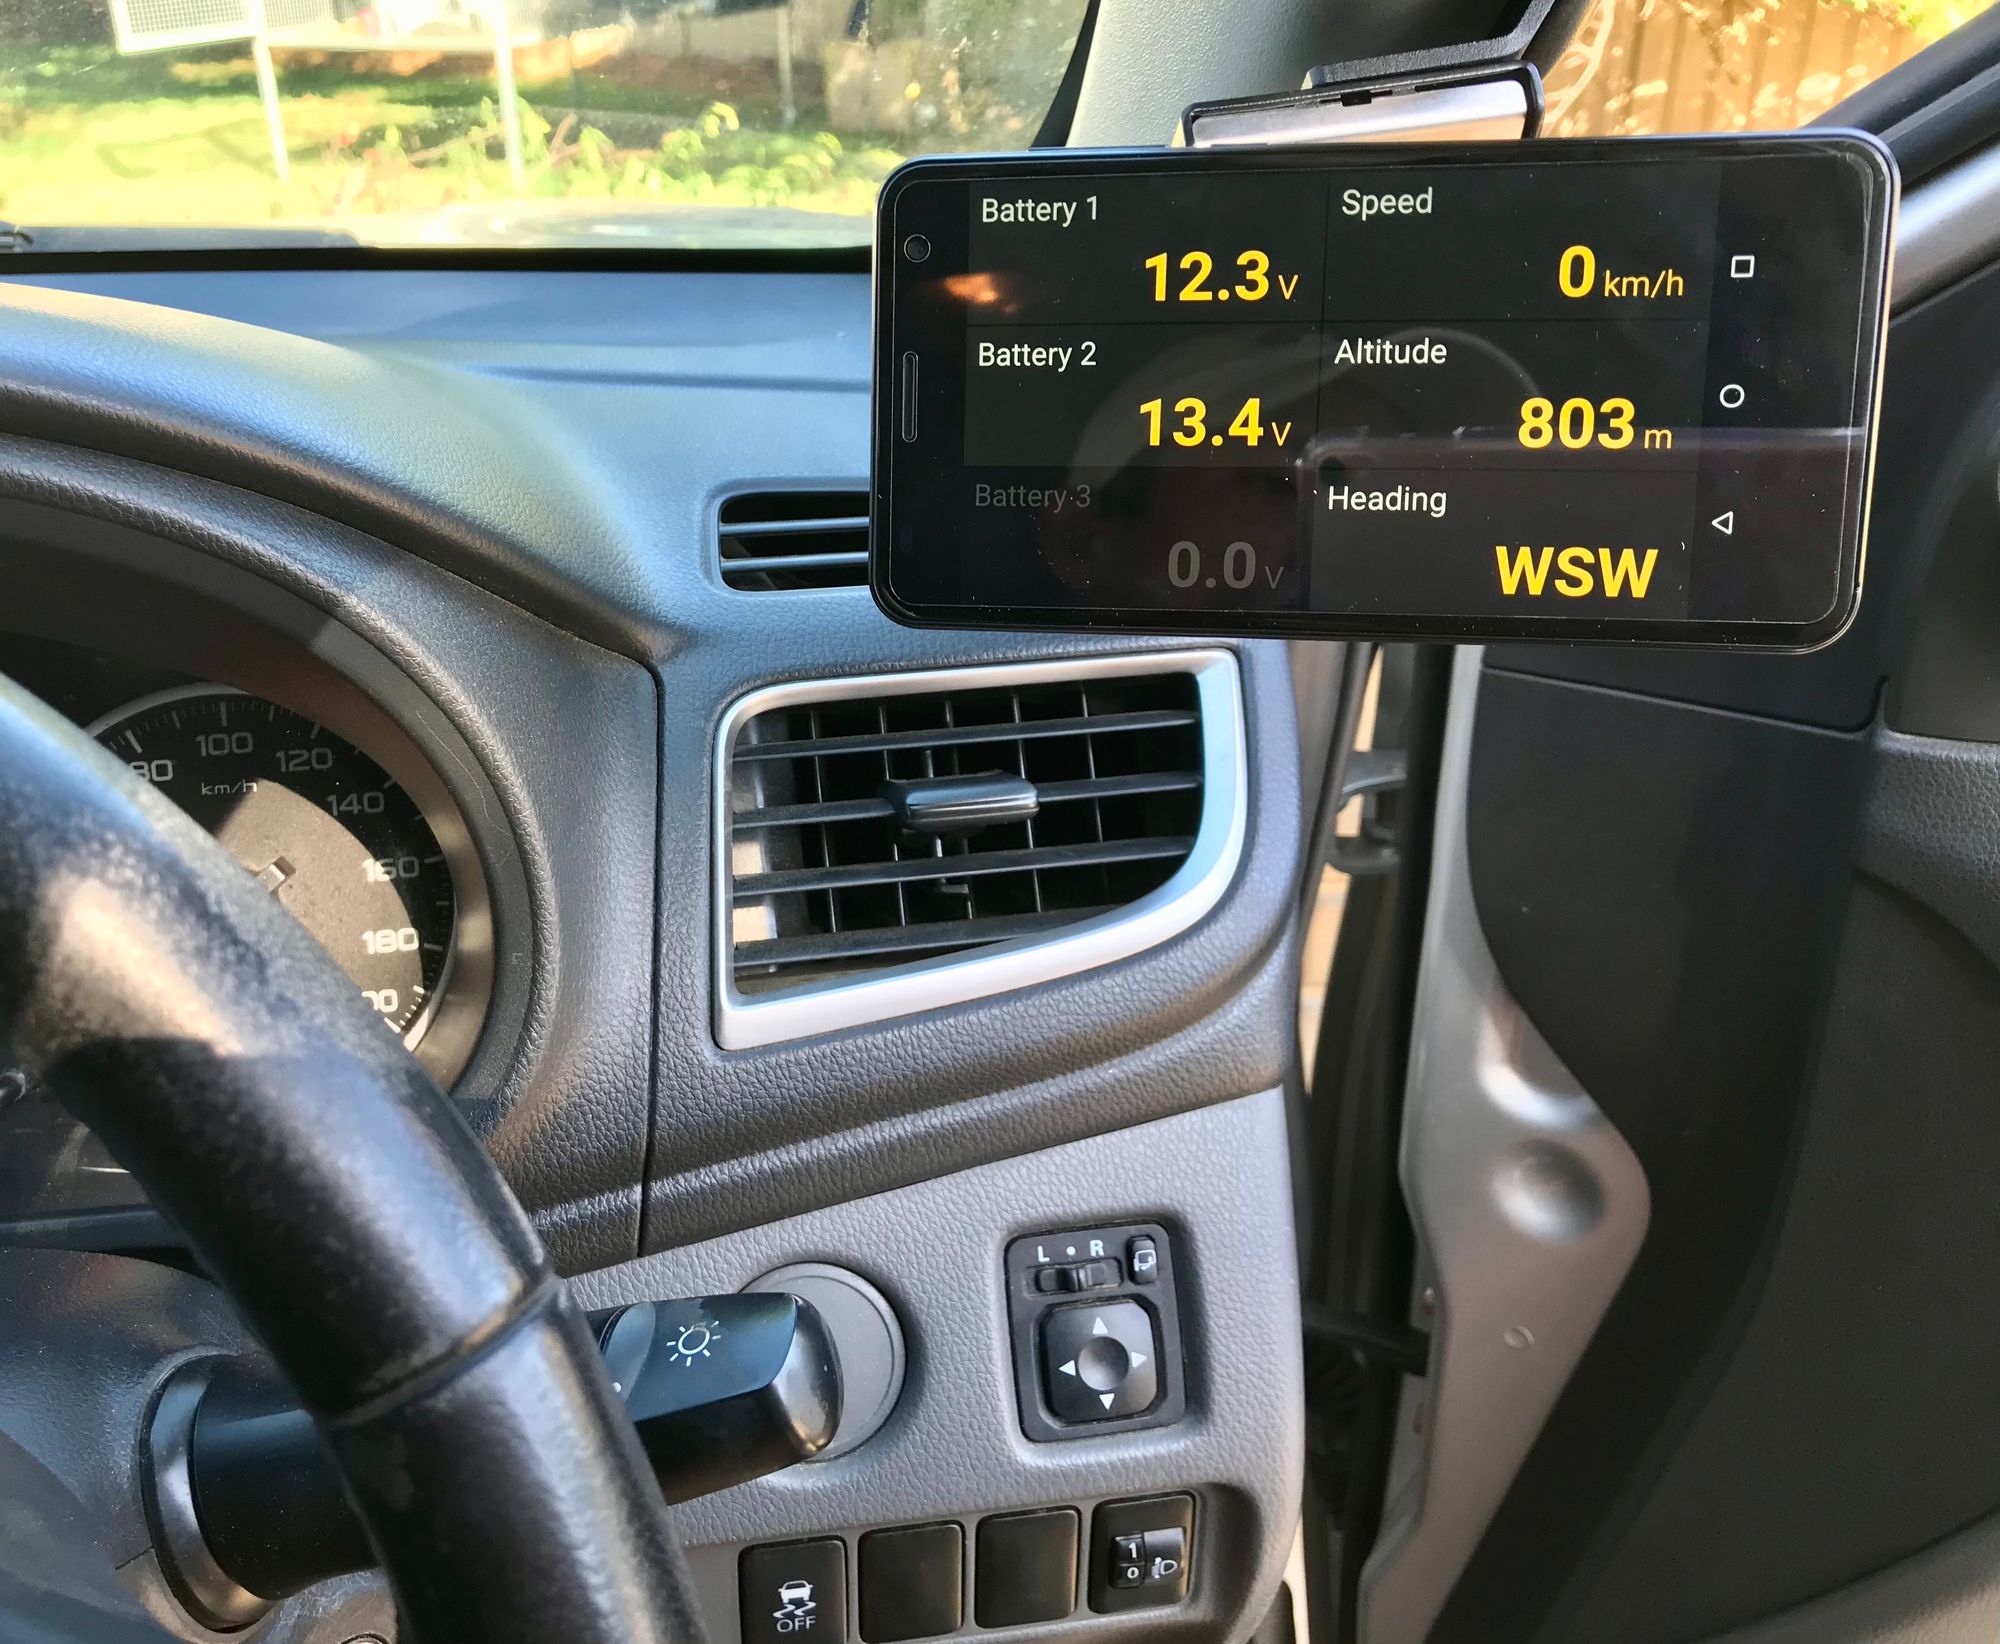
Photo 1 shows the portable controller on our dashboard's passenger side, mounted with a magnetic device. This allows the passenger to monitor the controller. Photos 2 & 3 shows our Linx controller mounted on the driver side of our dash and also illustrates a couple of the screens, including vehicle tilt, altitude, compass bearing, current battery voltage on both our car and our backup battery, our speed.
Sliding modular storage drawers
OMG these are THE BEST things ever!
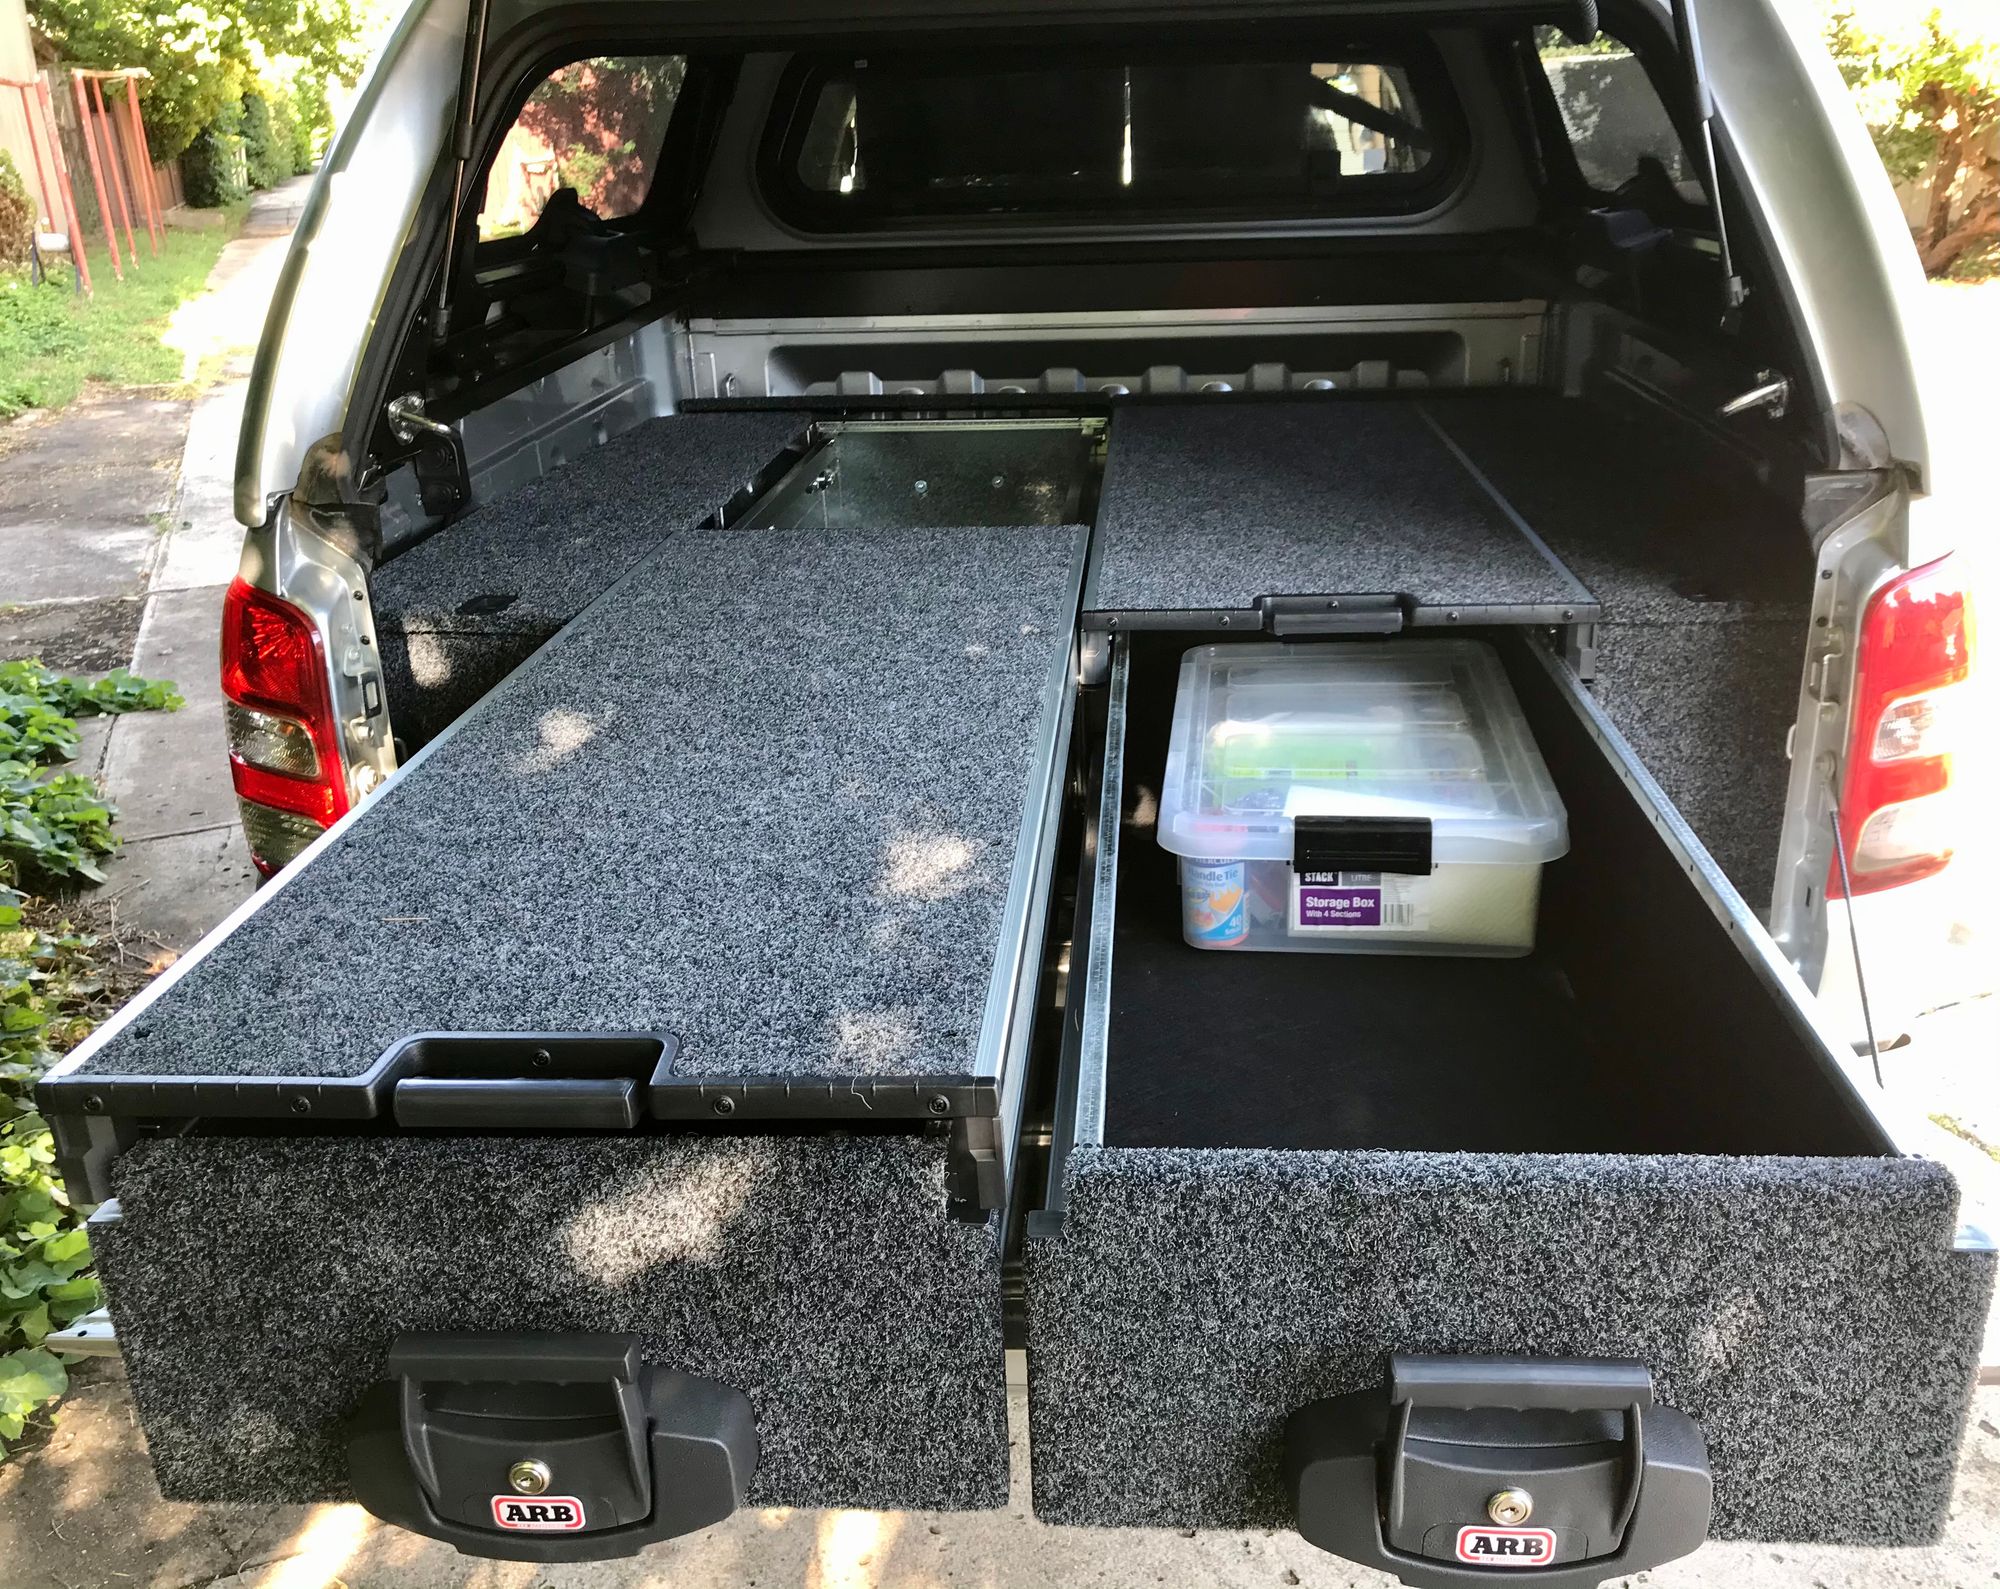
We chose the ARB "Outback Solution" modular roller drawer system.These are super strong and can be individually tailored to anyones needs. They aslo come with a two year warranty. They are deep, long and wide and roll easily. They are key lockable, have push-pull slam shut latches, made from long lasting UV stable commercial carpet, cross folded floors ensuring maximum support for items placed in each unit - up to a maximum of 150kg per draw, side floor kit - housing of backup battery and air compressor, folded stainless steel bearing runners for ultra smooth slide operation. They are just AWESOME!
We chose to have two drawers each with a sliding panel on top and a stainless steel panel slide out under that cutting and cooking on. Stainless steel slide not in photos as we are still waiting on it to arrive in stock.
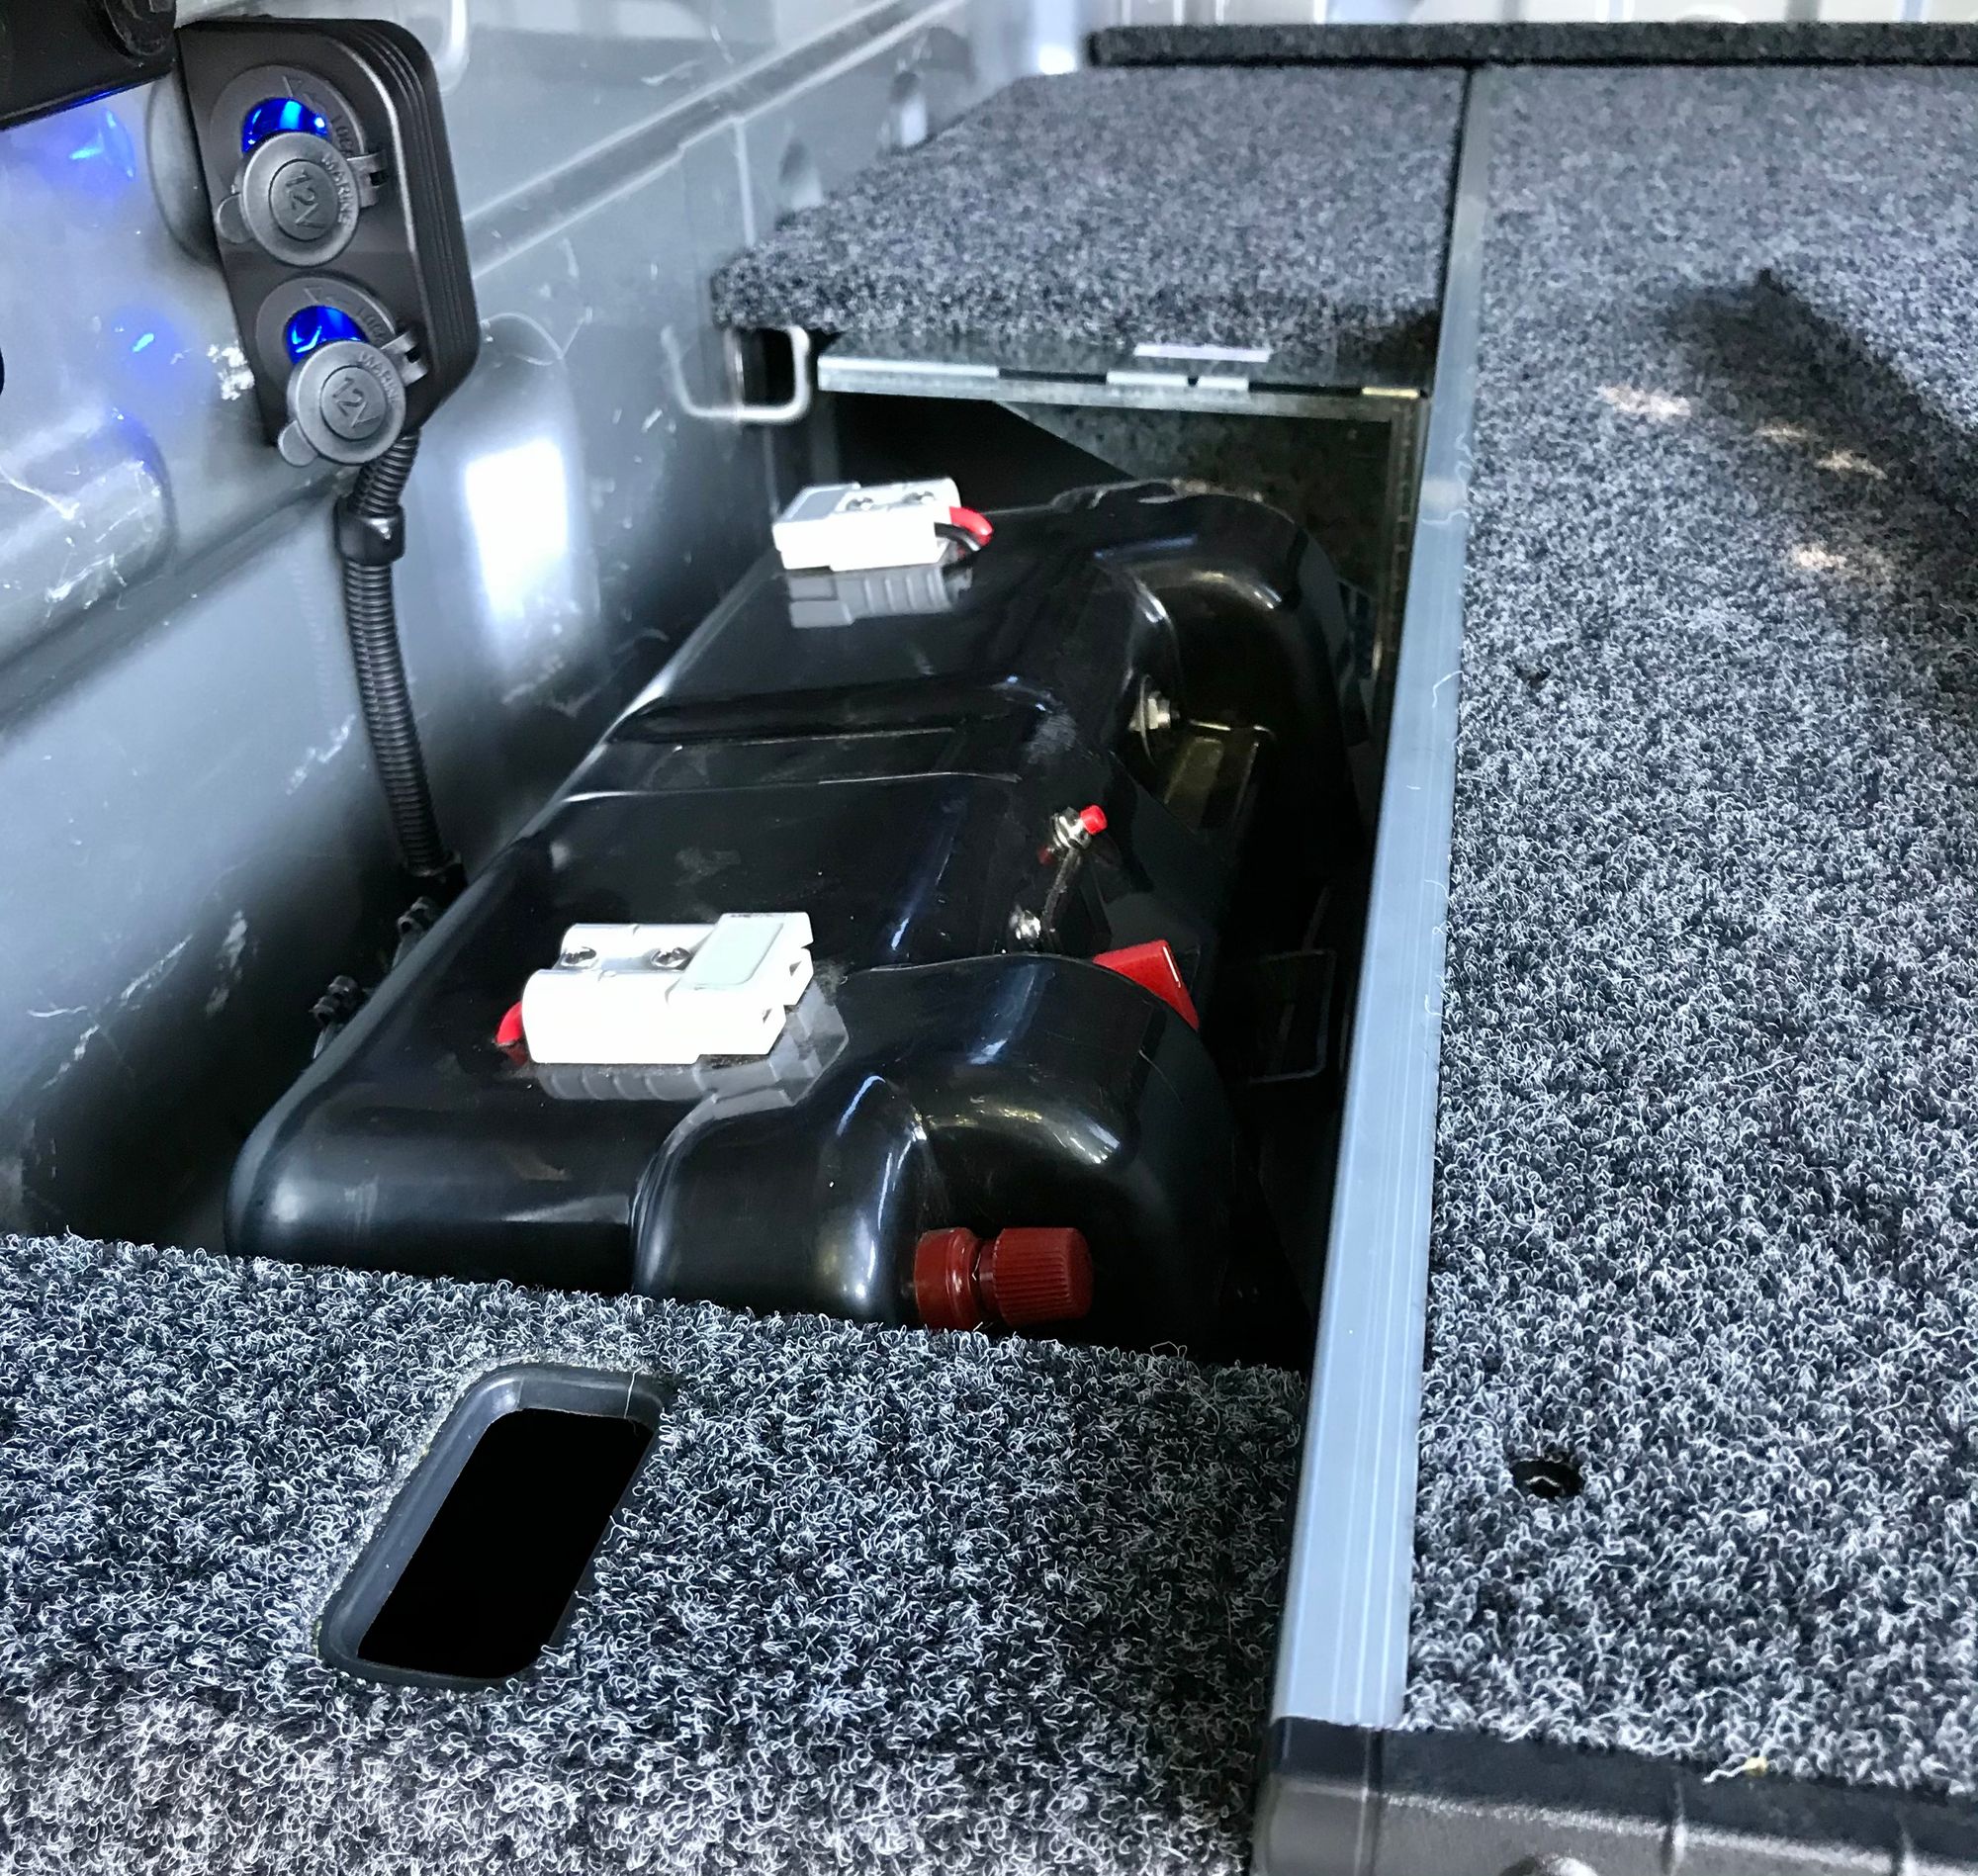
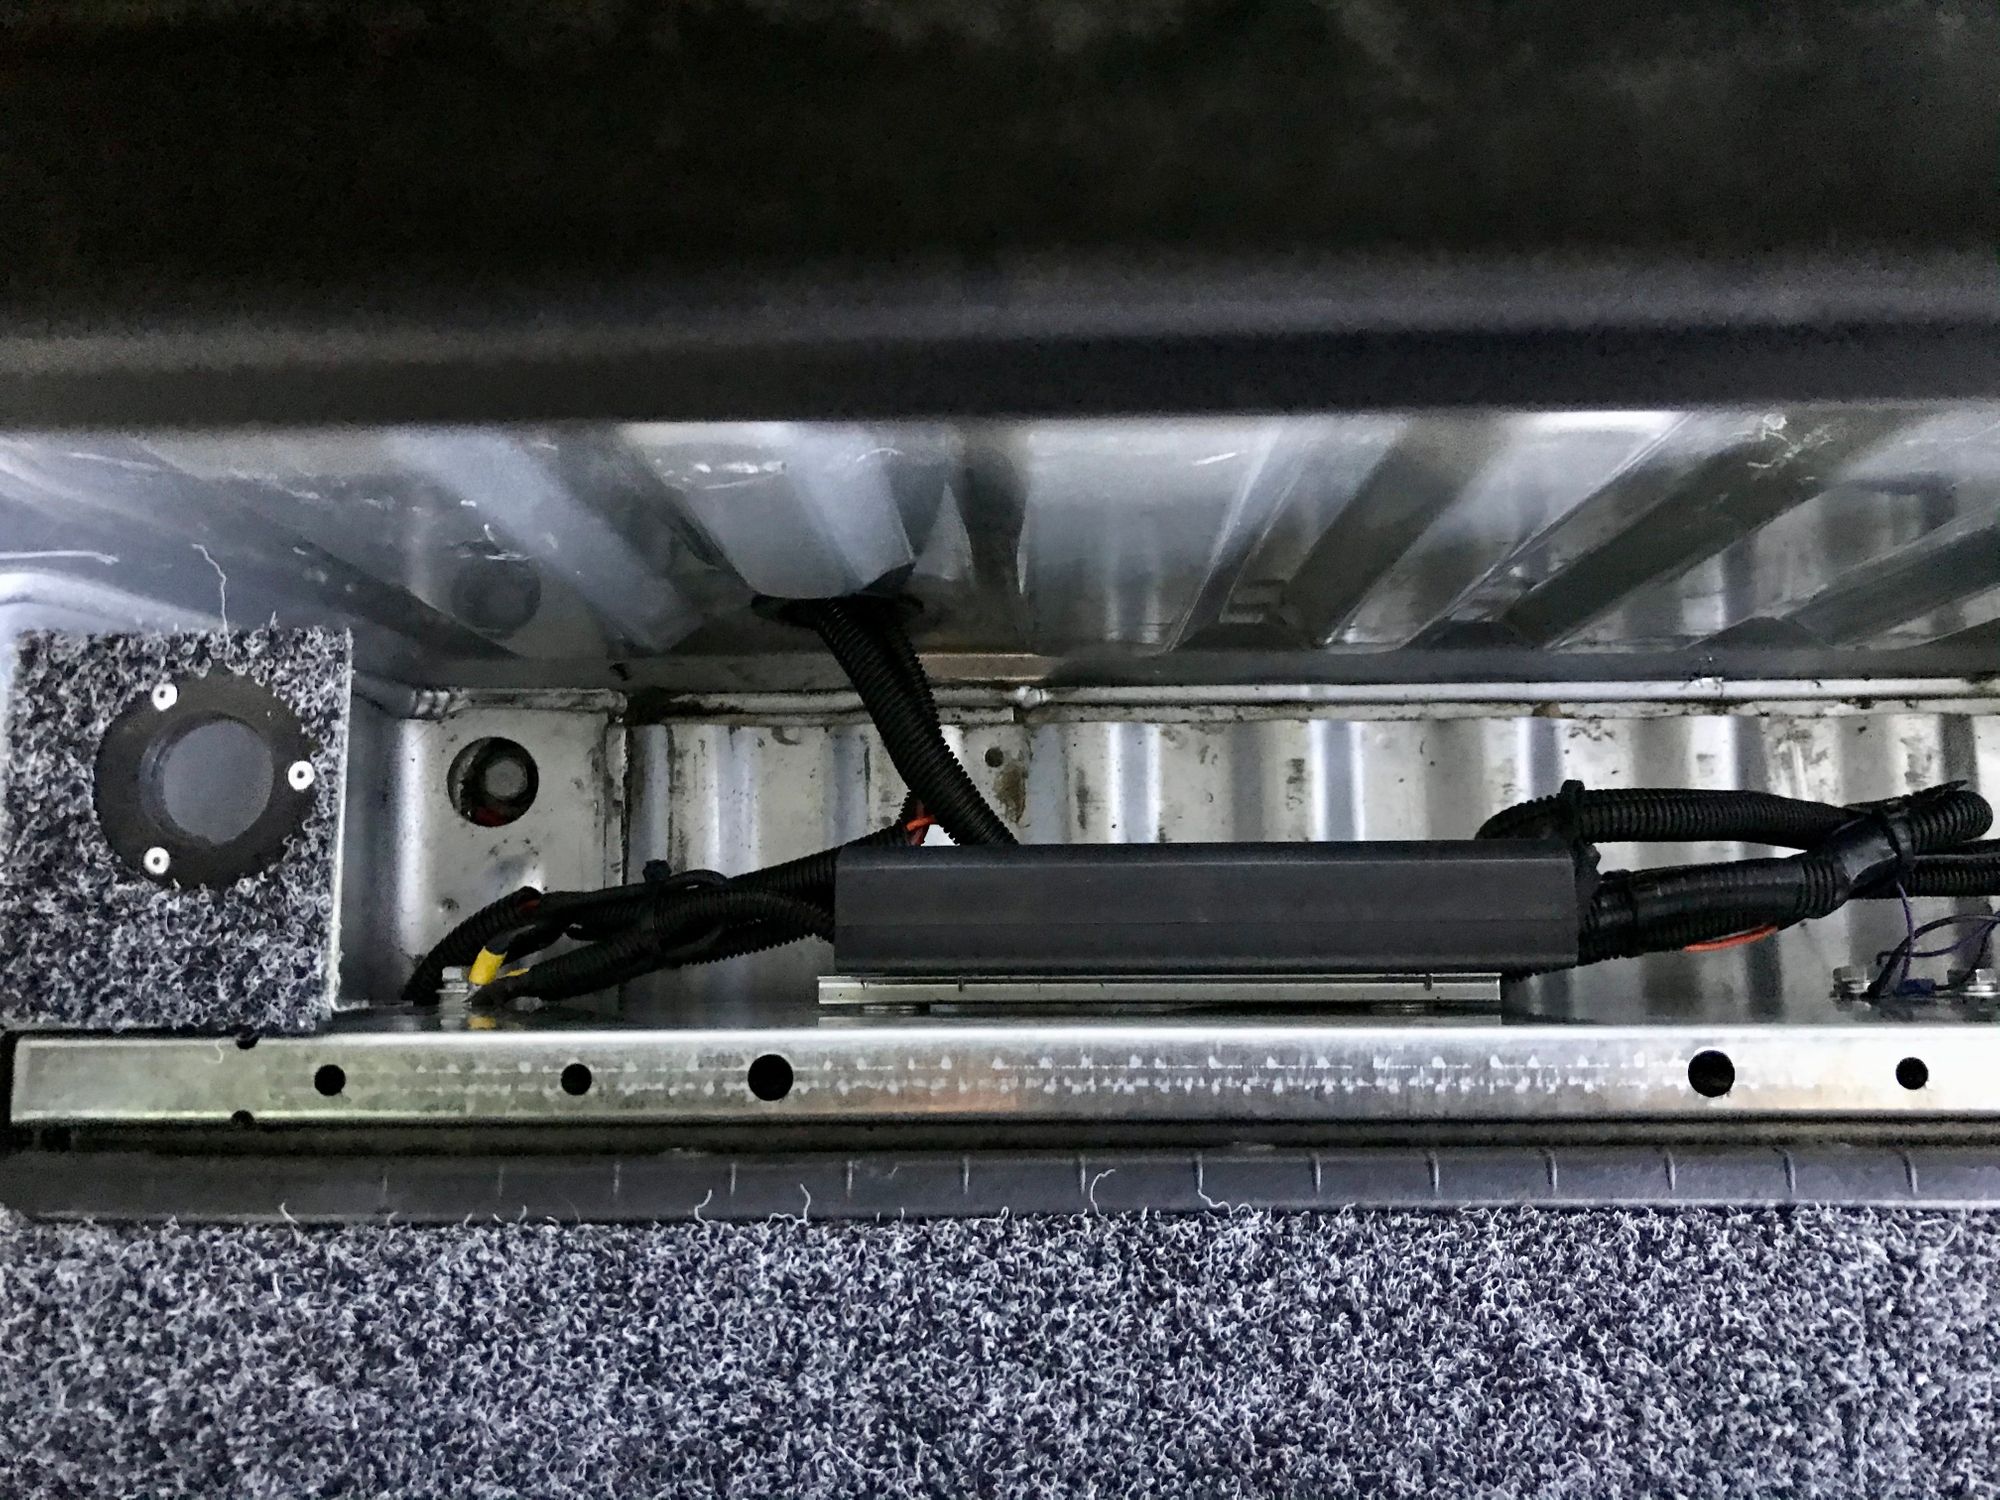
Photo 3 shows the left side floor kit housing our battery. Photo 4 shows our air compressor mounted just behind the front cab in another cavity housing. Photo 5 shows another cavity just behind the front cab housing the Linx system interface controller.

Solar set up
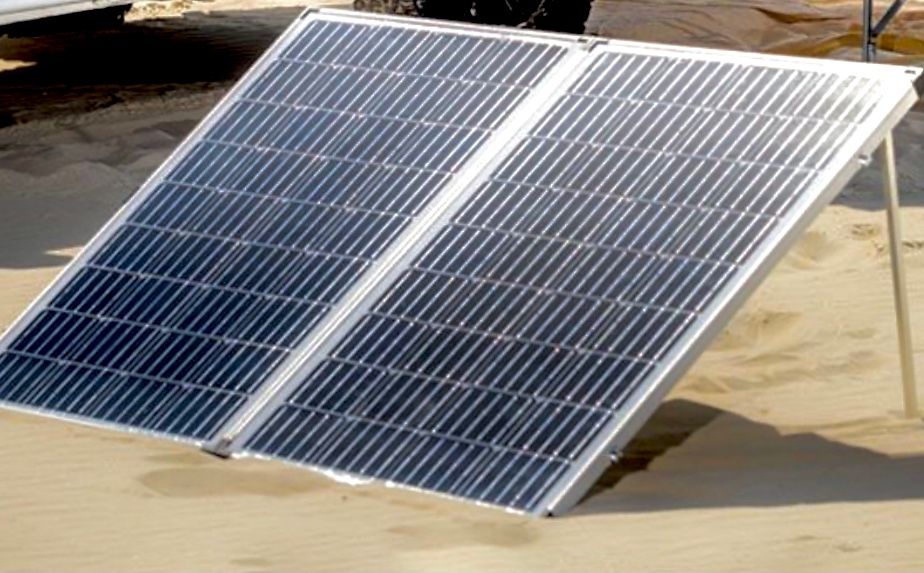
We planned for our backup battery to be charged directly from our car battery. We did however have to purchase a solar set up prematurely as our order was held up like many other campers due to COVID.
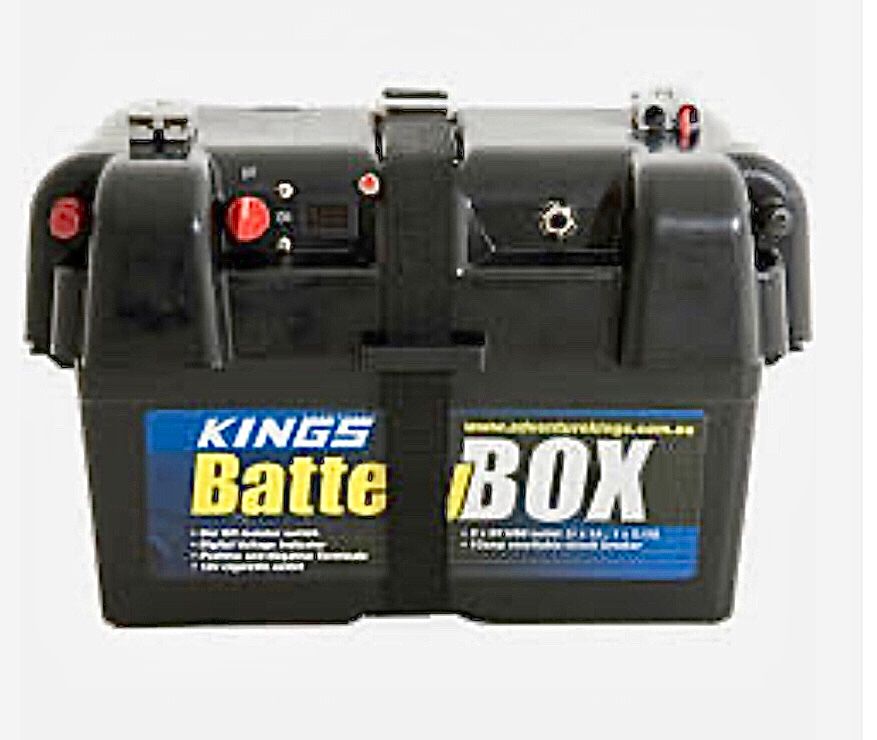
In order to keep powered up when off grid and off the beaten track, we needed to purchase a solar panel and battery to keep our gear running and charged. We bought a 120 amp deep cycle battery from BATTERY WORLD and a 250 portable solar panel from KINGS. We also bought a battery box from KINGS suited to a 120 amp battery. This battery box allowed us to charge our equipment prior to when our backup battery was linked up to our car battery. The battery box comes with a cigarette socket for our fridge/freezer and two usb ports for our phones and electronics.
We now have our deep cycle battery wired up to our car battery allowing it to now be charged as we drive. If we are on the road at least every three or so days we would be fine without solar. For longer periods of time extra power source will be required and this is when we will be using our solar panel to charge the backup battery.
More Equipment to come....
There are still a few items we need to add to our ute to be satisfied that we are fully set up for our trip. We still need to get a tow bar, winch, and tow bar mounted bike carrier. We will update you when we have added these items. There are some fantastic bike carriers out there that allow the bikes to swing out of the way of the rear tail gate. We can't wait to get the remaining bits n pieces!
Other useful accessories
Magnetic dashboard mounted phone or iphone holder This is a small mounting device strong enough to hold my ipad and smaller devices like my iphone.
Seat organisers for the back of both of our seats. We will use these for maps, books, tissues, wipes, stationery and other handy bits n pieces.
Reuseable bin bag we have two reusable washable bin bags that are attached to the rear of our headrest. They are so handy.